All Posts By Farmy

The hip of the rose?

Posted on 3 min read

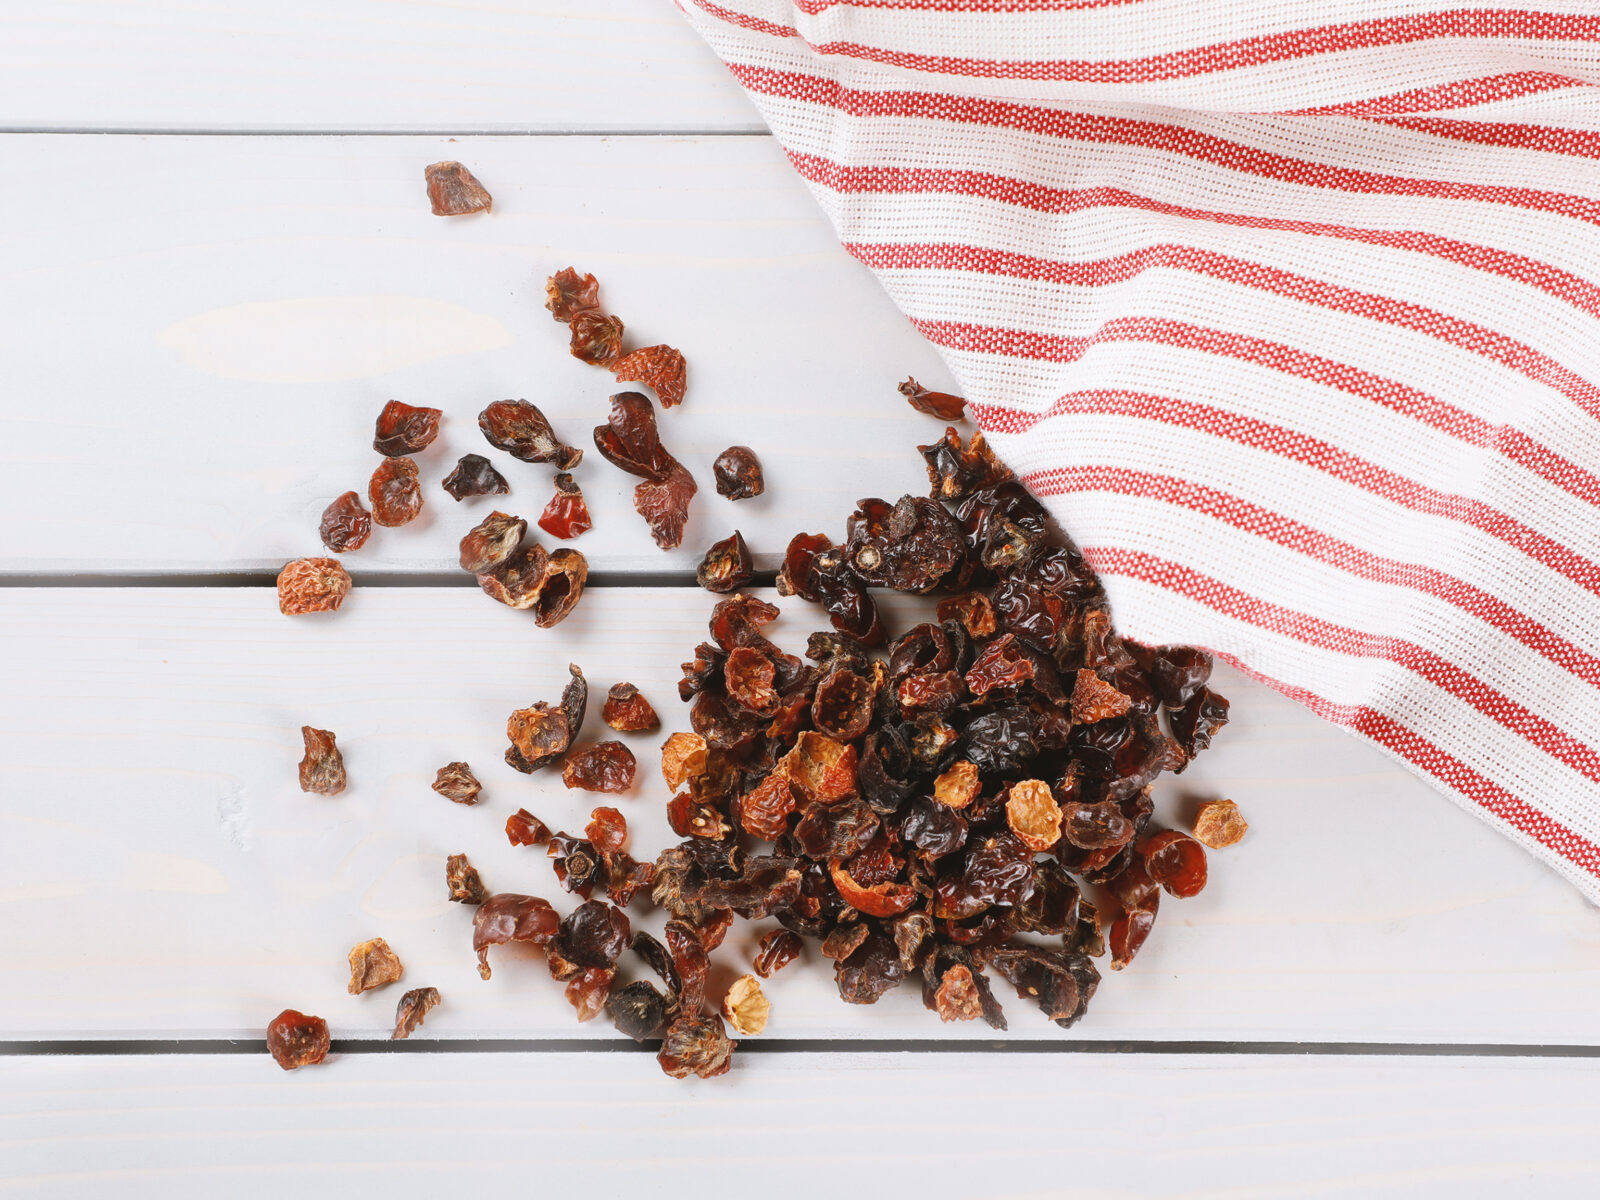
Rosehip is known to be an accessory fruit of the rose plant – that is the one derived not from the ovary. Some varieties that bear big red bottle-shaped are grown entirely for ornamental purposes. It’s great to know if you are a botanist but you don’t need this information to make the best rosehip jam or jelly, don’t you? By the way, what is the difference between these two? It comes from the form that the fruit takes in the preserve.

When you buy jam, you expect to see fruit pulp or crushed fruit inside. And in jelly, the solid chunks are discarded and only the juice is left, hence the smoothest consistency and transparency of the final product. If you are on your way to making rosehip jelly, you have to remember that they have seeds inside. You can easily leave them at first but don’t forget to strain them later after cooking.

Rosehip Jelly

Take 2 L / 8 cups of rosehips, rinse them thoroughly and toss in a pot with 6 cups of water. Bring to a boil, reduce to simmer and keep it like this for 1 hour, until the berries are soft enough to be mashed. You need to make a puree out of them, transfer the mixture into a cheesecloth, put it into a colander and place it over a bowl that would catch the drippings. Wait until everything is drained and squeeze the bag to get the remains.

You’ll need 3 cups of rosehip juice (but if you don’t have enough, you can easily dilute it with some extra water). Put it into a wide pan and add ½ cup of lemon juice and 1 package of pectin. You need acid because it lowers the pH of the mixture and helps to stabilize it. Bring everything to a boil, add 3 ½ cups of sugar, dissolve it and then pour into the prepared canning jars. You don’t have to sterilize them (they should be clean though!), you can simply store the jelly in a fridge. Eat as is, add to morning porridges, smother on scones, add to cottage cheese or smear on bread. Be creative!

A Swedish classic

Of course, you expected to see this kind of recipes in the article about rosehip, but we’d love to intrigue you with something that’s called nyponsoppa! It is a rosehip soup, a Swedish classic: sweet and refreshing with a bit of acidic kick.

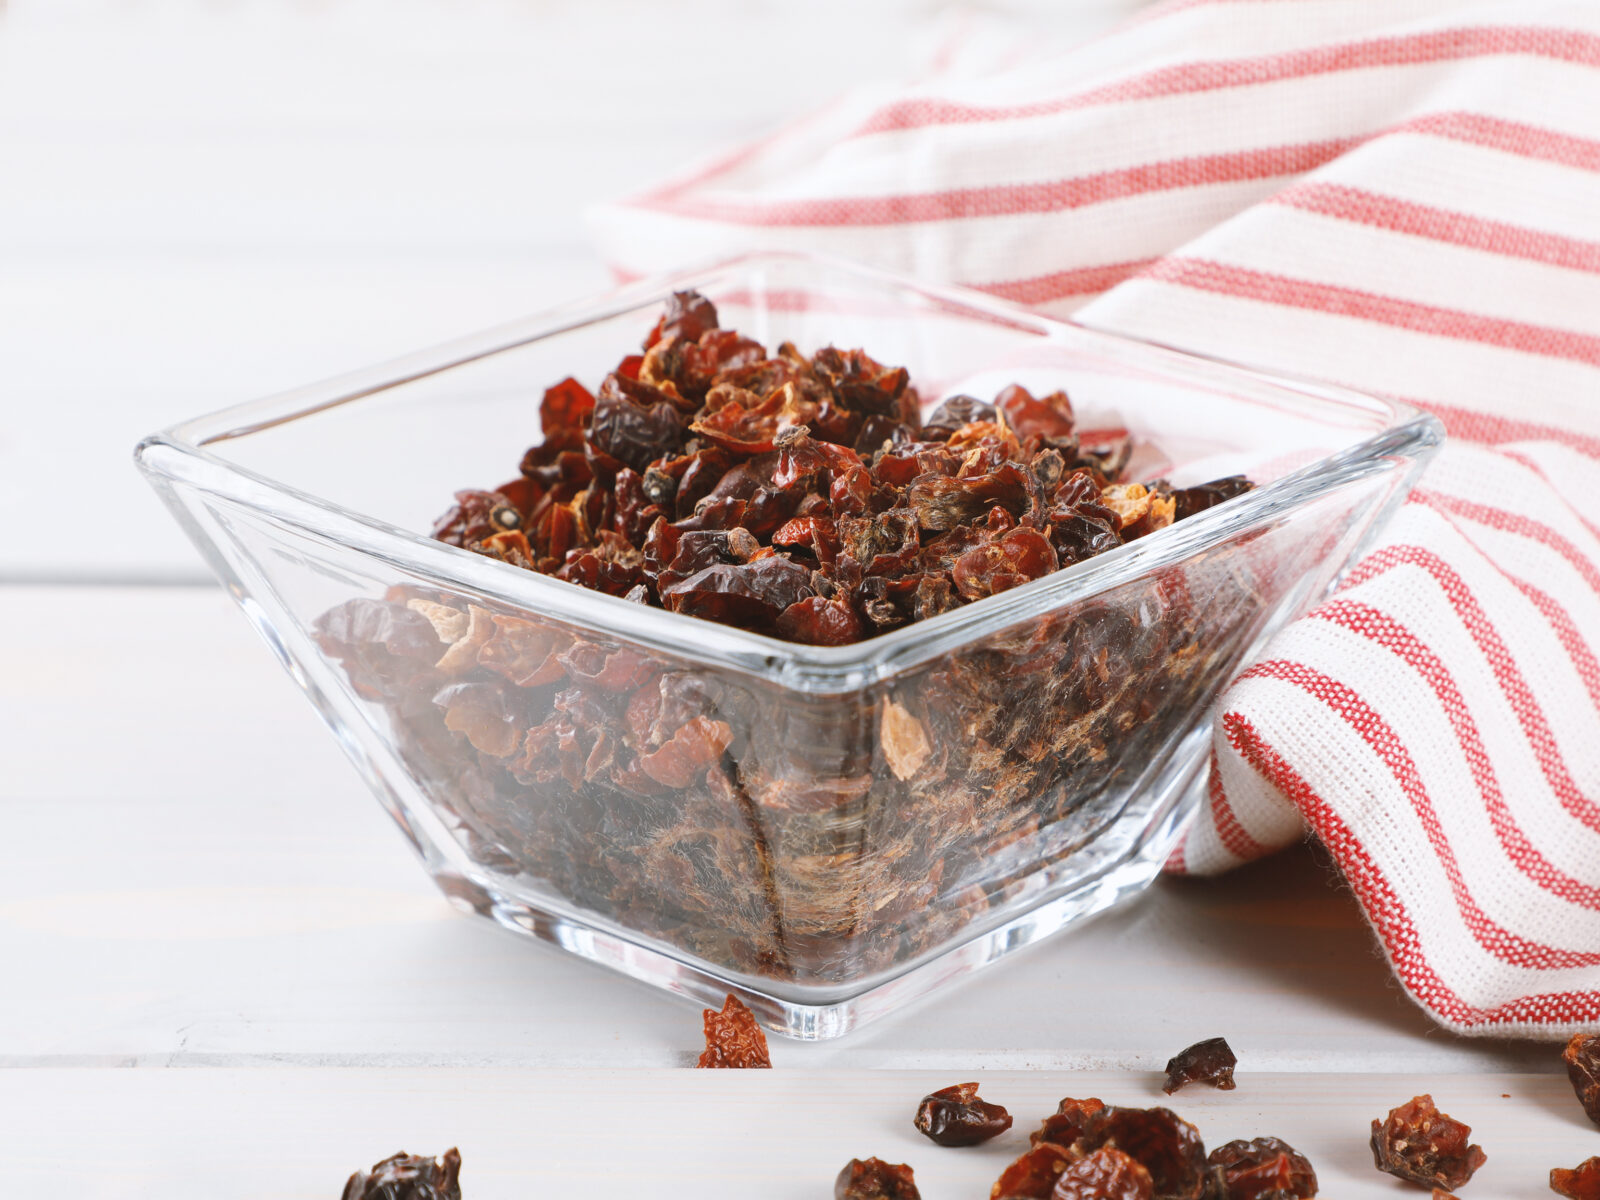
To make it, take 400 g / 5 cups of dried rosehips and soak them in 1 L / 5 cups of water overnight to rehydrate (or use fresh and skip this step). Then transfer them (with the soaking water) to a pot and bring to a boil until rosehips are soft and tender. Then use a hand blender to puree everything, pass it through the sieve, discarding the seeds and skin. Add honey or sugar to taste, a couple of drops of lemon juice for extra freshness.

Make potato starch slurry: mix 1 Tbsp of it with 1 Tbsp of cold water and stir well. Then bring the mixture to a boil again, mix in the slurry, blend until fully incorporated. Keep on the stove, and soon the soup will thicken a little. Cool it a little and serve with a dollop of sour cream, double cream, or whipped cream. Or you can go all-in and add a scoop of ice cream with some nuts of your choice. You are, after all, the kings and queens to your soups.

Share

By

Über Lämmer, Nüsse und Salat

Posted on 2 min read

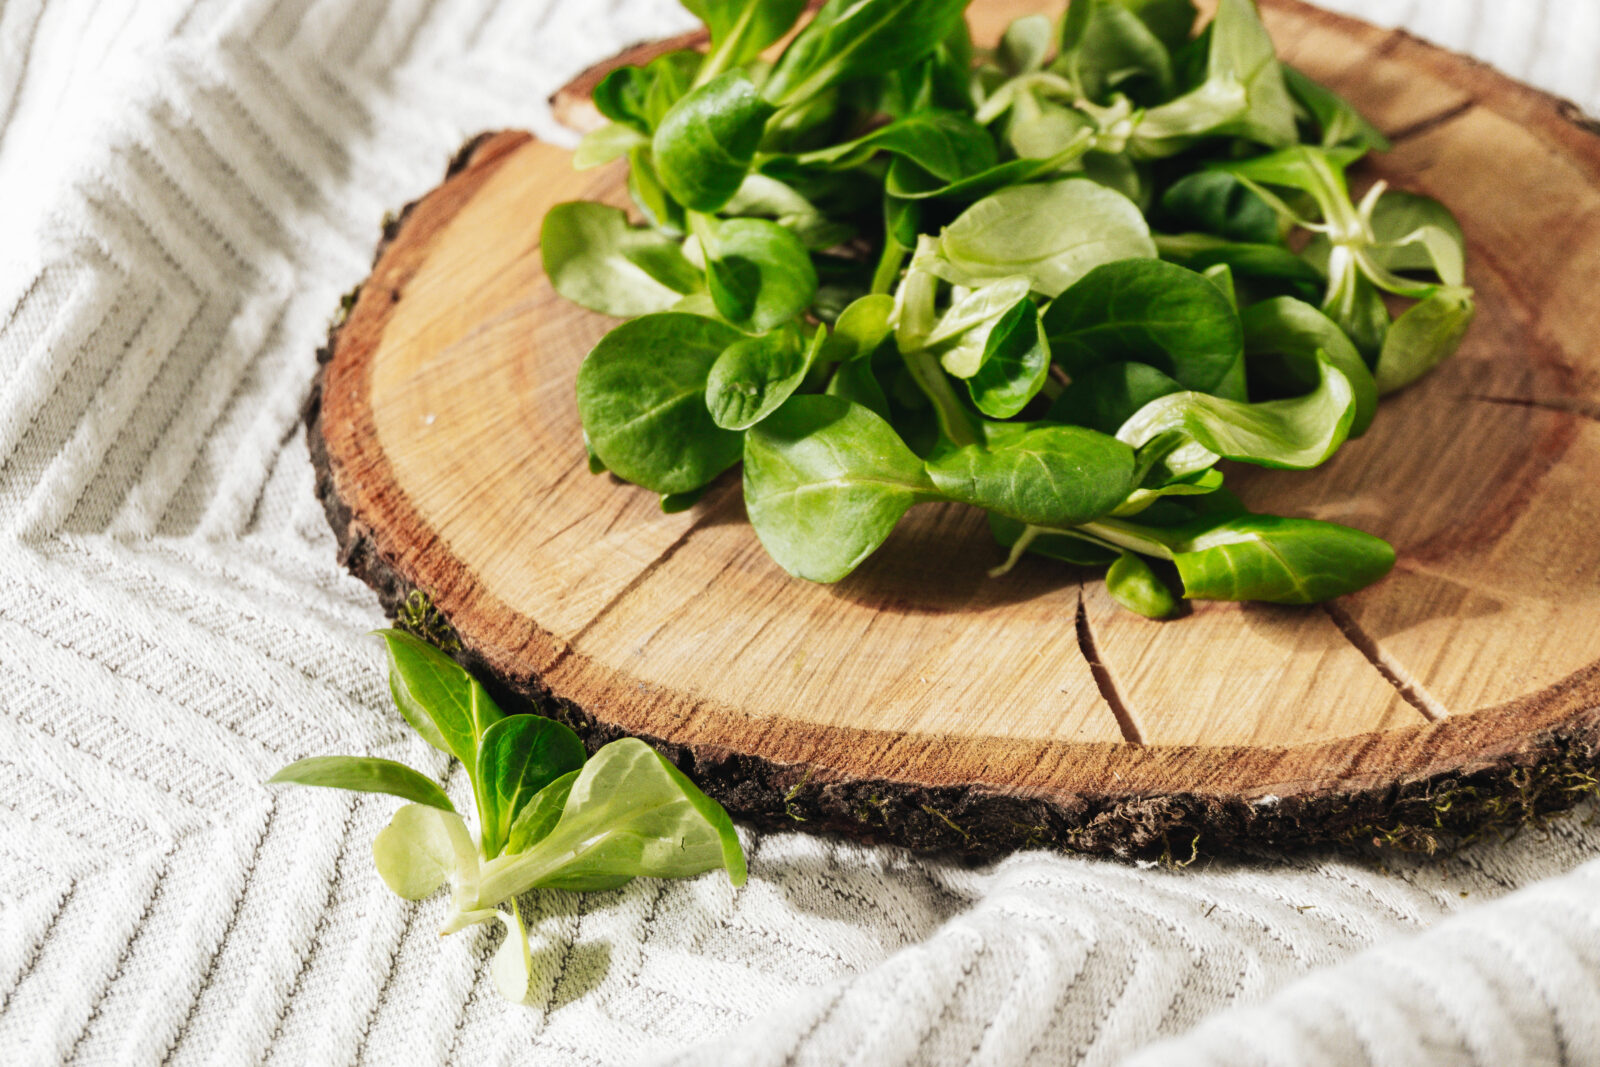
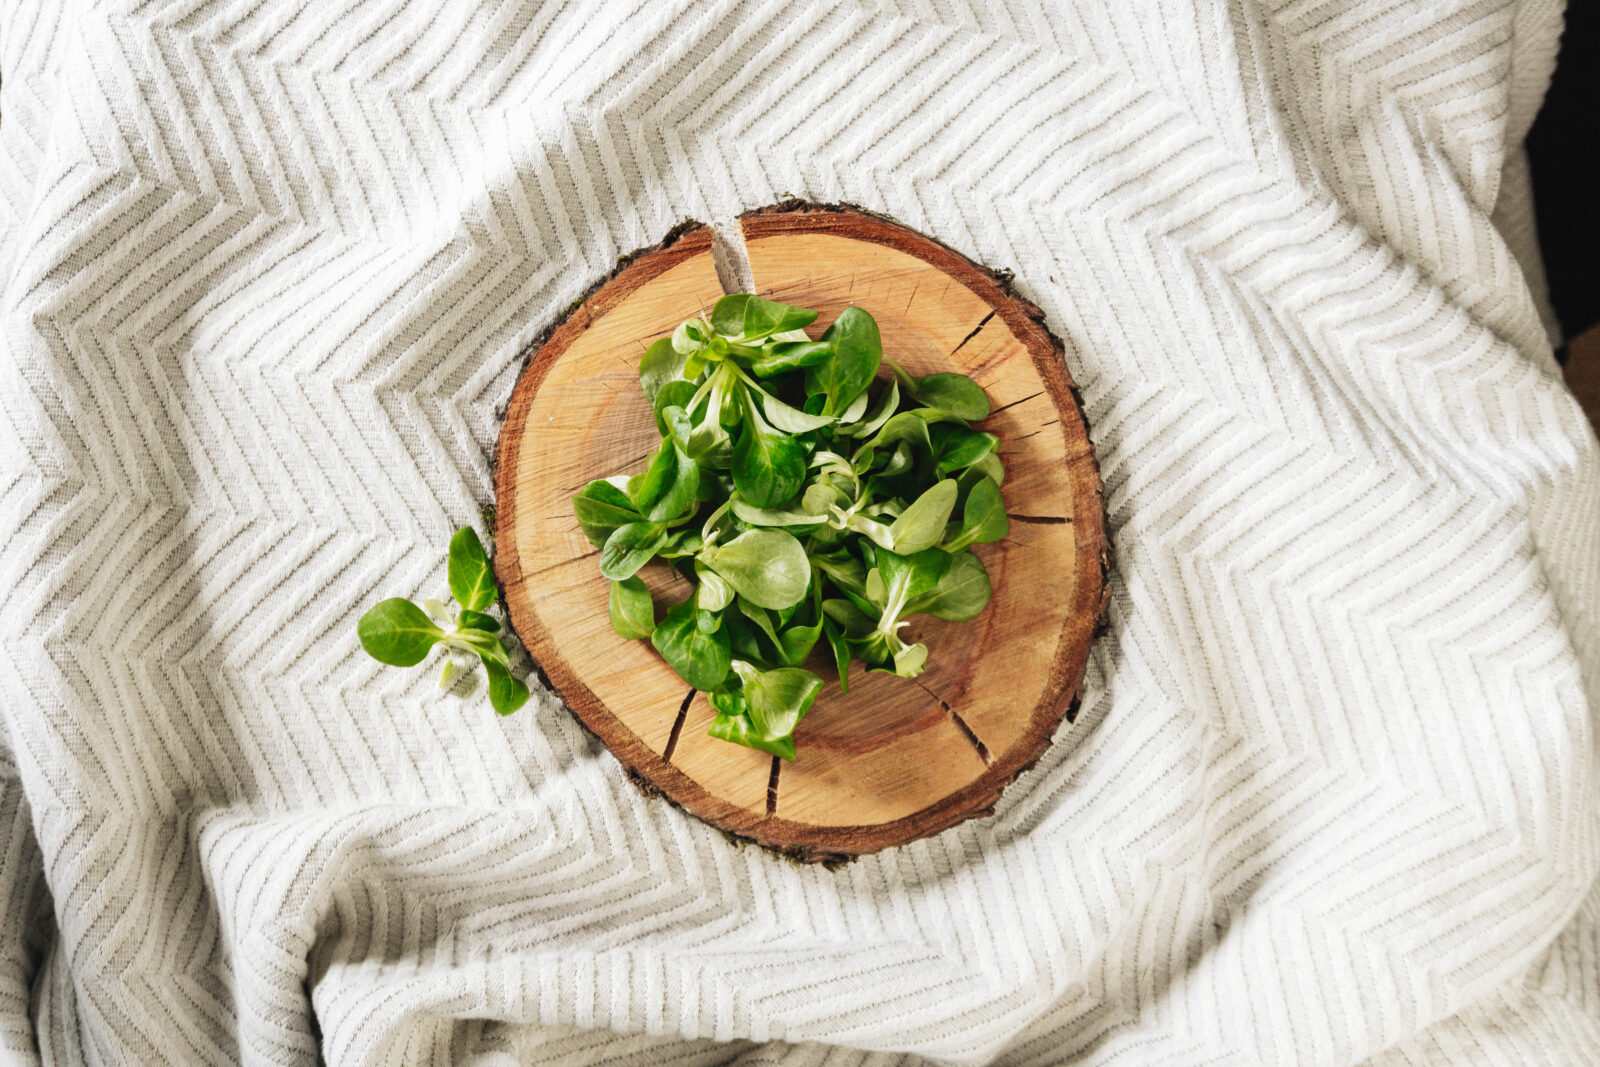
Selbst diejenigen von uns, die den Unterschied zwischen den meisten Blattgemüsen nicht kennen, werden Valerianella locusta (er)kennen und lieben. Es ist unter vielen Namen bekannt, wobei Feldsalat und Nüsslisalat zu den bekanntesten gehören, aber es wird auch Nüssler, Mausohrsalat, Schafmäulchen und Rapunzel genannt. Der Schweizer Name “Nüsslisalat” ist nicht verwunderlich – er hat einen sehr leichten und knackig nussigen Geschmack, hervorragend zu Rührei und Speck zum Frühstück oder eine schöne Kombination mit krümeligem Ziegenkäse.

Aber warum heisst er im Englischen ‘corn salad’? Er ist nicht gelb, er trägt keine Früchte. Der Grund dafür ist, dass das, was wir heute als Salat kennen, damals in Getreidefeldern als Unkraut angesehen wurde, daher der Name. Und was hat es mit dem weiteren kuriosen Englischen Namen ‘lamb’s lettuce’ (Lammsalat) auf sich? Ein solch ungewöhnlicher Begriff kommt angeblich von der Ähnlichkeit des Salats mit der Grösse und Form einer Lammzunge. Wir haben noch nie so genau Lammzungen betrachtet oder getestet, aber ‘Lammsalat’ hat einen sehr charakteristischen, würzigen Geschmack.

Leider dauert es nicht lange, bis die Blätter welken und ziemlich schnell matschig werden. Behandle diesen Salat daher vorsichtig: Entferne die kleinen Wurzeln mit einem Gemüsemesser, wasche ihn unter kaltem fliessendem Wasser und benutze eine Salatschleuder, um überschüssiges Wasser loszuwerden. Nüsslisalat wird besser roh verwendet, zum Kochen eignet er sich weniger. Wie alle Grüns platzen die Zellen bei Hitze und was einst ein grosszügiger Strauss war, wird in Sekundenschnelle zu grünem Matsch. Dies bedeutet jedoch nicht, dass das Kraut nicht doch zum Kochen verwendet werden kann. Hacken und in Suppen verwenden, dämpfen und zu Omeletts oder Reisgerichten beimischen – er verliert zwar seine Farbe, aber nicht den Geschmack.

Eine weitere grossartige Idee ist es, verschiedene Blattgemüse zu mischen, um eine erfrischende Abwechslung zu erleben. Mische Nüsslisalat mit Rucola und Brunnenkresse, um eine luftige Basis für den Salat zu schaffen. 2 EL Mandeln und Walnüsse in einer Pfanne bei schwacher Hitze goldbraun anbraten. 1 Tasse getrocknete Aprikosen und Preiselbeeren hacken. Alles zusammen mischen, mit einer einfachen Vinaigrette servieren, die aus 2 EL schmackhaftem Öl (Macadamianuss, Haselnuss, Pistazie passt hervorragend), 1 EL Apfelessig und 1 TL Honig besteht und mit Salz und Pfeffer würzen.

Ein weiteres fantastisches Rezept ist noch einfacher. Nimm 3-4 kleine Gurken – der Länge nach Vierteln und dann in mittelgrosse Stücke schneiden. Schäle und entkerne 1 Apfel, schneide ihn in zwei Hälften und dann in gleichgrosse Würfel wie die Gurken. Mit Nüsslisalat mischen und einige Kräuter deiner Wahl hinzufügen: Koriander, Sellerieblätter, Minze, Salbei. Bereite dann 20 g/1 gehäuften Esslöffel Joghurt vor, zerdrücke 1 Knoblauchzehe und reibe 2 cm Ingwer fein, mische alles zusammen, würze mit Salz und frisch gemahlenem Pfeffer und giesse es über dein Gemüse. Ein knuspriger, lebendiger, grüner Salat mit Nüssler steht zu deinen Diensten.

Share

By

Dry Aged Meat: The Best Meat in the World

Posted on 4 min read

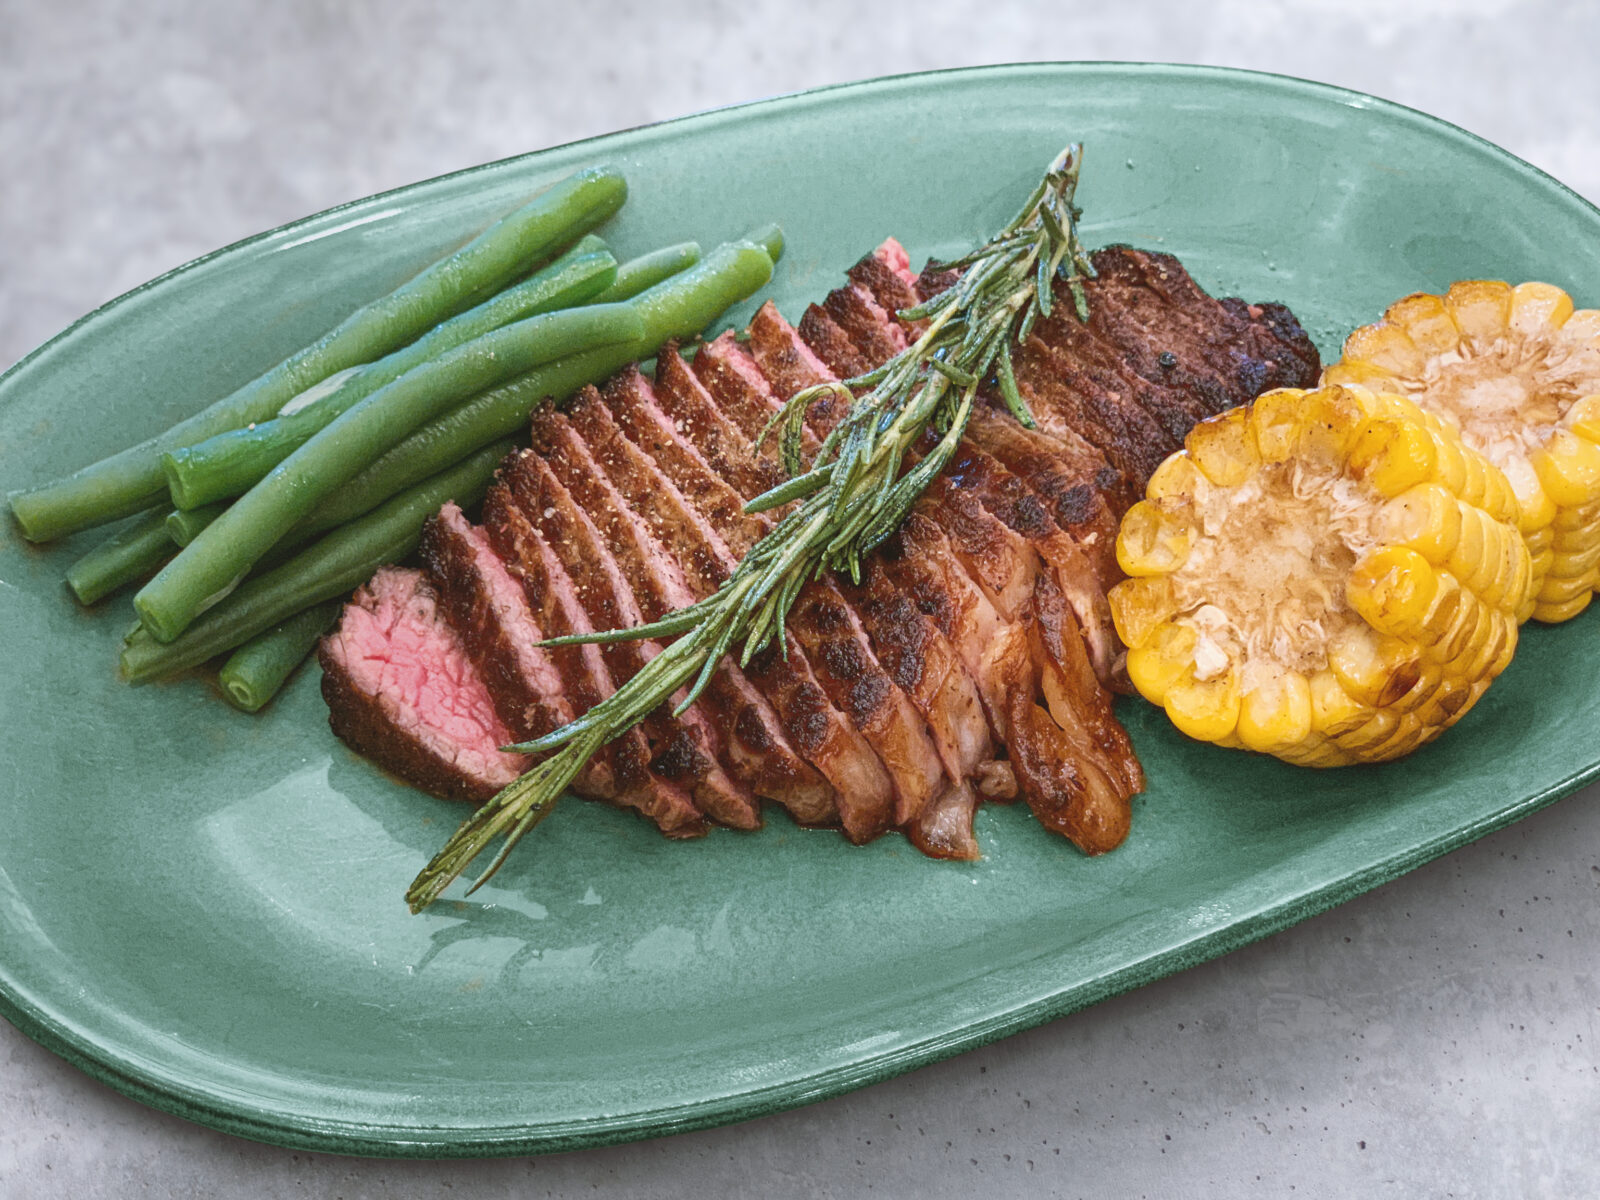
Dry-aged meat is on everyone’s lips. Literally. The aromatic meat seduces numerous meat lovers and often leaves a lasting flavourful impression. In this article, we explain how the wonderfully aromatic meat is produced and what is important.

What is Dry Ageing?

Beef is an ideal choice for the dry-ageing process. It is more resistant to germs than poultry meat, for example, and has the longest maturing time. “Dry aged” means that the meat is matured on the bone in the open air. This maturing takes place in special cooling chambers between 0 and 2 degrees Celsius. This dry ageing develops an outstanding flavour and the aromas of the meat develop. During the drying process, the meat loses up to 20% of its weight due to evaporation and is therefore not very economical for the producer. Consequently, the prices for Dry Aged Meat are in the higher price range and are considered a delicacy. In addition, specially ventilated cold storage rooms are necessary for production, which guarantee a permanent exchange of air and constant humidity. To prevent the meat from spoiling, it must also be sterilised. Only under these conditions can the wonderful taste of Dry Aged Meat emerge.

Advantages of Dry Aged Beef

Dry-ageing the meat changes both the texture and the distinctive flavours of butter and nut. Because the meat becomes tender, the fibres also become softer and the steak is altogether more tender. Furthermore, due to the formation of the pigment myoglobin, the meat turns an appealing dark red. Due to the evaporation of the stored water, the sweet-tasting sugars and the flavour-enhancing proteins accumulate. Consequently, an intense meat flavour is created by the removal of water and the increase in the concentration of molecules. In addition, oxidation of the fat takes place. Since beef in particular has a high proportion of saturated fatty acids, the wonderful aroma develops after oxidation. Consequently, dry ageing requires a pronounced marbling of fat to fully preserve the unique flavour.

Why Does Dry Aged Meat Not Mould?

Since condensation always forms on the surface of the meat, which would cause it to spoil, you cannot simply make your own dry-aged meat in a conventional refrigerator. However, the low temperature plays an essential role so that the meat does not start to mould. Since the air in a dry-ageing room is constantly circulated, the surface dries out to such an extent that only certain micro-organisms can colonise, which are harmless to the meat. In addition, producers only use parts of the beef for dry-ageing that do not have large cut surfaces with muscle tissue and have a thick layer of fat. Small cut surfaces can dry slowly and only allow a small amount of moisture to escape, which means that the meat loses increasingly less moisture.

Dry Aged Meat: Make it Yourself

Dry ageing your own meat takes effort and patience. However, if you take your time and enjoy it, you will soon benefit from the delicious taste and low cost of your own Dry Aged Meat. Producing in a Dry Ager is probably the easiest way to make your own Dry Aged Meat. This small curing oven allows you to produce several kilos of Dry Aged Meat. In the cabinet, there is a constant humidity of about 85% and a temperature of 2°C. Furthermore, regular disinfection takes place, which is carried out by means of an activated carbon filter. These cabinets are now available without a power supply and can be easily installed in the home.

Another technique is ageing in special bags. These are permeable to oxygen, but not to odours and bacteria. This way you can let the dry-aged meat mature in the fridge next to your fruits and vegetables. However, a good vacuum sealer is essential. This is what creates the really good welded seams that contribute significantly to the maturing process. Furthermore, the refrigerator temperature plays an important role in the bag method and should not be underestimated. Only at the right temperature are the enzymes active and make ripening possible. A stable temperature is therefore the most important thing in the whole process. After three weeks in the refrigerator, dry ageing is complete and the meat is ready to be enjoyed.

Dry Aged Beef: Fermented Meat

The meat ageing process also falls under the term fermentation. The moisture that is needed during the ageing process is the basis for the microorganisms that process the meat. Lactic acid bacteria settle on the surface of the meat. These decompose the meat and at the same time enhance the flavour.

In summary, Dry Aged Meat is always more intensive, more interesting and mainly more aromatic in taste and is therefore indispensable for connoisseurs….

Share

By

Le cynorho… quoi ?

Posted on 3 min read

Le cynorhodon est connu pour être un fruit accessoire de la rose – c’est-à-dire celui qui ne provient pas de l’ovaire. Toutes les variétés rouges en forme de bouteilles sont cultivées uniquement à des fins ornementales. Si tu es botaniste, c’est très bien de le savoir, mais tu n’as pas besoin de ces informations pour faire la meilleure confiture ou gelée d’églantine, n’est-ce pas ? Au fait, quelle est la différence entre les deux ? Elle vient de la forme que prend le fruit dans la confiture.

Lorsque tu achètes de la confiture, tu t’attends à y trouver de la pulpe de fruit ou des fruits écrasés à l’intérieur. En revanche, dans la gelée, les morceaux solides sont éliminés et il ne reste que le jus, d’où la consistance plus lisse et la transparence du produit final. Si tu es sur le point de faire de la gelée d’églantier, tu dois te rappeler qu’il y a des graines à l’intérieur. Tu peux facilement les laisser au début, mais n’oublie pas de les égoutter plus tard après la cuisson.

Buisson de cynorhodon

La gelée d’églantier

Prends 2 L / 8 tasses de cynorhodons, rince-les soigneusement et mets-les dans une casserole avec 6 tasses d’eau. Porte à ébullition, réduis pour laisser mijoter et laisse ainsi pendant 1 heure, jusqu’à ce que les baies soient assez molles pour être écrasées. Tu dois en faire une purée, transfère le mélange dans une étamine, mets-le dans une passoire et place-la au-dessus d’un bol qui récupérera l’égouttement. Attends que tout soit égoutté et presse le sac pour récupérer les restes.

Tu auras besoin de 3 tasses de jus d’églantier (mais si tu n’en as pas assez, tu peux facilement le diluer avec un peu d’eau supplémentaire). Mets-le dans une large casserole, ajoute ½ tasse de jus de citron et 1 paquet de pectine. Tu as besoin d’acide car il fait baisser le pH du mélange et aide à le stabiliser.

Porte le tout à ébullition, ajoute 3 ½ tasses de sucre, fais-le dissoudre, puis verse-le dans les bocaux à conserves préparés. Tu n’as pas besoin de les stériliser (ils doivent être propres cependant !), tu peux simplement conserver la gelée dans un réfrigérateur. Mange-la telle quelle, ajoute-la aux porridges du matin, étale-la sur des scones ou du pain, ou alors ajoute-la au fromage blanc. Sois créatif !

Un classique suédois

Bien sûr, tu t’attendais à voir ce genre de recettes dans l’article sur l’églantine, mais nous aimerions attirer ton attention avec quelque chose qui s’appelle la nyponsoppa ! Il s’agit d’une soupe à l’églantine, un classique suédois : douce et rafraîchissante avec un petit côté acide.

Pour la préparer, prends 400 g / 5 tasses d’églantines séchées et fais-les tremper dans 1 L / 5 tasses d’eau pendant une nuit pour les réhydrater (ou utilise des églantines fraîches et saute cette étape). Transfère-les ensuite (avec l’eau de trempage) dans une casserole et porte-les à ébullition jusqu’à ce qu’ils soient tendres. Utilise ensuite un mixeur manuel pour réduire le tout en purée, passe le tout au tamis, en jetant les graines et la peau. Ajoute du miel ou du sucre selon tes envies, quelques gouttes de jus de citron pour plus de fraîcheur.

Fais une bouillie de fécule de pomme de terre : mélanges-en 1 c.à.s avec 1 c.à.s d’eau froide et remue bien. Ensuite, porte à nouveau le mélange à ébullition, incorpore la bouillie et mélange jusqu’à incorporation complète. Laisse sur le feu, et bientôt la soupe va épaissir un peu. Laisse-la refroidir un peu et sers-la avec une cuillerée de crème aigre, de crème double ou de crème fouettée. Tu peux aussi ajouter une boule de glace avec des noix de ton choix. Après tout, c’est ta soupe !

Share

By

Die Schönheit des Brotes

Posted on 3 min read

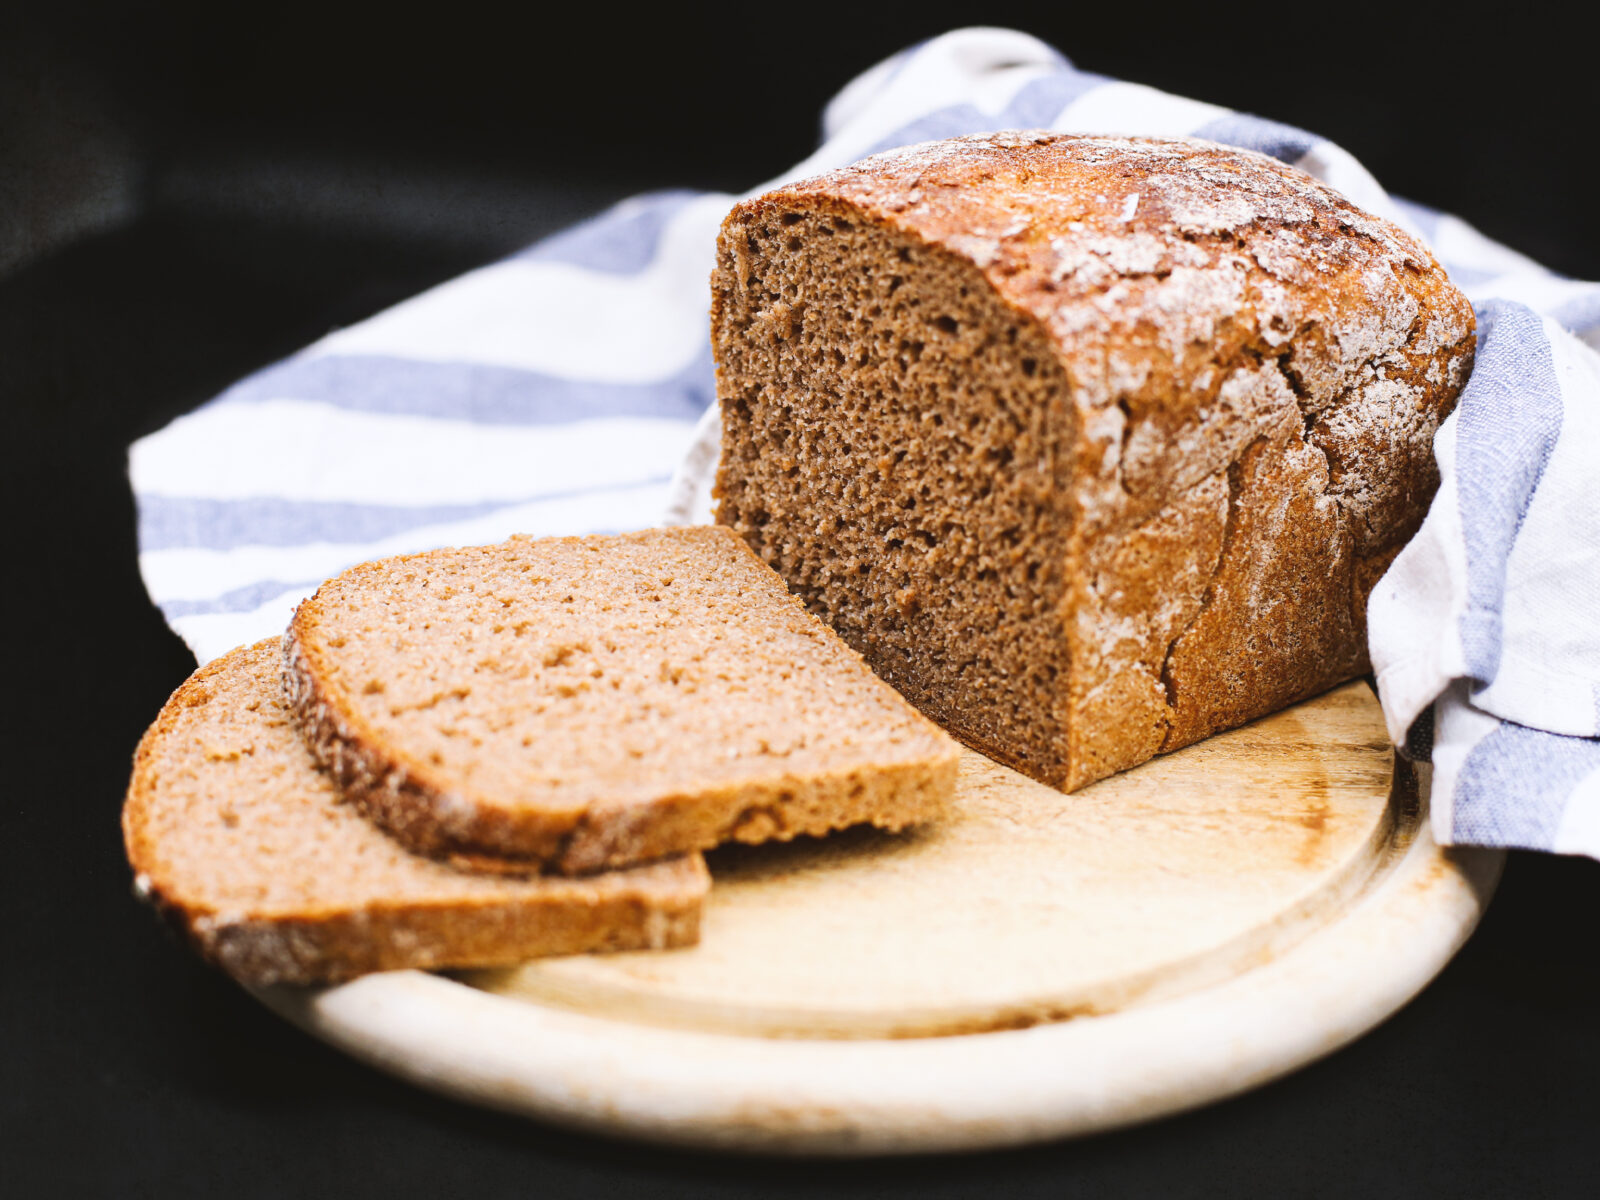
Wenn es etwas gibt, das von allen Menschen gleichermassen geliebt und gegessen wird, dann muss es Brot sein. Brot ist seit Jahrhunderten ein Grundnahrungsmittel der Menschen. Die Schönheit des Brotes liegt in seiner scheinbaren Einfachheit, wenn zwei Zutaten – Mehl und Wasser – miteinander vermischt, geknetet, geformt, gebacken und genossen werden.

So einfach und dennoch gibt es buchstäblich Hunderte von Büchern, die sich den chemischen und physikalischen Eigenschaften von Brot, der Brotherstellungstechnologie, der Geschichte, den Rezepten und Traditionen widmen. Es gibt so viele Kochbücher zum Thema Brot, dass man Monate, wenn nicht sogar Jahre damit verbringen kann, den Zauber von “Mehl und Wasser” zu studieren und das Handwerk zu beherrschen.

Natürlich spielen bei der klassischen Brotzubereitung meist mehr als zwei Zutaten eine Rolle. Salz, Fett, Zucker, Backtriebmittel, Milch, Nüsse, Samen, Früchte oder Gemüse können ebenfalls hinzugefügt werden, um den Teig luftiger und schmackhafter zu machen. Zu den industriellen Backwaren zählen in der Neuzeit auch Teig-Conditioner und Brotverbesserer aller Art.

Unser tägliches Brot

Ausserdem werden Brote nicht immer gebacken. Sie können gebraten, gedämpft und auf einer heissen, nicht geölten Oberfläche (wie Tortillas) gegrillt werden. Die ganze neue Welt wird jedem offenbart, der mutig genug ist, sich mit der Herstellung des täglichen Brots zu befassen.

Die andere Welt, die es zu entdecken gilt, sind Rezepte mit Brot. Diese verwenden Brot als Hauptzutat. Von klassischem French Toast und Keksen mit Sauce bis hin zu Ei im Körbchen und Schwein in der Decke. Letztere sind tolle Beispiele dafür, wie man zwei Fliegen mit einer Klappe schlägt – Spass haben und Kindern die Freude an Lebensmitteln näher bringen.

Ei im Körbchen

Ein Ei in einem Körbchen ist ein Spiegelei in einem ausgeschnittenen Brotloch. Das Gericht wird normalerweise zubereitet, indem man die Mitte des geschnittenen Brotes (auch als “der Deckel” oder “der Hut” bekannt) ausschneidet und dann mit Butter bestreicht. Die Brotscheibe wird in einer gebutterten Pfanne auf beiden Seiten gebraten.

Während des Bratvorgangs wird ein Ei aufgeschlagen und in das Loch gegeben. Das Ei kann auch als Rührei-Version in das Loch gegeben werden, wenn man möchte. Der Haken ist, ein Ei richtig zu kochen. Um es richtig zu machen, kann die Pfanne zugedeckt oder das Brot umgedreht werden, um so gleichmässig gekochte Eiseiten zu erhalten.

Eine internationale Vorspeise

Was die Schweine in Decken betrifft, sind dies nur unterschiedliche Wurstarten in verschiedenen Arten von Gebäck, Keksen, Croissants oder sogar Pfannkuchenteig. In vielen Ländern wird diese Art von Vorspeise mit Senf, Ketchup, Aioli-Saucen, etc. serviert.

Um das Gericht im Handumdrehen zuzubereiten, benötigst du Würstchen, die dir schmecken und im Laden gekauften Pizza-Fertigteig. Einfach auf einen Tisch legen und in Streifen oder Dreiecke schneiden. Rolle oder wickle deine Würstchen in diese Teigstücke und schlage das Ende ein, um sie zu sichern. Dann in einen 180 °C vorgewärmten Ofen schieben und 20 Minuten lang backen, bis sie gut gebräunt und aufgebläht sind. Mit Dijon-Senf und einem Glas Saft servieren.

Share

By

Le rampon

Posted on 3 min read

Même ceux d’entre nous qui ne savent pas faire la différence entre la plupart des légumes verts feuillus aimeront Valerianella locusta. Elle est connue sous de nombreux noms, salade de blé et mâche étant parmi les plus populaires, mais elle est aussi appelée fetticus, poule grasse et blanchette. Cette salade un goût de noisette très vif et croustillant (pas étonnant qu’elle soit appelée Nüsslisalat en Suisse alémanique) qui en fait un excellent accompagnement des œufs brouillés et du bacon au déjeuner ou un joli duo avec du fromage de chèvre émietté. Mais pourquoi l’appelle-t-on “blé”, te demandes-tu ? Ce n’est pas jaune, ce n’est pas une céréale. La raison en est que ce que nous connaissons aujourd’hui sous le nom de salade était à l’époque traité comme une mauvaise herbe dans les champs de blé, d’où son nom.

Malheureusement, elle ne dure pas longtemps, les feuilles se flétrissent assez vite et se transforment en bouillie, alors traite cette salade avec précaution : enlève les petites racines avec un couteau d’office, lave-les sous l’eau froide courante et passe-les dans une essoreuse à salade pour éliminer l’excès d’eau. La salade de blé s’utilise mieux crue, elle ne se mange pas bien quand elle est cuite. Comme tous les légumes verts, les cellules éclatent sous l’effet de la chaleur et ce qui était autrefois un bouquet généreux devient en quelques secondes de la gadoue verte. Mais cela ne veut pas dire qu’elle ne peut pas être utilisée en cuisine. Hache-la et utilise-la dans les soupes, fais-la cuire à la vapeur et incorpore-la dans des omelettes ou des plats de riz. Elle perdra sa couleur, bien sûr, mais pas sa saveur.

Une autre bonne idée consiste à mélanger différentes feuilles vertes dans un même plat pour obtenir un maximum de variations. Mélange la salade de blé avec la roquette et le cresson pour créer une base aérée pour la future salade. Fais revenir 2 c.à.s d’amandes et de noix dans une poêle à feu doux jusqu’à ce qu’elles soient dorées. Hache 1 tasse d’abricots secs et de canneberges. Mélange le tout, assaisonne avec une simple vinaigrette composée de 2 c.à.s d’huile savoureuse (macadamia, noisette, pistache feront l’affaire), 1 c.à.s de vinaigre de cidre et 1 c.à.c de miel et assaisonne avec du sel et du poivre.

Une autre excellente recette est encore plus facile. Prends 3-4 petits concombres – coupe-les en quatre dans le sens de la longueur, puis en morceaux de taille moyenne, pèle et épépine 1 pomme, coupe-la en deux, puis en dés de la même taille que les concombres. Mélange avec de la mâche et ajoute quelques herbes de ton choix : coriandre, feuilles de céleri, menthe, sauge. Prépare ensuite 20 g / 1 c.à.s de yogourt, écrase 1 gousse d’ail et râpe finement 2 cm de gingembre, rassemble le tout, assaisonne avec du sel et du poivre fraîchement moulu et arrose ta salade avec le mélange. Et voici, une salade verte croquante et vibrante avec de la mâche.

Share

By