All Posts By Farmy

Hofladenprodukte und alles Weitere: das vergrösserte Farmy-Sortiment

Posted on 2 min read

Farmy ist seit jeher die Anlaufstelle für frische, qualitative Produkte aus transparenter Herkunft direkt vom Produzenten sowie nachhaltiges, bequemes Einkaufen. Nun haben wir unser Sortiment mit ausgewählten Marken erweitert. In diesem Artikel erfährst du, warum und was für Vorteile sich für dich daraus ergeben.

Warum bietet Farmy nun ausgewählte Marken-Produkte an?

Wir möchten dir einen Platz bieten, an dem du deinen gesamten Wocheneinkauf einfach, stressfrei und in einem Rutsch erledigen kannst. Wie aus häufig kommuniziertem Kundenfeedback hervorgegangen ist, fehlte es aber noch an alltäglichen Markenprodukten, die in vielen Schweizer Haushalten vorkommen und zusätzlich im Supermarkt gekauft werden müssen. Deshalb haben wir uns entschieden, ausgewählte Marken in unser Sortiment aufzunehmen.

So kann bei Farmy neu neben zahlreichen Früchten und Gemüse, frischem Brot und Gebäck von acht regionalen Bäckereien und Konditoreien, der breitesten Auswahl an Käse und Milchprodukten von Schweizer Bauern, Fleisch von elf Metzgereien, frischem Fisch und Meeresfrüchten wie auf einem mediterranen Fischmarkt sowie Blumen und Wein auch ein ausgewähltes Markensortiment bestellt werden. Der vollständige Wocheneinkauf wird dank Farmy noch unkomplizierter und transparent an einem Ort möglich – du sparst dir die zeitaufwändigen Wege zum Bäcker, zur Metzgerei, in den Hofladen, den Alnatura Bio Markt, den Wochenmarkt und den Supermarkt. Damit können wir alle Bereiche des wöchentlichen Lebensmitteleinkaufs abdecken.

Deine Vorteile, wenn du bei Farmy einkaufst

Auch die Alltagsprodukte sind wie gewohnt transparent gekennzeichnet in Bezug auf Herkunft, Zertifikate, Inhaltsstoffe etc. Schliesslich sind wir davon überzeugt, dass du eine informierte Entscheidung beim Kauf deiner Produkte treffen können solltest! Wir bieten dir die Möglichkeit, die beste Wahl für dich zu treffen.

Hie und da wirst du Flyer, gratis Müsterli und Erwähnungen der neuen Produzent*innen in deinen Bestellungen und in unserem Newsletter finden, um diese besser kennenzulernen – unser Fokus ist und bleibt aber auf den regionalen, kleinen Produzent*innen. Das macht Farmy aus, das ist unser Kern. Und wie du ja weisst, ist unsere Auswahl diesbezüglich riesig!

Wir hoffen, dir damit zu helfen und freuen uns, weiterhin deine frischen Bestellungen auszuliefern.

Share

By

Buddha bowls – are they worth the hype?

Posted on 2 min read

When following the quest for maintaining mindfulness and spirituality, achieving balance in everything becomes key. Practice yoga, breathe and be conscious, be “green”, and thank the universe for all the goodness it has bestowed upon you and your loved ones. Celebrate life.

And what is the best way to keep in line with these resolutions? Eating healthy, “happy” and colourful food. Behold – the Buddha bowl!

Buddha bowls are nothing fashionable

Even if you have never heard of Buddha bowls, chances are you still have tried it before. The concept of the dish is not a new one, after all. In a nutshell, it’s a plate filled to the rims with cooked grains, fresh or cooked vegetables and plant-based proteins. All arranged in segments, plus a dressing. So, Buddha bowls are both pretty and healthy. They are thus popular photo objects to be shared on social media.

Originally the dish was known as Macro Bowl. The name Buddha bowl was chosen only recently, which suits the spiritual enlightenment trend to a T.

As you have probably guessed, Buddha bowls have no religious ties with Buddhism. The only connection here could be drawn to the fact that Buddha was given morsels of food by locals. He kept them in a bowl during his journeys.

Whether you follow the current trends or simply love a balanced diet, Buddha bowls certainly are a tasty option and can brighten up lunchtime meals.

What goes into a buddha bowl?

There is no strict rule as to what has to go into a Buddha bowl. Feel free to use your imagination and vary the ingredients to your liking.

  • Generally, Buddha bowls are vegan. Grains that go in the Buddha bowl are rice (white or brown), quinoa, bulgur, millet or pearl barley.
  • When it comes to vegetables, they can be both cooked and / or raw. Common fresh options are tomato, sweetcorn, carrot, pepper, salad leaves and red cabbage.
    • Baked or steamed vegetables include sweet potato, broccoli, cauliflower, aubergine, beetroot and other colourful alternatives.
  • When it comes to protein,legumes, tofu and tempeh are typical picks. Microgreens and pickled vegetables are also popular additions, same as nuts, seeds and herbs.

Last but not least are the dressings. They will lift the taste of vegetables instantaneously. And they provide nutrients and sought-after balance.

Just mix and match the above ingredients to your heart’s content. The idea behind Buddha bowls is to make them balanced and nutritious and at the same time keep the vibrancy of the colour to the max. And all this in one bowl!

So are they worth the hype? 100 %!

Share

By

Kopf hoch! Es ist Tiramisu!

Posted on 3 min read

Das ist wörtlich die Bedeutung von «Tiramisu» (oder ursprünglich «tireme su») im Treviso-Dialekt. Das beliebteste Dessert der Italiener sollte die Kundinnen und Kunden am Ende ihrer Mahlzeit aufheitern.

An welche Erfindungsgeschichte glaubst du?

Wenn du einer Legende glaubt, wurde dieses Dessert im Jahr 1800 in Treviso von einer Dame erfunden. Sie servierte es den Besuchern ihres Bordells am Ende ihres Aufenthalts, um den Männern ein oder zwei Minuten Zeit zu geben, über ihre Ausreden nachzudenken, bevor sie nach Hause eilten. Ein Leckerbissen mit Kaffee- und Schokoladengeschmack sowie samtiger Textur würde ihre Stimmung zweifellos heben.

Es überrascht nicht, dass diese Geschichte nicht weit verbreitet wurde. Einer anderen Quelle zufolge soll Alba di Pillo das Dessert 1969 im Restaurant Le Beccherie – ebenfalls in Treviso – erfunden haben. Tiramisu wurde 1972 auf die Speisekarte gesetzt. 1980 wurde das Rezept erstmals veröffentlicht und erhielt die ihm gebührende Aufmerksamkeit.

Nicht viel Raum für Kreativität

Es gibt viele Variationen, dieses köstliche Dessert zuzubereiten. Offiziell ist das Tiramisu-Rezept jedoch von der Europäischen Union auf Antrag des Gouverneurs von Venetien geschützt.

Dies bedeutet, dass die Kreativität der Hersteller bei der Zubereitung von Tiramisu für den Verbrauchermarkt sehr eingeschränkt ist. Eine Abweichung vom Originalrezept kann zum Verlust des Rechts führen, das Dessert «Tiramisu» zu nennen.

Bereite dein eigenes Tiramisu zu Hause zu

Wenn du diesen modernen Klassiker ohne Backen gerne zu Hause zubereiten möchtest, dann mach dich auf einen Ausflug in ein lokales italienisches Geschäft gefasst: Du benötigst die besonderen Savoiardi-Kekse. Abhängig von der Grösse des Desserts, das du zubereiten möchtest, kann die Menge zwischen 16 und 24 Stück betragen.

Überprüfe im Laden auch, ob es Mascarpone gibt. Ohne diese wesentliche Zutat lässt sich kein Tiramisu zubereiten. Es ist ein besonderer Frischkäse, glatt und cremig mit dezenten Vanille-Untertönen. Nimm davon 450 g / 2 Tassen.

  1. Um dein Tiramisu zuzubereiten, trenne 4 Eigelb vom Eiweiss. Mische in einer Schüssel das Eigelb mit 75 g / ⅓ Tasse Zucker, um eine cremige und voluminöse Textur zu erhalten. Italiener nennen diese Eiermischung «Sbatudi».
  2. Das Eiweiss steif schlagen.
  3. Nimm den Mascarpone aus dem Behälter und rühre ihn um, bevor du ihn mit der Sbatudin vermischst.
  4. Das Eiweiss vorsichtig unter die Sbatudin-Mascarpone-Creme heben – bei zu starkem Rühren kann die Creme flach werden.
  5. Bereite 100 ml / ½ Tasse starken Kaffee zu und füge nach Belieben ein oder zwei Tropfen Rum hinzu.
  6. Verwende für das Tiramisu eine rechteckige Form. Weiche jeden Keks in Kaffee ein, bis er hellbraun, aber nicht durchnässt ist, und lege ihn in einer Schicht in die Form.
  7. Die erste Keksschicht mit einer Cremeschicht bedecken und grosszügig mit Schokoladenpulver bestreuen.
  8. Füge noch zwei weitere Schichten hinzu und runde das Dessert mit der letzten Schicht Creme ab. Lass das Schokoladenpulver bei der letzten Schicht weg, da das Pulver beim Abkühlen zu nass wird.
  9. 4-6 Stunden im Kühlschrank lagern. Zum Servieren mit viel Schokoladenpulver bestreuen.

Nichts geht über den Geschmack von Tiramisu und einer Tasse Espresso!

Share

By

Limes – a rich source of vitamin c

Posted on 2 min read

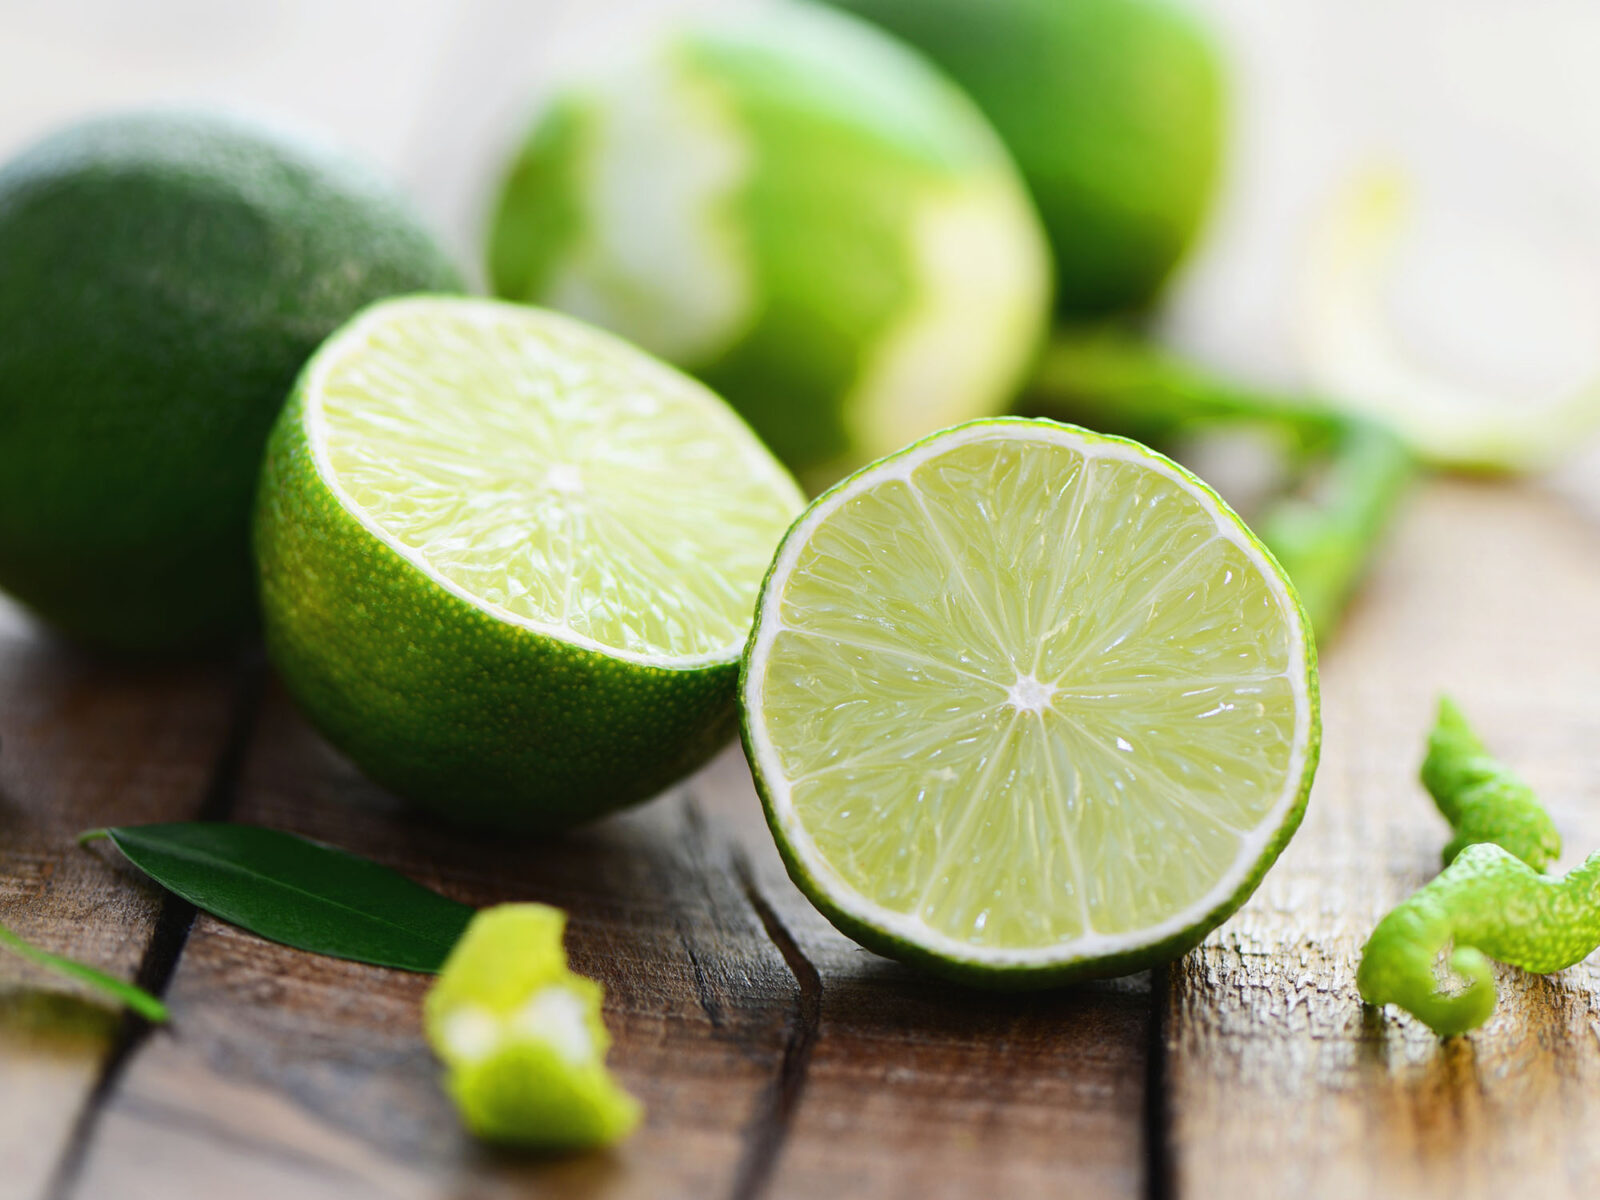
Thinking of a lime? Maybe all that springs to your mind is a green wedge decorating a cocktail or an occasional dessert. But this is just the tip of an iceberg when it comes to the world of limes.

First, limes are not always green, nor are they always round. This is thanks to the ability of this citrus to cross-pollinate with pretty much any other known citruses. The lime was thus able to get naturalised in all the continents with warmer climates.

All the citrus tree species moreover have one thing in common: they are a great source of vitamin C.

Limes conquered many parts of the word

Like other citrus plants, the lime originally comes from South East Asia and South Asia. Among other valuable goods for trade, the lime has then travelled to various parts of the world. It can be found in Polynesia and Micronesia, the Mediterranean region, Europe and the Americas.

The most common type of lime available in grocery stores is small, round and green with smooth skin (Key Lime). Then there are limes with wrinkly skins (Kafir and Markut Limes). Other limes are oval (Australian Finger Lime). Then there are red limes (Blood Lime) and yellow ones (Sweet Lime).

Limes play an essential role in many cuisines

Limes have become an inherent ingredient in Thai, Indian, Mexican and Mediterranean cuisines.

This brings us to the second point: limes are not just used as garnish. Think about lime juice. It’s widely used in baking, pickling and added to soups and sauces. And its zest makes excellent jellies and jams.

Packed with vitamin C, limes contain more sugar and acid than lemons. They are further a key ingredient in mojitos and margaritas, guacamole and marinades for fish.

Let’s make an American lime dessert

If limes are a “key”, then how about making this famous Key Lime Pie. It’s an American dessert made of Key Limes, originating in the Florida Keys.

Method:

  1. Wash and finely grate the zest of 5 limes (about 150 g / 5 oz). Squeeze the limes’ juice.
  2. Blitz 250 g / 8 oz digestive biscuits in a food processor and mix with 85 g / 3 oz melted butter or other baking spread.
  3. Press the biscuit dough into a round baking tin using your fingers and then flatten it with a spoon.
  4. Put the tin in a fridge for 15 minutes to chill.
  5. In the meantime, in a bowl, mix 300 ml / 10,5 oz double cream with 400 g / 14 oz condensed milk.
  6. Add the squeezed lime juice and most of the lime zest into the mixture. Reserve 2 tbsp of the zest for decorating. Combine the ingredients and stir until the mixture thickens.
  7. Pour the lime and cream mixture into the chilled tin with the biscuits dough and return to the fridge for 2 hours more.
  8. Once ready, decorate with whipped cream and sprinkle the reserved zest over the pie.

You can freeze the Key Lime Pie and serve it on a hot summer day as a light, refreshing pudding.

Share

By

Beetroot cultivation from the stems and leaves to the roots

Posted on 2 min read

Beetroot cultivation started around 6000 years ago in the region of the Middle East. Originally the plant was grown for its green, juicy stems and leaves. It’s similar to chard and spinach, which also come from the same family of plants.

In the 1st century AD, Romans began harvesting the plant for its purple ball-like roots. But also for its leaves and stems.

Beetroot is valued for its spectacular nutritional properties. Not to mention the versatility when it comes to cooking. Today, all beetroot parts are readily available worldwide in grocery stores and farmers’ markets.

Colorful beetroot sprouts and microgreens

With this being said, not many know about the benefits of beetroot microgreens and sprouting seeds.

Easily grown at home, they can provide a great source of vitamins and antioxidants. And they add a sweet, earthy flavour with a fresh crunchy texture.

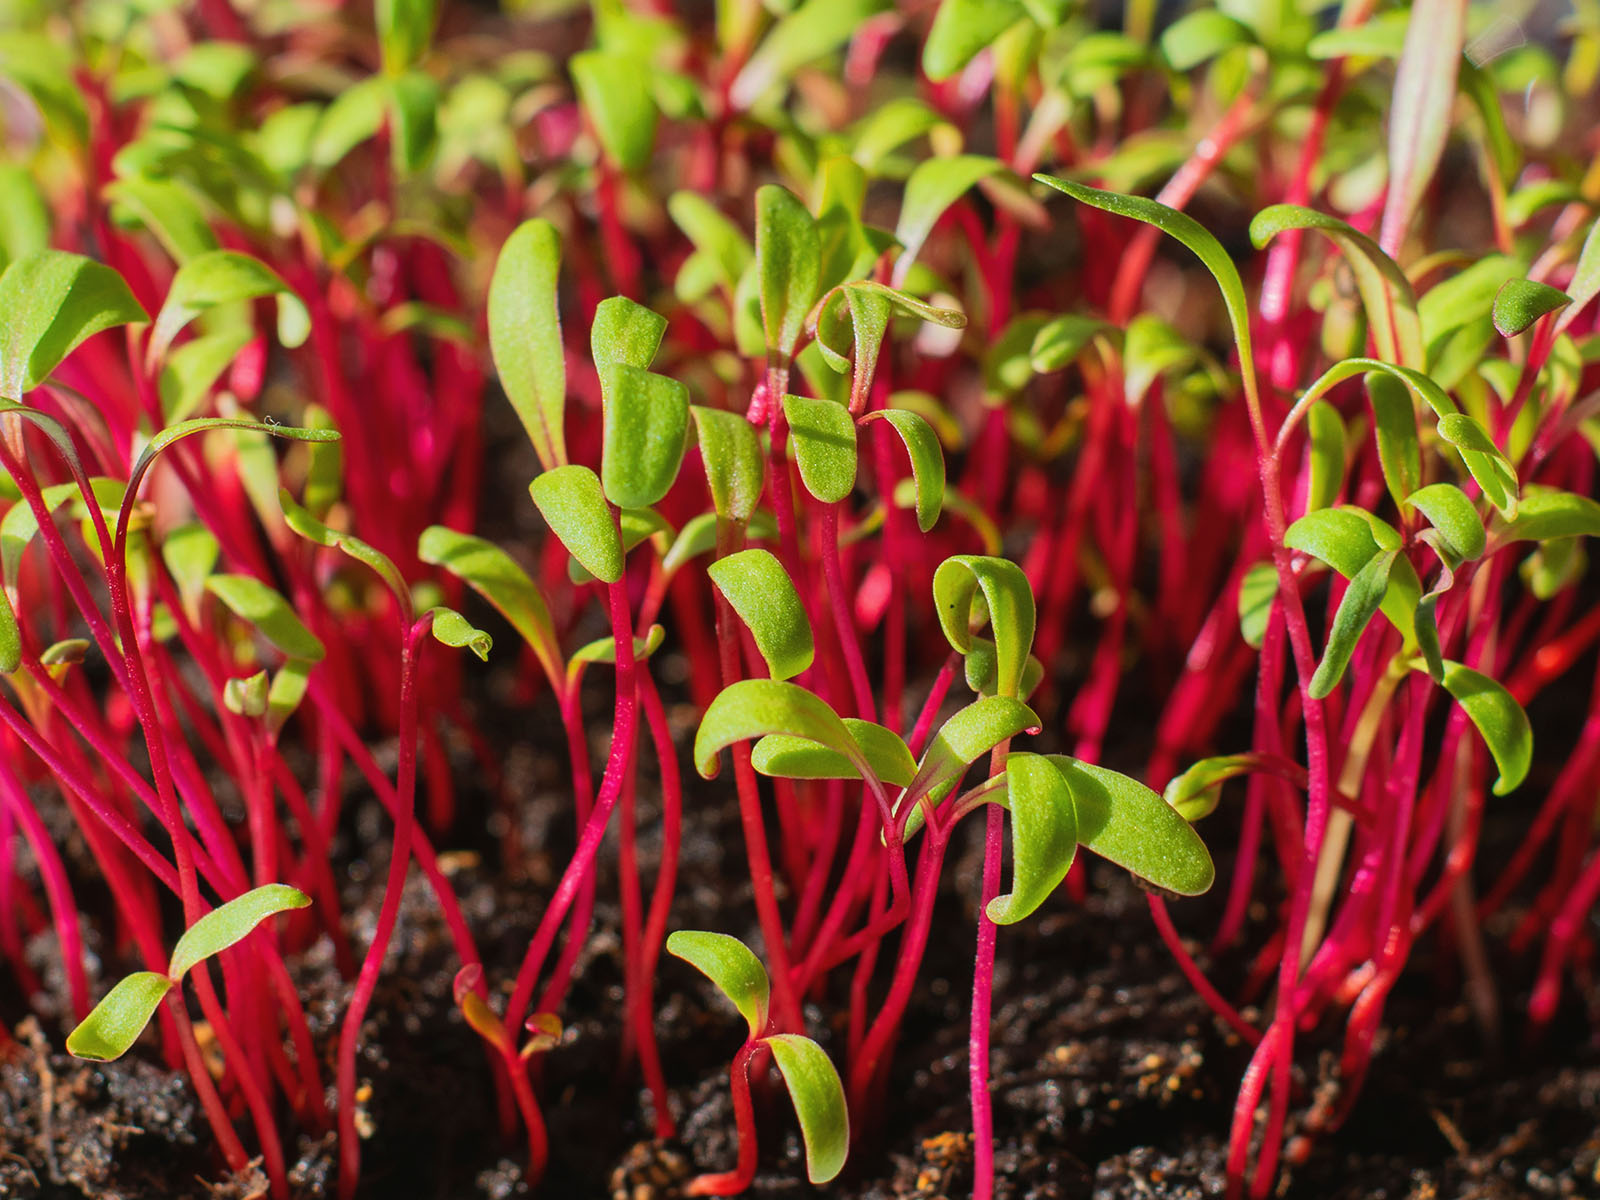
Beetroot sprouts and microgreens will undoubtedly brighten any salad, smoothy, stir-fry, or soup. This is thanks to the bright red stems that later grow emerald green leaves.

Grow your own beetroot sprouts

Usually, the seeds of a beetroot germinate in 5-7 days. Do you like to eat them at the stage of sprouting? Then the process of growing the crop will differ compared from the one used for growing microgreens.

Did you know? The seeds are not placed in soil. Instead, you must soak them in water and rinse them throughout the process. This way, you minimise the risk of contamination.

It’s possible to grow the seeds in a jar if you don’t want to invest in specialised equipment. Once the seeds have sprouted red stems, they are ready to be consumed.

Let’s make a fantastic beetroot sprouts salad

Try your harvest of beetroot sprouts in this super-nutritious salad.

  1. Clean and cut 200 g / 2,25 cups of carrots in 4 cm / 1,5 inch size chunks. Then parboil for 4 minutes.
  2. Transfer the chunks to a roasting tin and drizzle with olive oil and a spoonful of runny honey. Roast in a pre-heated oven at 180 °C / 360 F oven for 15 minutes, turning the carrots halfway through.
  3. Rinse 200 g / 2,25 cups of sprouts. Place them in a bowl and mix with a finely cut bunch of parsley. Add 70 g / 1 cup of toasted hazelnuts to the same bowl, followed by the roasted carrots.
  4. An easy dressing for this salad can be made with a zest of 1 orange or lemon, 1 tbsp of olive oil and 2 tsp runny honey.

The difference between beetroots’ sprouts and microgreens

Microgreens should not be mistaken for sprouts. The sprouting stage stops when the leaves of a baby plant appear. At this stage, you no longer consume the seed with the tiny stem. Instead, the stem and the baby leaves become your harvest.

Microgreens are further grown in soil. The taste of beet microgreens is also stronger compared to when seeds only start to germinate.

Use beetroot microgreens to top an avocado toast for a splash of colour. And to boost your vitamin and antioxidant intake.

Share

By

Summertime equals sorbet time

Posted on 3 min read

Summer, like no other season, calls for a fresh and fruity dessert. And luckily, there is so much to choose from.

Ice cream might be the first thought that comes to mind. Soft and creamy, offered in a fantastic variety of flavours.

One downside: it might be a little too high in fat content (14-25 %). However, there are so many other options, both delicious and with less danger to the waistline.

Italian gelato vs. sherbet vs. sorbet

Let’s start with Italian gelato, which has considerably less fat than ice cream (4-9 %). It also comes in a variety of flavours. But without cream, the choice is limited to fruity options.

A sherbet has just the tiniest amount of cream, less than gelato (1-2%).

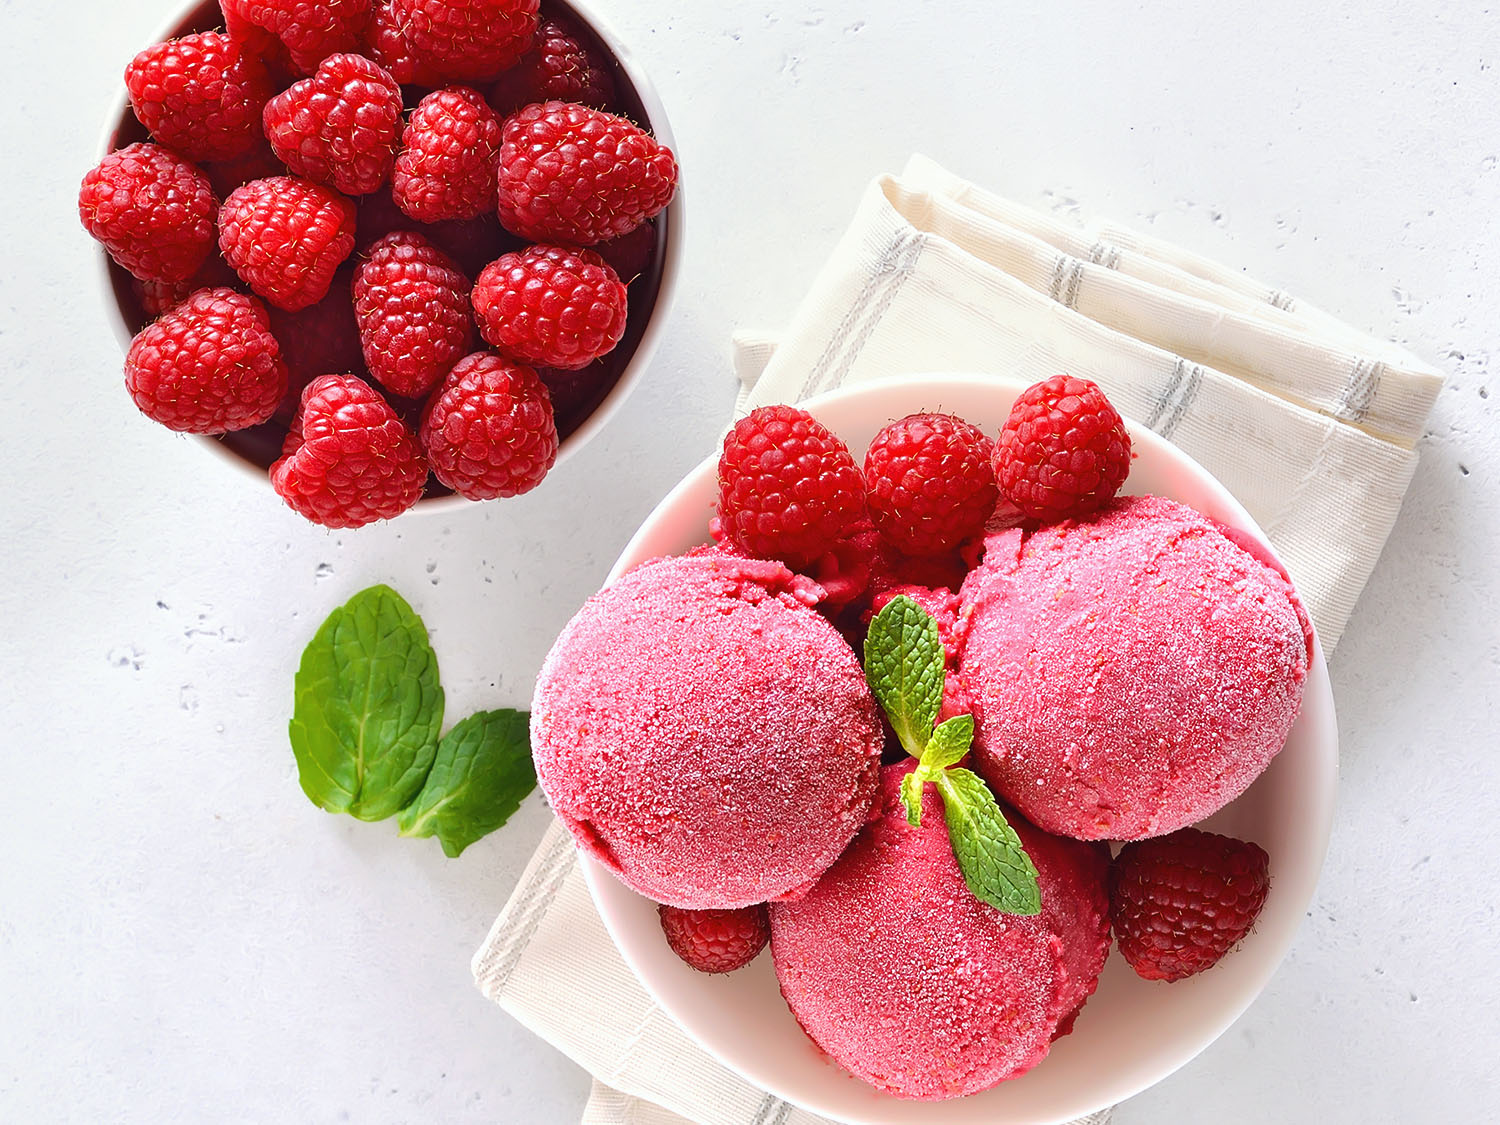
And a sorbet has no cream whatsoever. It is purely made of fruit purée, syrups and sometimes alcohol.

Sorbet is the ideal summer treat for vegans

Sorbet is a vegan-friendly option which will add minimal calorie count to your daily intake. But it will undoubtedly refresh and delight.

Sorbet is served at a temperature from -5 to -10 C/ 10-22 F. This allows the texture to be light and bursting with flavour.

Originally sorbets were served between courses to cleanse the palate. But today, it has successfully travelled into the category of desserts.

Sorbet – a quick prepared homemade delight

Sorbets are very easy to make at home. There is no need for special equipment.

You can make a sorbet with just a handful of ingredients. Choose from frozen fruit or fresh one. Even better if you have some overripe ones – they tend to give your sorbet more sweetness.

Get your hands on an easily-prepared sorbet

For an easy raspberry sorbet, you will need just 500 g / 2 ¾ cup of raspberries, 200 g / 1 cup of sugar and juice of 1 lemon.

Method:

  1. On medium heat, dissolve sugar in 270 ml / 1 cup of water. Cook until the liquid thickens and turns into syrup.
  2. In the meantime, blitz the raspberries and lemon juice in a food processor.
  3. Run the blitzed raspberries through a sieve, discarding the seeds.
  4. Once the sugar syrup cools down, mix it with the raspberry purée.
  5. Then transfer it to a container for freezing.
  6. Leave it in a freezer for 1,5 hours.
  7. Then remove and stir to break up the ice.
  8. Return to the freezer for another hour, then do it once more to stop forming ice. Repeat this step 2 more times or as long as it takes for the liquid to get the consistency for scooping.

Serve immediately either between courses or as a dessert.

How about an exquisite banana sorbet

Do you crave something more creamy and less zesty? Try a banana sorbet. The riper the banana, the better. If you have one or two almost black-skinned bananas awaiting their final fate,

  1. pill, cut in segments and freeze.
  2. Once ready to make the sorbet, take the frozen banana segments and place them in a high-power blender. Whizz until it becomes pale yellow and creamy.

It will get a perfect consistency, even if, at first, you might struggle to cut through the frozen fruit.

Sprinkle it with crushed nuts or grated chocolate and serve immediately.

Share

By