All Posts By Farmy

Wie man Kühlschrank und Backofen mit natürlichen Produkten reinigt

Posted on 2 min read

Die Küche ist ein Ort, der eine Menge Pflege braucht. Schliesslich kocht und isst man dort, teilt und geniesst das Essen. Gutes Essen zu kochen, ohne eine Sauerei zu machen, ist nicht einfach und die Reinigung der Arbeitsplatte ist nicht schwer. Die Reinigung des Inneren deines Kühlschranks oder Backofens ist also genauso wichtig, aber nicht unbedingt einfach! Im Kühlschrank lagerst du, was du aufbewahren willst, also solltest du das auch an einem sauberen Ort tun. Und im Backofen kochst du tausendundein Gericht mit verschiedenen Geschmacksrichtungen, also ist es wichtig, ihn zu reinigen. Und was wäre, wenn wir das auf natürliche Weise machen würden?

Die Reinigung der Küche mit natürlichen Produkten kann sich nicht nur positiv auf unseren Geldbeutel, sondern auch auf unsere Gesundheit auswirken. Unnatürliche Reinigungsmittel sind nicht nur nicht gut für den Planeten und für uns, sondern können auch unsere Raumluft verschmutzen. Einige Reinigungsmittel können sogar giftig sein, wenn sie nicht richtig ausgespült werden.

Reinigung des Kühlschranks

Entleere zunächst deinen Kühlschrank vollständig. Fülle eine Salatschüssel zur Hälfte mit weissem Essig und fülle sie mit lauwarmem Wasser auf. Reinige mit einem Schwamm alle Fächer deines Kühlschranks, beginnend mit der Oberseite. Vergiss die Fugen zwischen den Türen nicht! Wische mit einem sauberen, trockenen Tuch nach und voilà: Dein Kühlschrank ist so gut wie neu.

Um unangenehme Gerüche in deinem Kühlschrank zu vermeiden, solltest du deine Lebensmittel in luftdichten Gläsern oder versiegelten Tupperdosen aufbewahren. So halten sie sich besser und der Geruch wird nicht an den Kühlschrank abgegeben. Wenn es trotzdem noch riecht, schütte Backpulver in eine Tasse und stelle sie in den Kühlschrank. Das Backpulver absorbiert Gerüche. Den Inhalt der Tasse kannst du einmal im Monat austauschen. Du kannst auch eine halbe Zitrone in die Kühlschranktür legen, um sie zu erfrischen.

Psst: Hier gibt’s Inspiration, wie du deinen Kühlschrank organisiert einräumen kannst.

Reinigung des Backofens

Mische in einer Salatschüssel Natron mit Wasser, bis du eine Paste erhältst. Diese Mischung ist ein natürliches Entfettungsmittel. Trage sie auf alle fettigen Oberflächen deines Backofens auf und lasse sie über Nacht einwirken. Am nächsten Tag reibst du die Oberflächen mit einem Schwamm ab und spülst die Mischung ab. Garantierte Wirksamkeit!

Um eventuelle Gerüche in deinem Backofen zu entfernen, presse den Saft von 2 Zitronen in einem Topf aus. Stelle den Topf in deinen Backofen und heize das Gerät 30 Minuten lang bei 250 °C auf. Nach Ablauf dieser Zeit nimmst du die Pfanne heraus und reinigst die Seiten deines Ofens mit einem Tuch.

Das ist alles, was du brauchst, um zwei Schlüsselelemente deiner Küche perfekt sauber zu halten, ohne deine Gesundheit zu gefährden!

Share

By

Une levure vieille de plusieurs millions d’années

Posted on 3 min read

Tu as envie d’une pinte de bière brassée à l’aide d’une levure vieille de 45 millions d’années ? Dirige-toi vers la Californie, où tu peux acheter une bouteille de la Fossil Fuels Brewing Company.

Le microbiologiste Raul Cano est le fondateur de Fossil Fuels. Il a pu extraire la plus ancienne bactérie de levure connue de l’ambre pendant ses recherches au Myanmar en 1990. Et il l’a utilisée avec succès pour brasser une bière au goût distinct.

La levure – une bactérie fongique

La levure est une bactérie fongique connue des gens depuis des milliers d’années. Ces micro-organismes contiennent plusieurs propriétés bénéfiques, comme la vitamine B.

Diverses découvertes archéologiques prouvent l’utilisation de la bactérie dans les anciennes chambres à pain et sur le fond des poteries découvertes.

L’effet de la levure sur la production d’aliments et de boissons

Les levures fermentent les sucres en s’en nourrissant et en libérant du dioxyde de carbone. Ce gaz agit comme un agent levant et aide le pain à lever.

Dans la production d’alcool, les bactéries de levure débloquent les arômes cachés stockés dans le sucre.

Il existe plusieurs types différents de bactéries de levure qui affectent la saveur de manière unique.

Aujourd’hui, les industries de la boulangerie et de l’alcool s’appuient sur des levures prêtes à l’emploi produites commercialement.

Levure active vs. levure désactivée

La brasserie et la pâtisserie ont toutes deux besoin de levure active. Mais la levure désactivée a encore une certaine utilité. Cela se produit lorsque la chaleur tue les bactéries pendant la production.

Par exemple, pendant le brassage de la bière, les fabricants obtiennent un sous-produit appelé extrait de levure. Ce type est utilisé dans les condiments populaires comme le Marmite et le Vegemite.

Il est aussi considéré comme une précieuse source de protéines dans les régimes végétaliens. Ce type de levure désactivée est connu sous le nom de “levure nutritionnelle“.

Levure désactivée, alias levure nutritionnelle

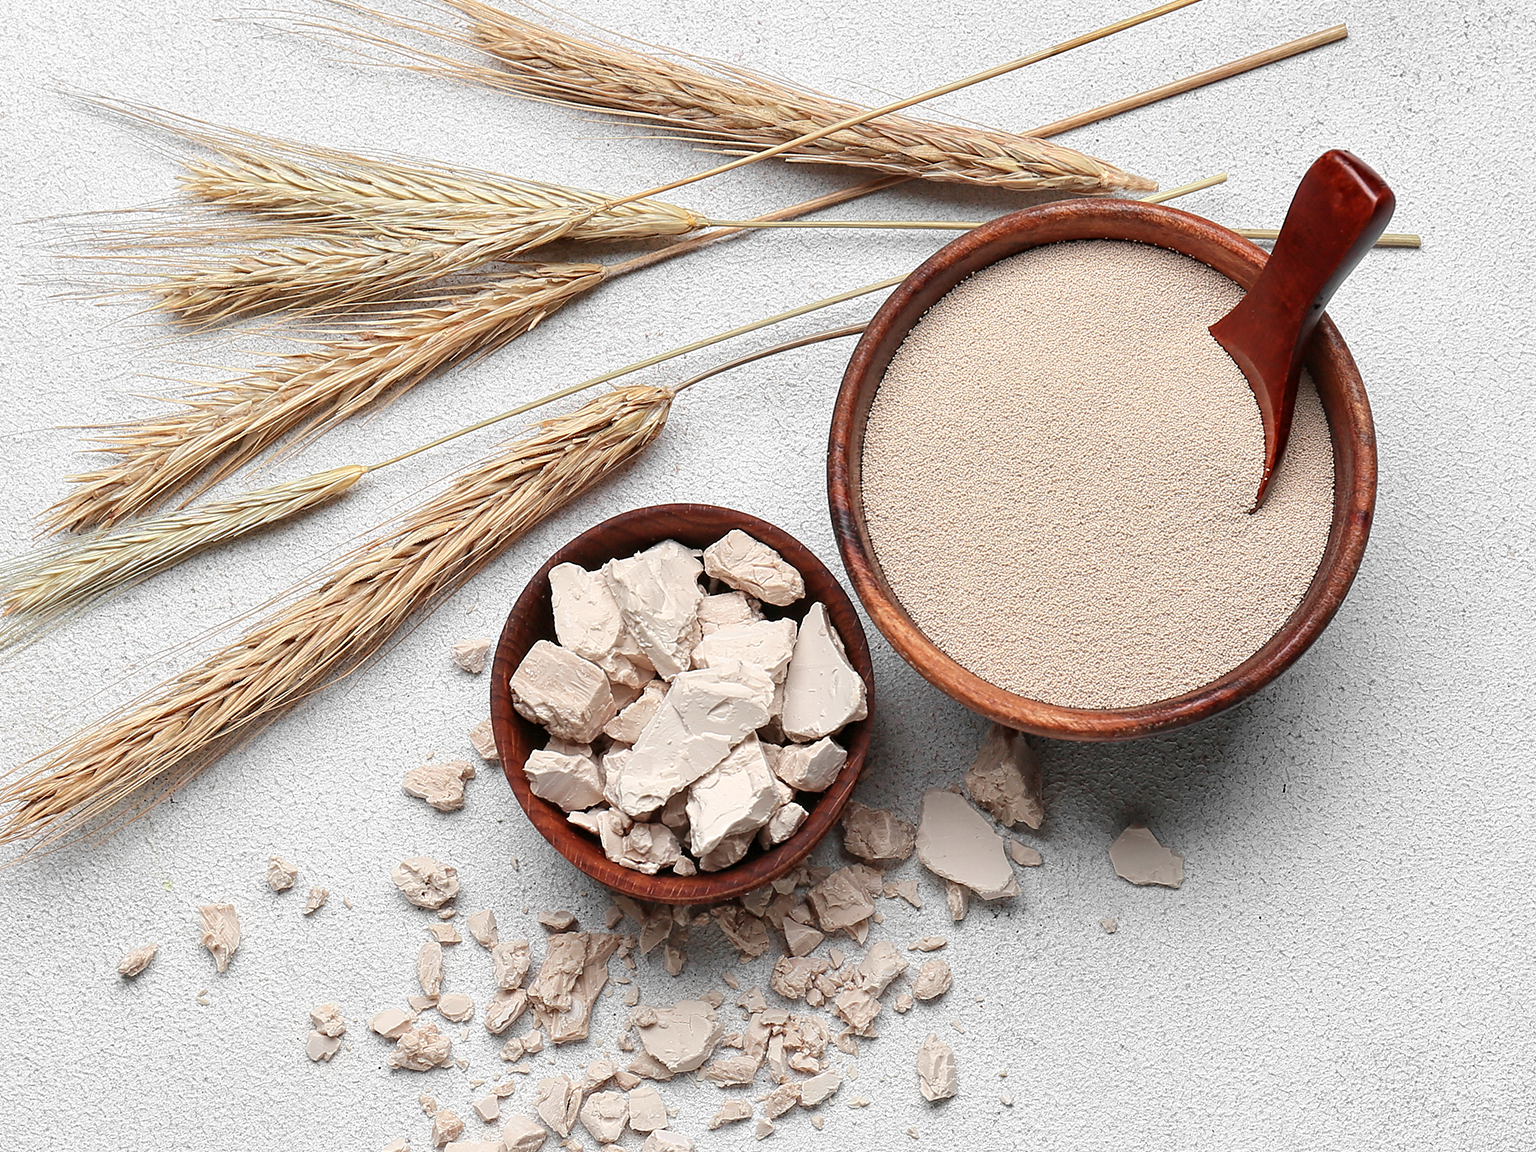
La levure nutritionnelle est vendue sous forme de flocons que l’on peut saupoudrer sur les aliments ou avec lesquels on peut cuisiner. Elle ne peut pas être utilisée pour faire lever le pain, car elle n’est plus active.

Mais les levures nutritionnelles apportent beaucoup de vitamines et une saveur unique : un croisement entre le fromage et les noix. Par conséquent, les levures nutritionnelles sont couramment utilisées pour remplacer le fromage dans les régimes végétaliens et sans produits laitiers.

Comment faire ton propre fromage végétalien

Suis cette recette facile pour faire du fromage végétalien à la fois filandreux et savoureux.

Ingrédients :

  • 250 ml lait de soja
  • 40 g fécule de tapioca
  • 2 c.à.s de levure nutritionnelle
  • 1 c.à.s d’huile d’olive
  • une pincée de sel
  • 120 g yaourt de soja non sucré
  • 1 c.à.s de jus de citron frais

Préparation :

  1. Mélanger le lait de soja, la fécule de tapioca, la levure nutritionnelle, l’huile d’olive et le sel dans une casserole.
  2. Bien fouetter tous les ingrédients pour éviter les grumeaux.
  3. Placer la casserole avec le mélange sur feu doux-moyen et fouetter jusqu’à ce que le mélange commence à épaissir.
  4. Retirer la casserole du four et continuer de fouetter.
  5. Ajouter le yogourt de soja non sucré et le jus de citron frais dans la casserole avec les levures.
  6. Incorporer doucement le yogourt dans le mélange de levures, puis fouetter vigoureusement jusqu’à ce que la consistance soit lisse et que des filaments de fromage se forment.

Utilise ton fromage végétalien fait maison sur des toasts, des pizzas et des pâtes.

Conserve-le au réfrigérateur jusqu’à 5 jours. Le fromage a tendance à durcir au réfrigérateur mais retrouve sa texture filandreuse une fois réchauffé.

Share

By

Million-year-old yeast

Posted on 3 min read

Fancy a pint of beer brewed with the help of 45-million-year-old yeast? Head to California, where you can buy a bottle from the Fossil Fuels Brewing Company.

The microbiologist Raul Cano is the founder of Fossil Fuels. He was able to extract the oldest-known yeast bacteria from amber during his research in Myanmar in 1990. And he has successfully used it to brew beer with a distinct flavour.

Yeast – a fungal bacteria

Yeast is a fungal bacteria known to people for thousands of years. These microorganisms contain several beneficial properties, like vitamin B.

Various archaeological finds prove the use of the bacteria in ancient bread chambers and on the bottoms of the discovered pottery.

The effect of yeast on food and beverage production

Yeast bacteria ferment sugars by feeding on them and releasing carbon dioxide. The gas acts as a leavening agent and helps the bread to rise.

In alcohol production, yeast bacteria unlock the hidden flavours stored in sugar.

There are several different types of yeast bacteria. Each kind affects the flavour of the brew in its own unique way.

Today, both baking and alcohol industries rely on commercially produced ready yeasts.

Active vs. deactivated yeast

Both brewing and baking require active yeast. But there is still some use in deactivated yeast. This happens when the heat kills the bacteria during production.

For example, during beer brewing, the manufacturers get a by-product called yeast extract. This type is used in the popular condiments of Marmite and Vegemite.

It’s also regarded as a valuable source of protein in vegan diets. This type of deactivated yeast is known as “nutritional yeast“.

Deactivated yeast, a.k.a. nutritional yeast

Nutritional yeast is sold as flakes that can be sprinkled on foods or cooked with. It can’t be used to leaven bread, as it’s no longer active.

But nutritional yeasts provide plenty of vitamins and unique flavour: a cross between cheese and nuts. Therefore, nutritional yeasts are commonly used as a replacement for cheese in vegan and dairy-free diets.

How to make your own vegan cheese

Follow this easy recipe to make vegan cheese that is both stringy and flavoursome.

Ingredients:

  • 250 ml / 1 cup of soy milk
  • 40 g / ¼ cup of tapioca starch
  • 2 tbsp of nutritional yeast
  • 1 tbsp of olive oil
  • a pinch of salt
  • 120 g / ½ cup of unsweetened soy yoghurt
  • 1 tbsp of fresh lemon juice

Preparation:

  1. Mix the soy milk, tapioca starch, nutritional yeast, olive oil and salt in a pan.
  2. Whisk all the ingredients well to avoid lumps.
  3. Place the pan with the mix on low-medium heat and whisk until the mixture starts to thicken.
  4. Remove the pan from the oven and continue whisking.
  5. Add theunsweetened soy yoghurt and fresh lemon juice to the pan with yeasts.
  6. Gently incorporate the yoghurt into the yeast mix and then whisk vigorously until the consistency is smooth and cheesy strings form.

Use your homemade vegan cheese on toast, pizza and pasta.

Keep refrigerated for up to 5 days. The cheese tends to harden in the fridge but returns to its stringy texture once warmed up.

Share

By

Tea – the world’s second most consumed beverage

Posted on 2 min read

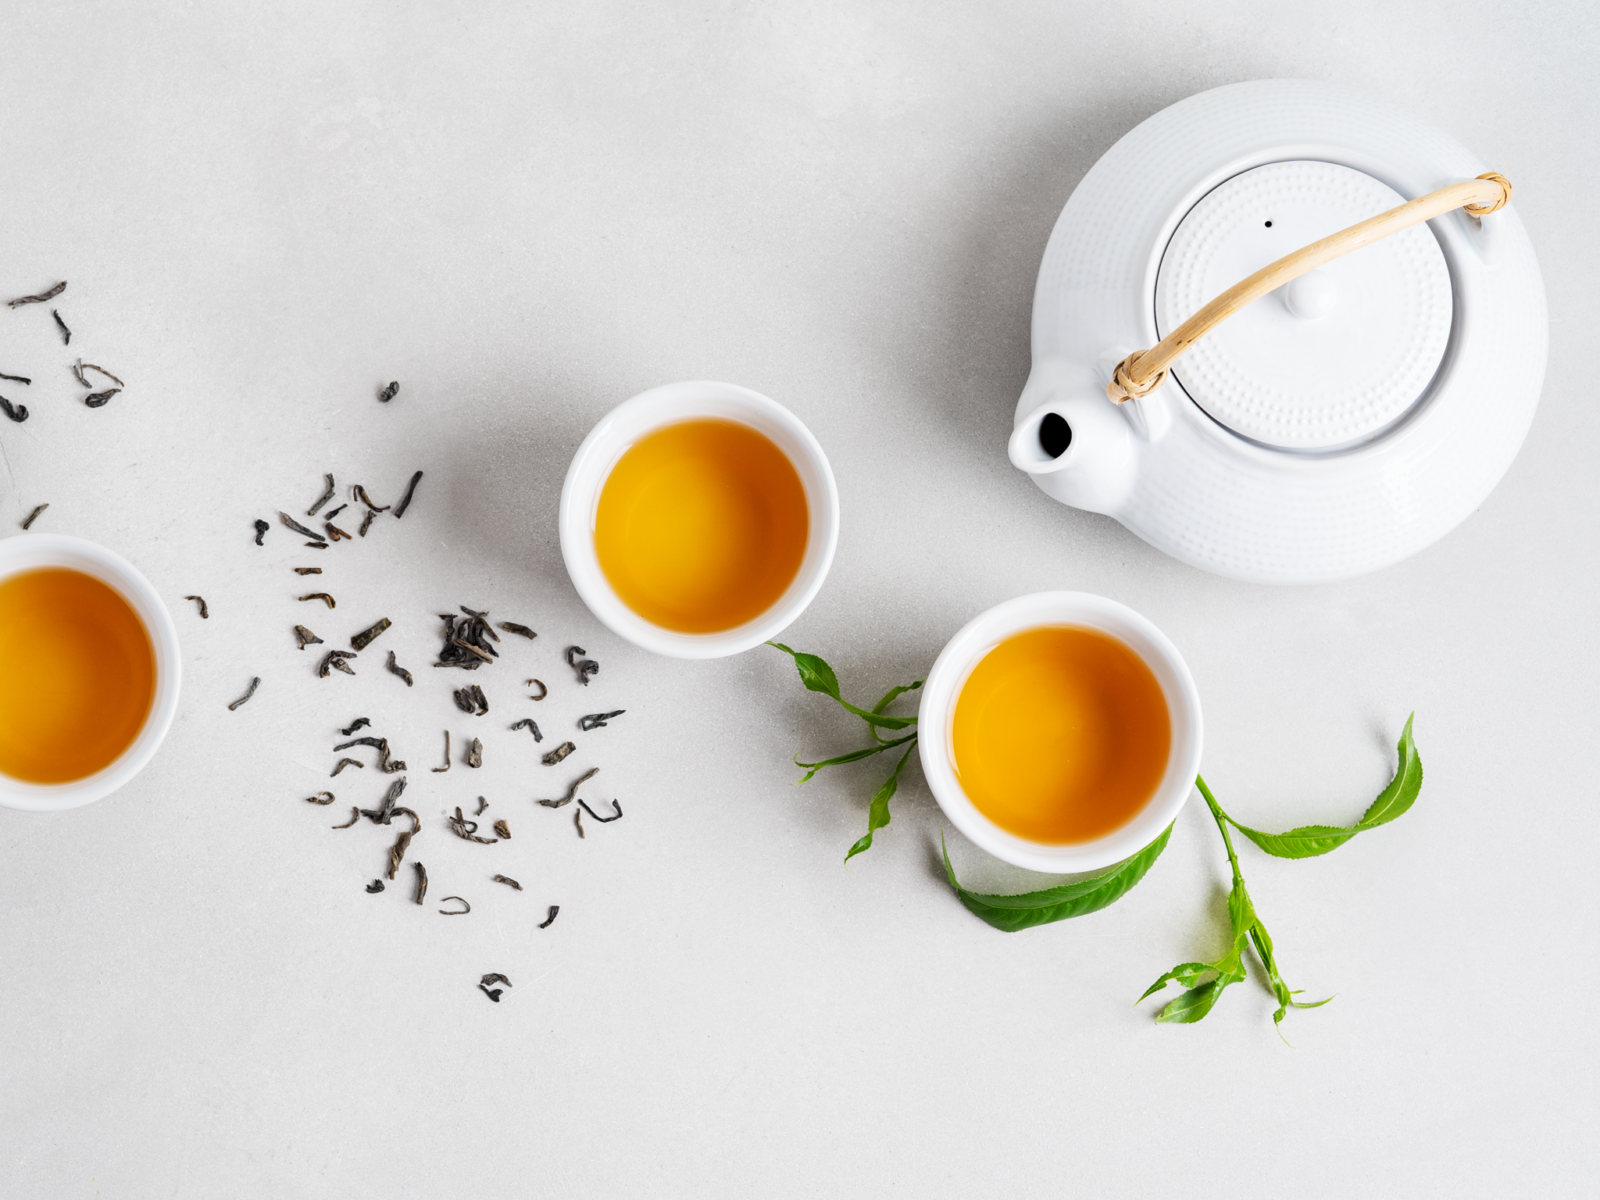
It’s hard to imagine all the types, variants and styles of tea drinking. They all originated through our learning of how to prepare a single plant, Camellia Sinensis. Tea can be white, yellow, green, oolong, black, or dark (aka post-fermented). It is brewed in myriads of variations with nearly endless flavourings. This drink is universally important to human culture. Tea made it number two in nomination “the most consumed drink in the world”, after water.

A short history of tea

The drink was popularized as a recreational beverage during the Chinese Tang dynasty. It ruled from the beginning of the 7th to the beginning of the 10th century. Tea drinking culture gradually spread to other Asian countries.

In Europe, it appeared during the 16th century. This was thanks to the Portuguese priests and merchants who had trade relationships with the Asian region. With time tea became a fashion in Britain. The country successively started planting Camellia sinensis on a large scale.

Different words for tea

The identification of the drink from that plant has different words in English: cha, tea and chai. Basically, the etymology of these words simply reflects the history of the appearance of tea in Europe.

The earliest was ‘cha’ that came in the 16th with the Portuguese. That is a Cantonese pronunciation. Then in the 17th century via the Dutch came ‘tea’. They picked up the Malay word ‘teh’. Then appeared the third form ‘chai’, originated in China. But eventually, it entered English via Hindu in the 20th century.

Prepare your own spiced tea

Nowadays, the word ‘chai’ is usually used in the meaning of spiced tea. And that is exactly what we are going to tell you about.

Ever heard of masala tea? Well, now you know why everybody calls it masala chai. But you also have to know how beautifully sweet and spicy this beverage tastes. Eight ingredients in one pot and the creamy, warming, spiced tea is ready.

Get 1 cinnamon stick, 6-8 cardamom pods, 3-4 cloves and 1 tsp of whole black peppercorns. Crush everything in a mortar or with a heavy pan. Don’t pulverize only slightly crush the spices.

Next, throw the crushed spices into a saucepan. Add 1 tbsp of grated ginger, 600 ml / 2 ½ cups of water. Bring everything to a boil and keep it simmering for 15 minutes.

Then add 3 tbsp of loosely packed tea leaves or 3-4 black tea bags. Additionally, add 500 ml / 2 cups of milk. (Or use milk alternatives if you please). Adjust the heat to low and let it simmer for 5 minutes. Then turn the heat off, allow to steep for another 5 minutes.

Finally, add the sweetener of your choice: sugar, stevia, syrup, you name it. Strain before serving and enjoy.

Share

By

Tea tree oil – a native remedy from ‘Down Under’

Posted on 3 min read

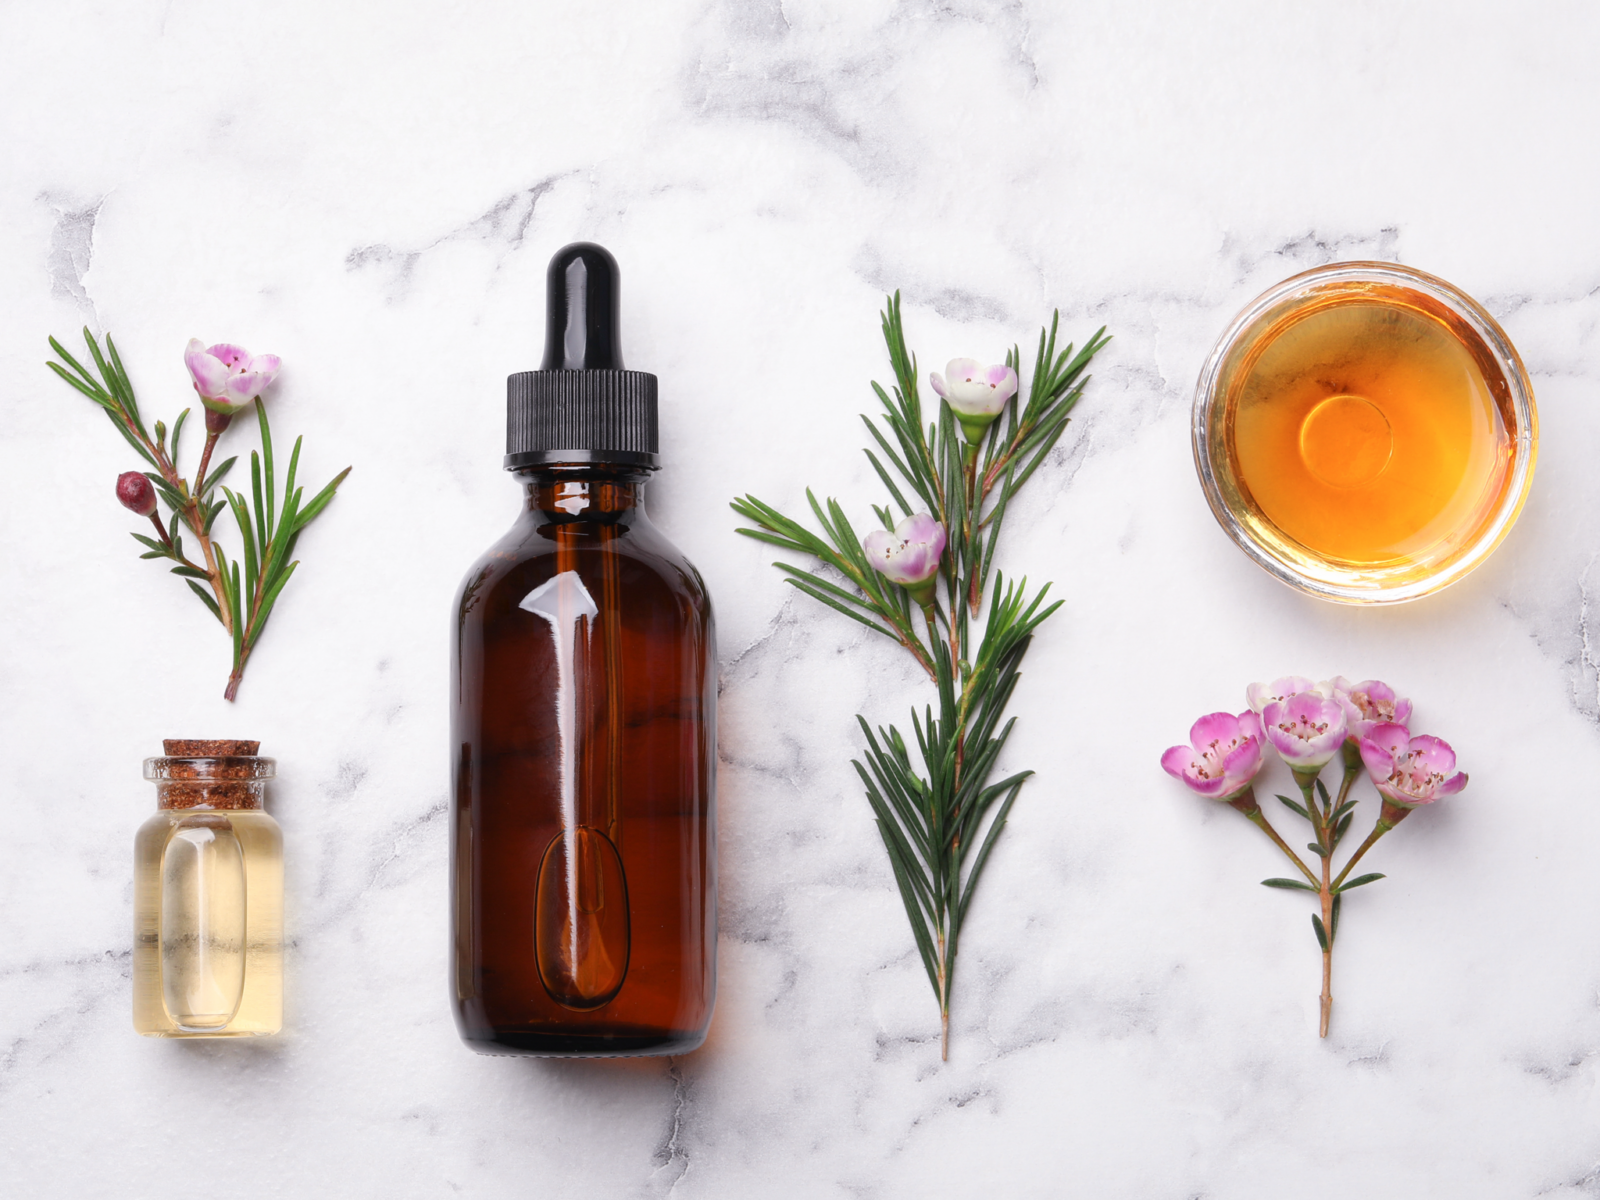
Tea tree oil is an essential oil originating from Australia. It comes from the leaves of the Melaleuca tree, native to New South Wales and Queensland. 

Captain James Cook called the Melaleuca shrub “tea tree”. He brewed a refreshing and spicy drink from its leaves after reaching the shores of Australia on his journey around the world.

Tea tree oil and its healing powers

It was not until 1920 that tea tree was getting attention again. Doctor Arthur Penfold, a chemist from Sydney, proved that tea tree oil has anti-inflammatory properties. It can be used in treating fungal and bacterial infections.

Tea tree oil production got commercialised, spreading to New Zealand, and later to Asia.

Today tea tree oil has become a standard item people not only use for medical purposes. It is as well a cleaning agent and deterrent for household pests. Otherwise, if ingested, tea tree oil is a toxic substance. It can cause severe nausea and even coma.

Also, there is a lack of scientific evidence to prove that tea tree oil is indeed a cure for fungal infections, herpes, dandruff, burns and other minor health problems. Despite this, the production and export of tea tree oil increases every year, while many swear by its magical powers.

Tea tree oil helps with skin problems

Tea tree oil is a popular ingredient in cosmetics, marketed as a healing component. For example, it can soothe dry skin by addressing itching and irritation issues. Simply add a few drops of the oil into a moisturiser and massage it into your face.

Tea tree oil is also good at tackling oily skin problems, reducing the size of the pores. It reduces inflammation and helps with acne.

Adding tea tree oil into shampoo moreover helps prevent the build-up of the product in the hair.

It is advised to always mix tea tree oil with either a carrier oil or other products before applying. Otherwise, the components can irritate sensitive skin.

Prepare your own aromatherapy essence with tea tree oil

Thanks to the fresh and calming aroma of tea tree oil, it’s a popular choice when it comes to aromatherapy sessions. Using tea tree oil in an air-diffuser will not only boost your mood. Thanks to its antibacterial properties, it can remove viruses, bacteria and mould from the environment.

In a small bottle, mix 4 drops of tea tree Oil with 4 Drops of Lemon Essential Oil, 4 Drops of Peppermint Essential Oil and 4 drops of Eucalyptus Essential Oil.

Warm the bottle in the palms of your hands by rolling it, allowing the oils to blend. Add a few drops of the mix into your diffuser and enjoy the bliss.

Tea tree oil as a natural flu remedy

Tea tree oil can also help to battle common colds and flu.

Simply mix 4 drops of tea tree oil with 4 drops of tea tree oil of Eucalyptus oil and a tablespoon of Vicks Vapor Rub.

Boil water, let it cool and add the mix to it. Inhale the vapours through your nose and exhale through your mouth. Cover yourself with a towel to increase the effect and keep the healing steam longer. Keep your eyes shut as the vapours can irritate them.

Share

By

Le thé – la deuxième boisson la plus consommée au monde

Posted on 3 min read

Il est difficile d’imaginer toutes les manières, variantes et styles de boire du thé. Ils sont tous nés de l’appropriation de la préparation d’une seule plante, Camellia sinensis. Le thé peut être blanc, jaune, vert, oolong, noir ou foncé (également connu sous le nom de post-fermenté). Il est brassé dans d’innombrables variations aux arômes presque infinis. Cette boisson est d’une importance universelle pour la culture humaine. Après l’eau, le thé s’est hissé à la deuxième place de la nomination de la “boisson la plus consommée au monde”.

Brève histoire du thé

Le thé est devenu une boisson culte populaire sous la dynastie chinoise des Tang. L’empire régnait du début du 7e au début du 10e siècle. La culture du thé s’est progressivement répandue de la Chine vers d’autres pays asiatiques.

En Europe, le thé s’est fait connaître au 16e siècle. C’est grâce aux prêtres et aux commerçants portugais. Ceux-ci entretenaient des relations commerciales avec l’Asie. Au fil du temps, le thé est devenu une boisson à la mode en Grande-Bretagne. Le pays s’est lancé successivement dans la plantation à grande échelle de Camellia sinensis.

Autres appellations du thé

La désignation de la boisson issue de cette plante a plusieurs mots en anglais : cha, tea et chai. En fait, l’étymologie de ces mots reflète simplement l’histoire de l’apparition du thé en Europe.

Le premier nom était “cha” et est arrivé au 16e siècle avec les Portugais. Il s’agissait d’un mot cantonais. Au 17e siècle, le mot “tea” a été utilisé par les Hollandais. Ce mot était dérivé du malais “teh”. Puis est apparue la troisième forme, “chai”, qui trouve son origine en Chine. Mais finalement, ce mot est arrivé en anglais au 20e siècle via l’hindou.

Préparer son propre thé aux épices

De nos jours, le mot “chai” est généralement utilisé pour désigner le thé aux épices. Et c’est précisément de cela dont nous allons te parler.

As-tu déjà entendu parler du thé masala ? Eh bien, tu sais maintenant pourquoi cette boisson est appelée masala-chai. Mais tu dois aussi savoir à quel point cette boisson est délicieusement sucrée et épicée. Huit ingrédients dans une théière et voilà un thé crémeux, réchauffant et épicé.

Prends 1 bâton de cannelle, 6-8 capsules de cardamome, 3-4 clous de girofle et 1 c.à.c de grains de poivre noir entiers. Broie le tout dans un mortier ou avec une poêle lourde. Ne pulvérise pas les épices, mais écrase-les légèrement.

Ensuite, mets les épices broyées dans une casserole. Ajoute 1 c.à.s de gingembre râpé, 600 ml / 2 ½ tasses d’eau. Porte le tout à ébullition et laisse mijoter pendant 15 minutes.

Ajoute ensuite 3 c.à.s de feuilles de thé en vrac ou alors 3-4 sachets de thé noir. Ajoute également 500 ml / 2 tasses de lait. Ou utilise des alternatives au lait si tu préfères. Réduis ensuite le feu et laisse mijoter pendant 5 minutes. Eteins la plaque de cuisson et laisse reposer 5 minutes supplémentaires.

Ajoute enfin l’édulcorant de ton choix : sucre, stévia, sirop, c’est toi qui choisis. Filtre avant de servir et déguster.

Share

By