All Posts By Farmy

Schüfeli – ein einzigartiger Leckerbissen aus Süddeutschland

Posted on 3 min read

Schüfeli ist eine regionale Delikatesse aus dem Süden Deutschlands. Im Wesentlichen handelt es sich um einen speziellen Schnitt aus dem Schulterblatt eines Schweins, der mit Gemüse und Alkohol gekocht wird.

Der Name Schüfeli bedeutet wörtlich übersetzt kleine Schaufel und ist auch als Schäuferl, Schäufele, Schäuferl oder Schäfelchen bekannt.

Zwei ausgezeichnete Methoden, um weiches, saftiges Schüfeli zuzubereiten

So wie der Name des Gerichts von Region zu Region unterschiedlich ist, unterscheiden sich auch die Rezepte.

Im fränkischen Raum etwa kocht man das Schäufele vor, indem man die Fettschwarte des Fleisches kreuz und quer einschneidet, es dann mit Gewürzen einreibt und dann mit Gemüse und Bier in einen Schmortopf gibt. Dieses Gericht muss einige Stunden im Ofen gegart werden.

Beim badischen Schäufele hingegen wird das Fleisch zunächst gepökelt und geräuchert und dann in einer Brühe aus Kräutern und Wein gegart.

Bei beiden Methoden entsteht weiches und aromatisches Fleisch, das vom Knochen fällt. Schüfeli ist ein beliebtes Weihnachtsessen in Deutschland und Teilen der Schweiz, beruhigend und sättigend, aber auch festlich und authentisch.

Wenn du dieses Schweineschultergericht zu Hause ausprobieren möchtest, besteht deine Hauptaufgabe darin, das richtige Stück zu finden. Daher könnte ein Besuch beim Metzger angebracht sein.

Lass uns ein traditionelles Schäufele à la Frankenland kochen

Sobald du das richtige Fleischstück gefunden hast, probiere dieses Rezept für Fränkisches Schäufele und bereite deine eigene Version des berühmten Gerichts mit einer perfekt knusprigen Oberfläche zu.

Zutaten:

  • 1 Schulterblattstück (ca. 1 kg)
  • 2 mittelgrosse Zwiebeln
  • 2-3 Knoblauchzehen
  • 1 Selleriestange
  • 1 Karotte
  • 1 TL Kümmel
  • Meersalz
  • schwarzer Pfeffer
  • Hühnerbrühe
  • dunkles Bier
  • 1 TL Honig

Zubereitung:

  1. Heize den Backofen auf 160 °C vor.
  2. In der Zwischenzeit das Fleisch waschen und trockentupfen.
  3. Schneide die Schwarte kreuz und quer ein und achte darauf, dass das Messer nicht bis zum Fleisch oder Knochen durchdringt.
  4. Zwiebeln, Knoblauchzehen, Sellerie und Karotte grob schneiden und dann beiseitestellen.
  5. Zerstosse den Kümmel in einem Mörser und vermische ihn mit Meersalz und schwarzem Pfeffer.
  6. Reib die Fettschicht des Fleisches nur mit Salz ein, um die Krustenbildung zu unterstützen. Dann das Unterteil und die Seiten des Fleisches mit der Kümmel-Gewürzmischung einreiben.
  7. Lege das Fleisch mit der Schwarte nach oben in einen Schmortopf, gefolgt vom Gemüse. Gib auch etwas Hühnerbrühe hinzu, aber nicht mehr als etwa 2 cm der Form. Anschliessend für etwa 2-3 Stunden in den vorgeheizten Ofen stellen. Begiesse das Fleisch während des Garens mehrmals, damit es nicht anbrennt.
  8. Wenn das Fleisch fast gar ist, nimm es aus dem Ofen und erhöhe die Hitze auf 230 °C. Misch 250 ml / 1 Tasse Bier mit Honig und giess es über das Fleisch und das Gemüse. Dann stell den Topf für weitere 10–15 Minuten in den Ofen.
  9. Das Fleisch sollte sich vom Knochen lösen können. Leg es vorsichtig auf einen Servierteller und lass den Saft durch ein Sieb in einen Topf abtropfen.
  10. 10. Koch den Saft, um das Flüssigkeitsvolumen zu reduzieren, bevor du ihn als Sauce verwendest. Das Schäufele mit Kartoffelpüree und Sauerkraut servieren.

Share

By

Vanilla – exquisite as an orchid

Posted on 3 min read

Vanilla is a plant from the family of orchids, known for its fragrant pods, also called vanilla beans.

It is hard to imagine that vanilla, a flavour so familiar in the baking industry today, would become so popular despite a highly complex pollination process. The mere survival of the plant continued beyond all odds.

The problematic process of vanilla flower pollination

Vanilla flowers are only active for 24 hours and require particular bees or hummingbirds to help them pollinate. And these natural pollinators exist only in limited geographical areas. So it is the manual pollination that people rely on in producing this wonderfully scented spice.

The manual pollination method was invented by a 12-year-old slave boy named Edmond Albius from Reunion Island in the Indian Ocean. Albius helped not only his master but the whole island to prosper by producing vanilla.

Until today, the island is a leader in the production of vanilla, the second most expensive spice after saffron.

Real vanilla and its substitute vanillin

However, what most of us find on shelves in local grocery stores quite often has nothing to do with natural vanilla. Since the product is scarce and pricey, real vanilla is substituted by vanillin, which is made of petrochemicals and wood pulp.

Vanillin is not a bad product just because it is synthesised. It comes at a fraction of the price and adds a vanilla-like scent to baked goods.

It is also true, however, that the real vanilla scent is much more complex compared to the synthesised version.

The three forms of natural vanilla

Hence, if vanilla is an ingredient you choose to feature prominently, like in custard creams, panna cottas and tarts, you should try using real vanilla. Natural vanilla comes in 3 forms: beans, extract and paste.

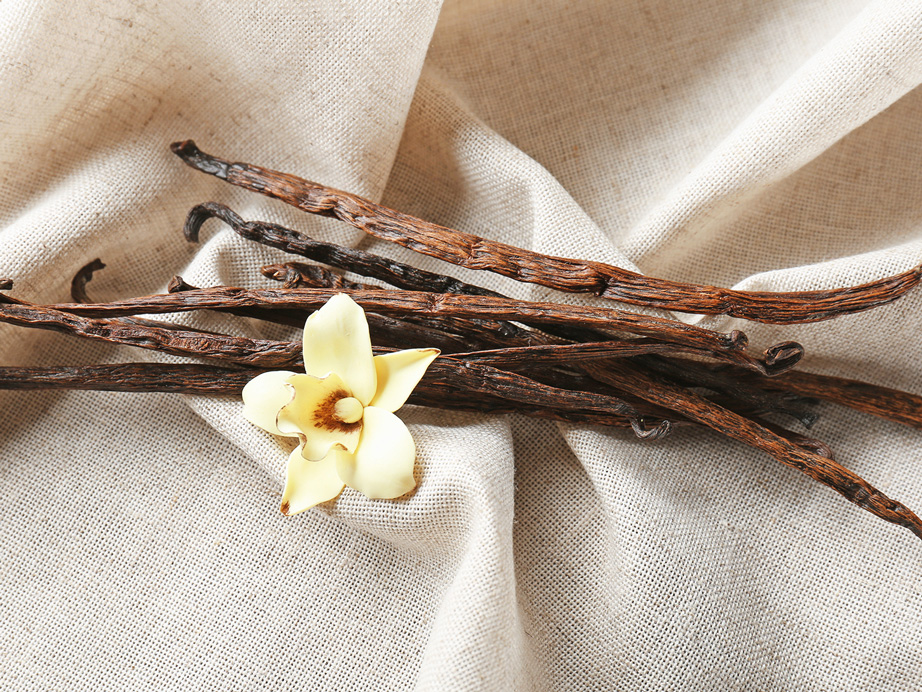
  • Beans are elongated brown tubes which contain vanilla seeds. Initially green when picked up, the tubes are left to cure for nine months before reaching consumers.
  • Vanilla extract is an alcoholic liquid infused with the vanilla scent from vanilla pods.
  • Vanilla paste consists of vanilla seeds, sugar and some thickening agent.

If you come across vanilla pods, get some to make your own vanilla extract for home baking. This way, you can regulate the intensity of the flavour instead of buying pricey yet weak extracts from shops.

Prepare your own exquisite vanilla extract

To make 250 ml / 1 cup of vanilla extract, choose 5-6 plump vanilla beans.

  1. With a sharp knife, slit the pods to reveal the seeds.
  2. Place the slit pods into a sealable bottle and cover them with 250 g / 1 cup of 80 % vodka. You can use other alcohols like bourbon and rum, as long as they are not artificially flavoured.
  3. Close the bottle lid and place it in a cool, dry place for a minimum of eight weeks or as long as you can wait. The longer the alcohol can work on the vanilla pods, the darker and richer the flavour will become. Ideally, give it six months to a year before use.

And remember: a little goes a long way when it comes to vanilla. Just a teaspoon will give your baking and custard creams that wonderful aroma that no synthetically produced one can.

Share

By

Gingerbread – the ultimate taste of Christmas

Posted on 4 min read

As the festive season is almost upon us, it is hard to imagine a confection more celebrated than gingerbread. The monk Gregory of Nicopolis from today’s Western Greece brought this treat to Europe in 992 AD. It was a kind of sweet cake, and it contained spices and honey.

Fairy tales and modern animations are dedicated to gingerbread

No Christmas is complete without a gingerbread man or house, the absolute favourites of all children.

Prominently featured in one of the most successful enterprises of DreamWorks Animation, “Shrek”, a gingerbread man named Gingy has indeed won our hearts. And it undoubtedly contributed to the rise in revenue for bakeries worldwide.  

A few centuries earlier, the brothers Grimm wrote the “Hansel and Gretel” fairy tale which drew attention to the gingerbread house. It became a popular and sought-after item, promising hours of fun and festivity. For many children and grownups, assembling gingerbread houses for Christmas became a favourite tradition.

Some of the extraordinary variations of gingerbread

But the world of gingerbread does not end with just the gingerbread man and gingerbread house. While the dough for the biscuits is traditionally made with spice, sugar and breadcrumbs, many chefs have experimented with adding items like flour, honey and eggs. The result is a softer version of gingerbread.

In the US, for example, gingerbread reminds of a treacle cake and can sometimes be served warm with a scoop of ice cream. But German lebkuchen and Russian pryanik have a unique crumbly texture covered in glaze.

Gingerbread can be made with just a handful of ingredients, yet many would go to a length decorating their creations. Even as gingerbread has been known to Europeans since the 10th century, baking and decorating it has evolved over time.

It was Queen Elizabeth I who presented her friends and visiting nobility with intricately decorated gingerbread men. Across Western and Eastern Europe, gingerbread was put into specially crafted moulds, which allowed the final product to resemble a postcard.

Want to craft your very own unique gingerbread goodies?

In the 17th century, masters from Tula, Russia, crafted pryaniks of a particular distinction. Filled with jam and glazed with sugar, the pryaniks looked like postcards. If you can get hold of wooden moulds, try this easy gingerbread recipe. Even without the moulds, the result is delicious and tastes like Christmas itself.

Ingredients:

  • 300 g / 2 ½ cups rye flour
  • 300 g / 2 ½ cups all-purpose white flour
  • 1 tsp baking powder
  • 1 tsp ground nutmeg
  • 1 tsp ground coriander
  • 1 tsp ground cinnamon
  • 1 tsp ground clove
  • 100 g / ½ cup of butter
  • 400 g / 1 ¼ cup buckwheat honey
  • 1 egg
  • cooking oil
  • jam
  • 150 g / ¾ cup sugar

Preparation:

  1. In a bowl, sift the rye flour and all-purpose white flour. Add the baking powder, ground nutmeg, coriander, cinnamon and clove. Mix these ingredients well.
  2. Melt the butter and buckwheat honey in a thick-walled pan over low-medium heat. Once the mix is homogeneous, which should take about 5 minutes, remove it from the stove and let it cool.
  3. Break the egg into the flour and spice mixture and rub it in. Pour the honey and butter mixture into the dry ingredients and mix the dough until it becomes playable, resembling playdough in consistency. Wrap it in a cling film and set aside for 30 minutes.
  4. Preheat the oven to 200 °C / 392 °F.
  5. Oil the moulds if using them.
  6. Take some gingerbread dough and start filling the moulds to half their depth. Then spread a layer of jam or dulce de leche over the dough in the moulds. Cover the spread with more dough, filling the mould to the brim. Use a rolling pin to even out the dough. Carefully remove the gingerbread from the moulds and place it on an oiled and lined baking tray. (If you are not using moulds, roll your dough to a 7 mm / 0.3 thick layer to fit into an oiled and lined baking tin. Spread dulce de leche or jam over the dough and cover it with another layer of dough, rolled to the same thickness. You can cut the big gingerbread slab into pieces later.)
  7. Bake for 10-15 minutes. Remove the gingerbread from the oven and let it cool completely.
  8. In the meantime, prepare the glaze by dissolving the sugar in 50 g / ¼ cup of water over medium heat for 5 minutes. It works as a preservative, allowing the gingerbread to stay fresh for longer.
  9. Once ready, let the glaze cool for 5 minutes and brush the gingerbread with it on both sides. Allow the glaze to set by leaving the gingerbread to dry on a wire rack.

Gingerbread can then be stored in a cool, dry place for up to 3 months.

Share

By

Bratensauce – unverzichtbar für Fleischliebhaber

Posted on 3 min read

Wenn du zu den Menschen gehörst, die das Weihnachtsessen akribisch planen, wirst du die Bedeutung der Bratensauce wohl nie unterschätzen. Selbst der saftigste Truthahn und die knusprigsten Ofenkartoffeln werden eine schmackhafte Sauce vermissen, die man grosszügig über das dampfende Essen giesst.

Bratensauce ist nichts Modernes

Die Bratensauce war unseren Vorfahren mindestens seit dem 14. Jahrhundert bekannt, die erstmals im berühmten englischen Kochbuch der damaligen Zeit “The Forme of Cury” erschien.

Zweifellos gab es schon vor diesem Buch Saucenvariationen. Fleisch und Geflügel enthielten Fette und Aromen, die von unseren einfallsreichen Vorfahren sicherlich als Beilage zu den Gerichten verwendet wurden.

Heutzutage sind solche Bratenfette zumindest in den klassischen Rezepten bei der Zubereitung von Bratensauce unverzichtbar.

Es gibt so viele Bratsaucenvariationen wie Nationen

Als sich die Welt weiterentwickelte, erschienen die verschiedensten Bratsaucenvariationen. Und es werden neue Zutaten hinzugefügt oder einige alte entfernt, um dem Geschmack der lokalen Bevölkerung gerecht zu werden.

Beispielsweise kann das, was im Westen Bratensauce genannt wird, anders aussehen und schmecken, als es die Bevölkerung aus dem Osten gewohnt ist. So kann die Bratensauce je nach Zutaten und Gardauer hell oder goldbraun sein. Und in Indien gehören einige Currys ebenfalls zu dieser Kategorie.

Die Zubereitung deiner eigenen Bratensauce ist keineswegs kompliziert

Heutzutage kann Bratensauce in konzentrierter Form problemlos in örtlichen Lebensmittelgeschäften gekauft werden. Dies spart dir bei der Zubereitung Zeit und Mühe. Wenn du jedoch einen Braten zubereitest, dauert das Anrühren der Bratensauce bei dir zu Hause nur wenige Minuten.

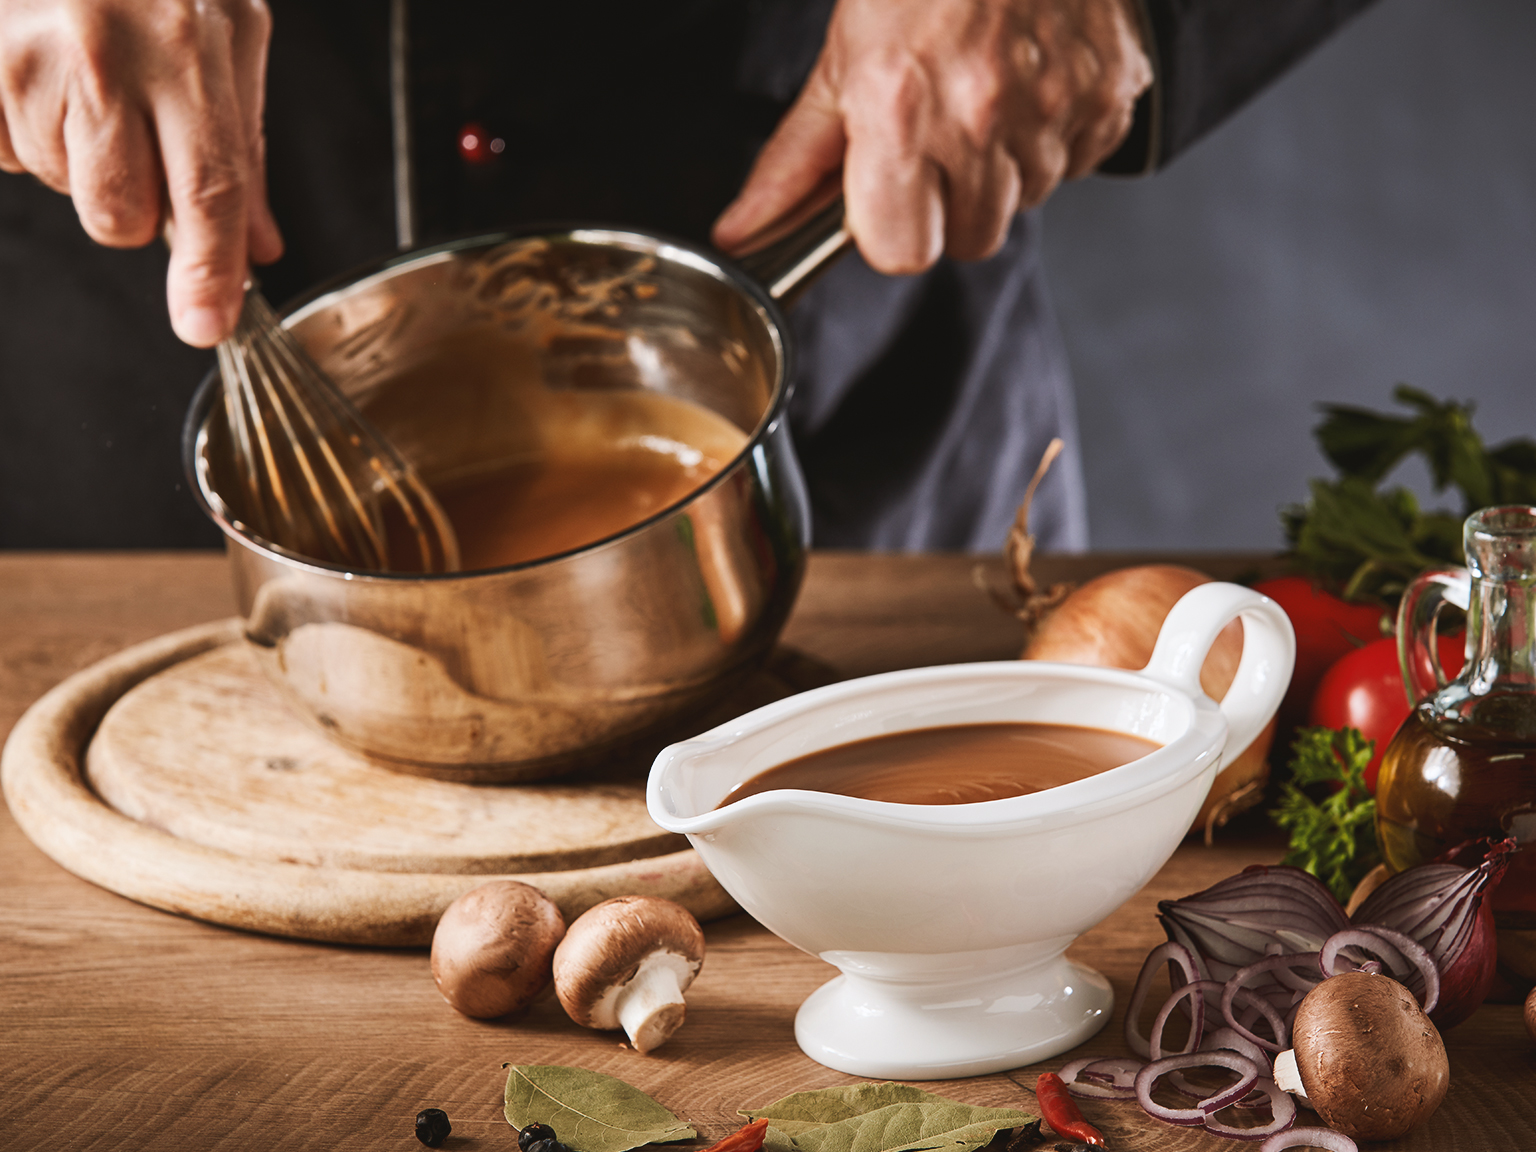
In der modernen Interpretation von Bratensauce kommen Verdickungsmittel wie Weizenmehl oder Maisstärke ins Spiel. Die Fettteile werden nach dem Braten von Fleisch oder Geflügel zurückbehalten oder einfach durch Butter ersetzt und bei Hitze mit Mehl in einem Topf vermischt. Diese Mischung ist auch als Roux (Mehlschwitze) bekannt. Anschliessend werden nach und nach Flüssigkeiten (Röstsäfte, Brühen oder Milch) in die Roux eingerührt, um die gewünschte Konsistenz der Bratensauce zu bekommen.

Manchmal werden Gewürze wie Worcestershire-Sauce, Essig oder Wein verwendet, um die Mehlschwitze abzulöschen. Manche fügen der Bratensauce vor dem Servieren kleine Fleischstücke hinzu, wie zum Beispiel bei einem “Bratensauce und Plätzchen”-Gericht, das in den Südstaaten der USA beliebt ist.

Exquisit amerikanisch: “Biscuits & Gravy”

Zutaten:

  • 6 Speckstreifen
  • 1 Packung Schweinswürste
  • 1 fein geschnittene Zwiebel
  • 1 Knoblauchzehe
  • 3 EL Butter
  • 3 EL Mehl
  • 700 ml / 3 Tassen Milch

Zubereitung:

  1. Die Speckstreifen in einer Pfanne anbraten. Danach herausnehmen und den Bratensaft in der Pfanne lassen.
  2. Die Schweinswürste in die Pfanne mit dem Specksaft, Zwiebeln und Knoblauch geben. Die Würstchen anbraten und dann aus der Pfanne nehmen.
  3. Die Butter in der Pfanne mit dem Fett, Zwiebel und Knoblauch schmelzen. Mehl hinzufügen und die Mehlschwitze verrühren, bis alles gut vermischt ist.
  4. Gib die zimmerwarme Milch nach und nach in die Pfanne mit der Mehlschwitze. Gut umrühren, um ein Verklumpen des Mehls zu verhindern, bis die gewünschte Konsistenz erreicht ist.
  5. Schneide oder zerbrösle den gebratenen Speck und gib ihn wieder in die Bratensauce. Dann zusammen mit den Würsten über die traditionellen US-amerikanischen Morgenplätzchen geben.

Share

By

Schäufele – une friandise unique du sud de l’Allemagne

Posted on 3 min read

Le Schäufele est une spécialité régionale du sud de l’Allemagne. Il s’agit essentiellement d’une découpe spécifique de l’omoplate d’un porc, cuisinée avec des légumes et de l’alcool.

Le nom schäufele se traduit littéralement par petite pelle et peut parfois être orthographié schäuferl, schüfeli, schäuferl ou schäfelchen.

Deux méthodes étonnantes pour préparer des Schäufele moelleux et juteux

Tout comme le nom du plat varie d’une région à l’autre, les recettes diffèrent également.

Dans la région de Franconie, par exemple, on précuit le schäufele en croisant la couenne de graisse, puis on fait infuser la viande avec des épices avant de la placer dans une cocotte avec des légumes et de la bière. Ce plat doit être cuit pendant quelques heures au four.

Le schäufele de Bade, quant à lui, exige que la viande soit d’abord séchée et fumée avant d’être mijotée dans un bouillon d’herbes et de vin.

Les deux méthodes permettent d’obtenir une viande tendre et savoureuse qui se détache de l’os. Le Schäufele est un repas populaire pour Noël en Allemagne et dans certaines parties de la Suisse, car il est à la fois réconfortant et rassasiant, mais aussi festif et authentique.

Si tu souhaite essayer ce plat d’épaule de porc à la maison, ta principale tâche consistera à trouver le bon morceau. Une visite chez le boucher peut donc s’imposer

Cuisinons un Schäufele traditionnel à la Frankenland

Une fois la bonne coupe obtenue, essaye cette recette de Fränkisches Schäufele et réalise ta propre version du célèbre plat avec une croûte parfaitement croustillante.

Ingrédients :

  • 1 épaule coupée (environ 1 kg / 3 lb)
  • 2 oignons de taille moyenne
  • 2-3 gousses d’ail
  • 1 branche de céleri
  • 1 carotte
  • 1 cuillère à café de graines de cumin
  • Sel de mer
  • poivre noir
  • bouillon de poule
  • bière brune
  • 1 cuillerée à café de miel

Préparation :

  1. Préchauffe le four à 160 °C / 350 °F.
  2. Pendant ce temps, lave et éponge la viande.
  3. Coupe la partie de la couenne en croix, en veillant à ce que le couteau n’aille pas jusqu’à l’os ou jusqu’à la viande.
  4. Coupe grossièrement les oignons, les gousses d’ail, le céleri et les carottes. Réserve les légumes.
  5. Dans un mortier, broie les graines de cumin et les mélange au sel marin et au poivre noir.
  6. Frotte la couenne grasse de la viande avec un peu de sel pour aider à former la croûte. À l’aide du mélange d’épices pour la viande, frotte le fond et les côtés de la pièce de viande.
  7. Place la viande avec la couenne vers le haut dans une cocotte, suivie des légumes. Ajoute un peu de bouillon de volaille dans la cocotte, en ne dépassant pas 2 cm de profondeur. Mets la cocotte au four préchauffé pendant environ 2 à 3 heures. Arrose la couenne de viande plusieurs fois pendant la cuisson pour éviter qu’elle ne brûle.
  8. Lorsque la viande est presque prête, retire-la du four et augmente la température à 230 °C / 450 °F. Mélange 250 ml / 1 tasse de bière avec du miel et verse ce mélange sur la viande et les légumes. Remets la cocotte au four pendant encore 10 à 15 minutes.
  9. La viande doit pouvoir se détacher de l’os. Dépose-la délicatement sur un plat de service et égoutte le jus à travers une passoire dans une casserole.
  10. Faire bouillir le jus pour réduire le volume du liquide avant de l’utiliser comme sauce. Sers les schäufele avec de la purée de pommes de terre et de la choucroute.

Share

By

Vanille – edel wie eine Orchidee

Posted on 3 min read

Vanille ist eine Pflanze aus der Familie der Orchideen, bekannt für ihre duftenden Schoten, auch Vanilleschoten genannt.

Es ist schwer vorstellbar, dass Vanille, ein Geschmack, der heute in der Backindustrie nicht mehr wegzudenken ist, trotz eines hochkomplexen Bestäubungsprozesses so beliebt werden würde. Aber das Überleben der Pflanze setzte sich trotz aller Widrigkeiten fort.

Der schwierige Prozess der Vanilleblütenbestäubung

Vanilleblüten sind nur 24 Stunden aktiv und benötigen bestimmte Bienen oder Kolibris, die ihnen bei der Bestäubung helfen. Und diese natürlichen Bestäuber gibt es nur in begrenzten geografischen Gebieten. Es ist also die manuelle Bestäubung, auf die sich die Menschen bei der Herstellung dieses wunderbar duftenden Gewürzes verlassen.

Die manuelle Bestäubungsmethode wurde von einem 12-jährigen Sklavenjungen namens Edmond Albius von der Insel La Réunion im Indischen Ozean erfunden. Albius verhalf nicht nur seinem Herrn, sondern der ganzen Insel zu Wohlstand, indem er Vanille produzierte.

Bis heute ist die Insel führend in der Produktion von Vanille, dem zweitteuersten Gewürz nach Safran.

Echte Vanille und ihr Ersatzstoff Vanillin

Was die meisten von uns in den Regalen der örtlichen Lebensmittelgeschäfte finden, hat jedoch oft nichts mit natürlicher Vanille zu tun. Da das Produkt knapp und teuer ist, wird echte Vanille durch Vanillin ersetzt, das aus Petrochemikalien und Zellstoff hergestellt wird.

Vanillin ist kein schlechtes Produkt, nur weil es synthetisch hergestellt wird. Es ist zu einem Bruchteil des Preises erhältlich und verleiht Backwaren einen vanilleartigen Duft.

Es stimmt aber auch, dass der echte Vanilleduft im Vergleich zur synthetisierten Variante wesentlich komplexer ist.

Die drei Formen natürlicher Vanille

Wenn also Vanille eine Zutat ist, die du besonders hervorheben möchtest, sei es in Puddingcremes, Panna Cottas und Torten, solltest du versuchen, echte Vanille zu verwenden. Natürliche Vanille gibt es in 3 Formen: Bohnen, Extrakt und Paste.

  • Bohnen sind längliche braune Röhrchen, die Vanillesamen enthalten. Sie sind beim Ernten grün und werden neun Monate lang gelagert, bevor sie in den Verkauf kommen.
  • Vanilleextrakt ist eine alkoholische Flüssigkeit, die mit dem Vanilleduft von Vanilleschoten angereichert ist.
  • Vanillepaste besteht aus Vanillesamen, Zucker und etwas Verdickungsmittel.

Wenn du auf Vanilleschoten stösst, besorge dir welche, um deinen eigenen Vanilleextrakt zum Backen zu Hause herzustellen. Auf diese Weise kannst du die Intensität des Geschmacks regulieren, anstatt teure, aber schwache Extrakte im Handel zu kaufen.

Bereite deinen eigenen exquisiten Vanilleextrakt zu

Um 250 ml / 1 Tasse Vanilleextrakt herzustellen, solltest du 5-6 pralle Vanilleschoten zur Hand haben.

  1. Mit einem scharfen Messer die Schoten aufschlitzen, um die Samen freizulegen.
  2. Die aufgeschlitzten Schoten in eine verschliessbare Flasche geben und mit 250 g / 1 Tasse 80 % Wodka übergiessen. Du kannst auch andere Spirituosen wie Bourbon und Rum verwenden, solange sie nicht künstlich aromatisiert sind.
  3. Schliess den Deckel der Flasche und stell sie für mindestens acht Wochen oder so lange, wie du warten kannst, an einen kühlen, trockenen Ort. Je länger der Alkohol auf den Vanilleschoten einwirken kann, desto dunkler und reicher wird das Aroma. Warte idealerweise sechs Monate bis zu einem Jahr, bis du davon Gebrauch machst.

Und denk daran: Bei Vanille reicht eine ganz kleine Dosierung. Schon ein Teelöffel verleiht deinen Backwaren und Puddingcremes das wunderbare Aroma, das kein synthetisch hergestelltes Produkt von sich gibt.

Share

By