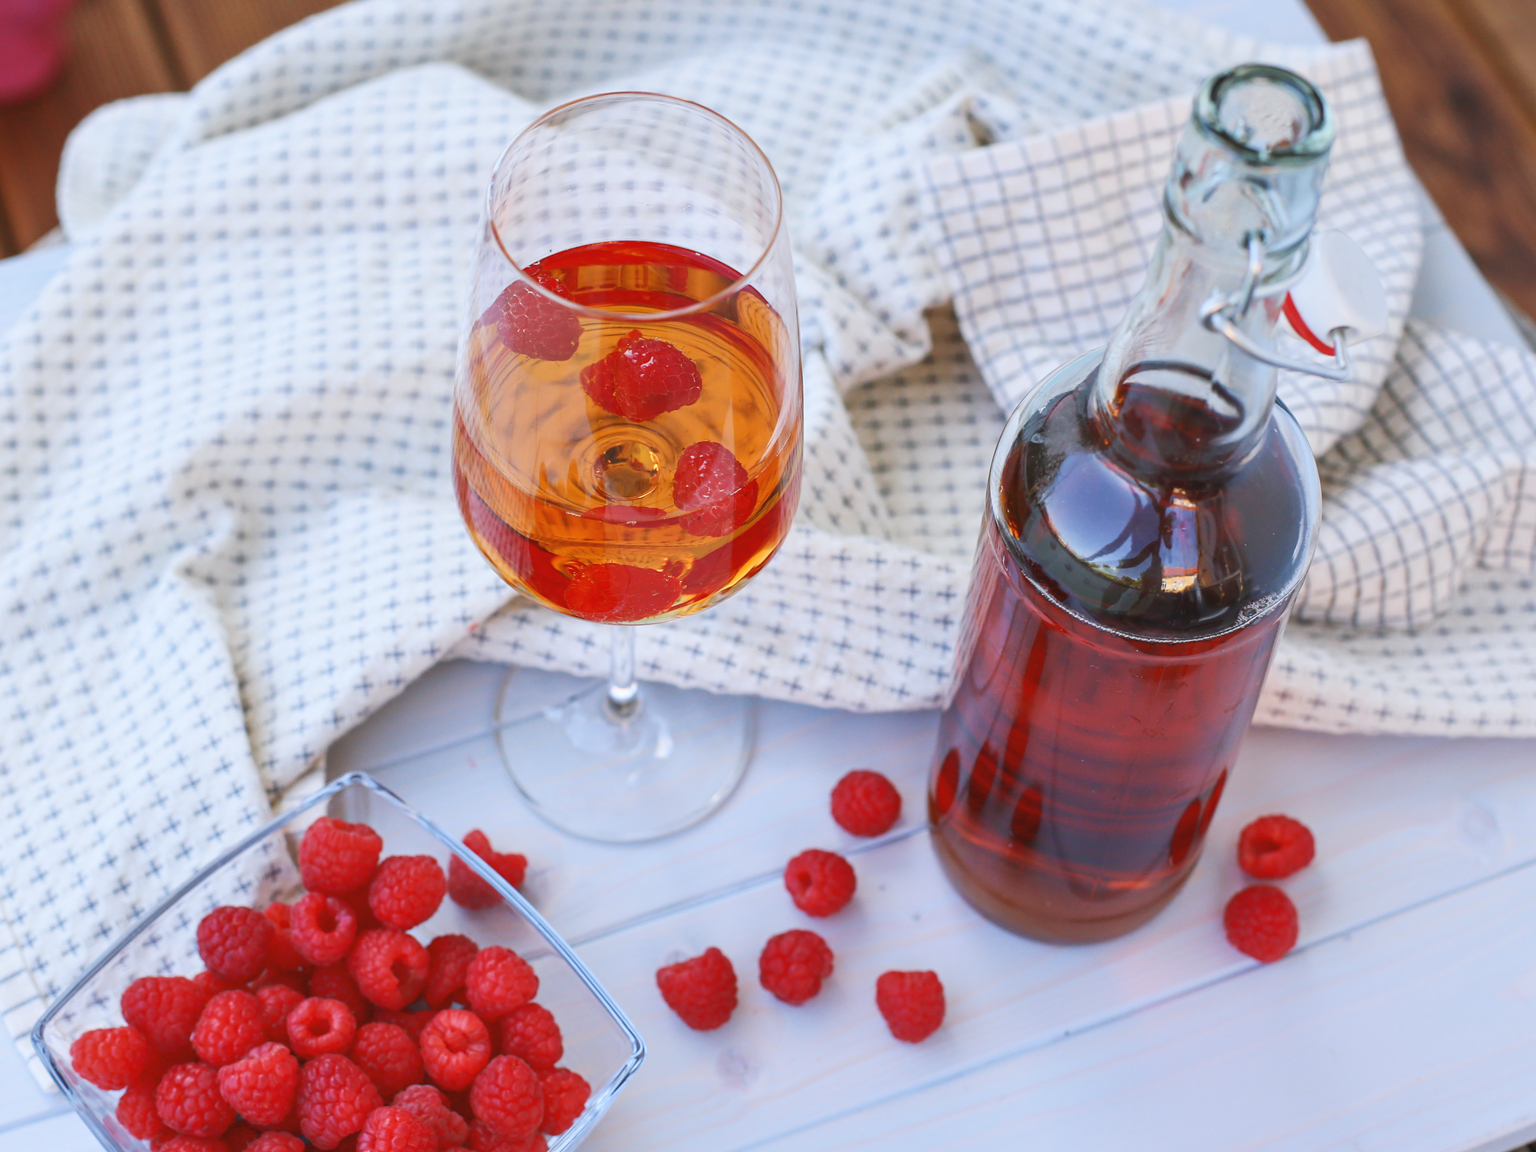
Raspberries got their name from the raspise, which meant ‘a sweet rose-coloured wine’ and this couldn’t be more fitting for the refreshing wines that you can actually make at home. Ideally, you’d pick your berries straight from the bush (for the authenticity and charm), but actually, any raspberries will do.
Straight forward directions
Put 1 kg / 2 lbs of berries into a plastic bag and squish them. Use a mallet, a pan or anything deemed appropriate for such a task. Your goal here is to squeeze all the juices out. If you ask ‘why can’t I just use a good old blender for that?’, we will answer ‘you sure can!’. We were aiming for the rustic style, remember? But your favourite kitchen appliances must perform their duties too.
Now combine 3 L / 6 pints of water with 250 gr / 1 cup of sugar, mix well to dissolve and pour in a big bowl. Put a colander over it and pour the raspberry mixture right there. Wait until the pulp drains. Meanwhile, scoop 1 Tbsp of raspberry juice and combine it with one packet of wine yeast in a cup, mix to dissolve and let it stay. This is your starter.
Now bring the sugar-water-juice to a boil and let it cool. Later when you combine it with your yeast you don’t want it to be too hot, because a temperature above 37˚C/100˚F will simply kill the yeast activity. For maximum certainty use a kitchen thermometer. And if you don’t like precision, you can follow a simple rule of thumb. Literally. If the water feels hot then it’s hot. And if it feels OK, then it’s probably OK for the yeast too. But you never know.
Yeast and fermentation
Choose your fermentation vessel. Many are available: plastic buckets, glass jars, bowls. Generally, any food-grade bottle will suffice. Clean it with hot soapy water and rinse well under a running tap. Check the yeast. They should be frothy at this point which means they are alive, hungry and ready to kick! Add your cooled down mixture to your fermentation vessel, then pour in the starter.
Now it’s time to close the vessel. Some will have special airlocks to them. Those are the attachments that work as a one-way corridor: they let the CO2 out but don’t let the air in. But if you don’t have it, not a big deal, you can still use a single rubber glove or other improvised materials. A glove will gradually grow as the pressure from releasing carbon dioxide builds up inside it. Don’t forget to release the pressure once the glove is inflated. Otherwise, it may blow. Let the vessel out for a week, once it’s passed, you’ll notice that you don’t need to let the gases out, because the fermentation will subside.
Be patient
Now the mixture is ready for racking. This term means filtering of the wine by transporting it from one vessel to another. The point is to leave behind all the sediment and let the wine mature during the second fermentation. Let your wine stand in a dry shady place for yet another 3-4 weeks. Be patient. Some people wait for months until they finally decide the wine is ready. But you can start drinking it at any stage you personally like.


What do you think?