Throbbing heart, hands damp with sweat. Afraid that the chocolate will melt. Whether as a first proof of love or one of many years: on Valentine’s Day, people have been giving chocolate to their loved ones for many decades. Beautifully wrapped, it often comes from a shop. Delicious? Most of the time. But not necessarily personal.
In this blog post, we are therefore presenting three recipes to you so you can make DIY chocolate desserts. Whether you mix one of these together in a hurry or dedicate one full afternoon to their creation – your loved ones (or simply ourself? : P) will rejoice.
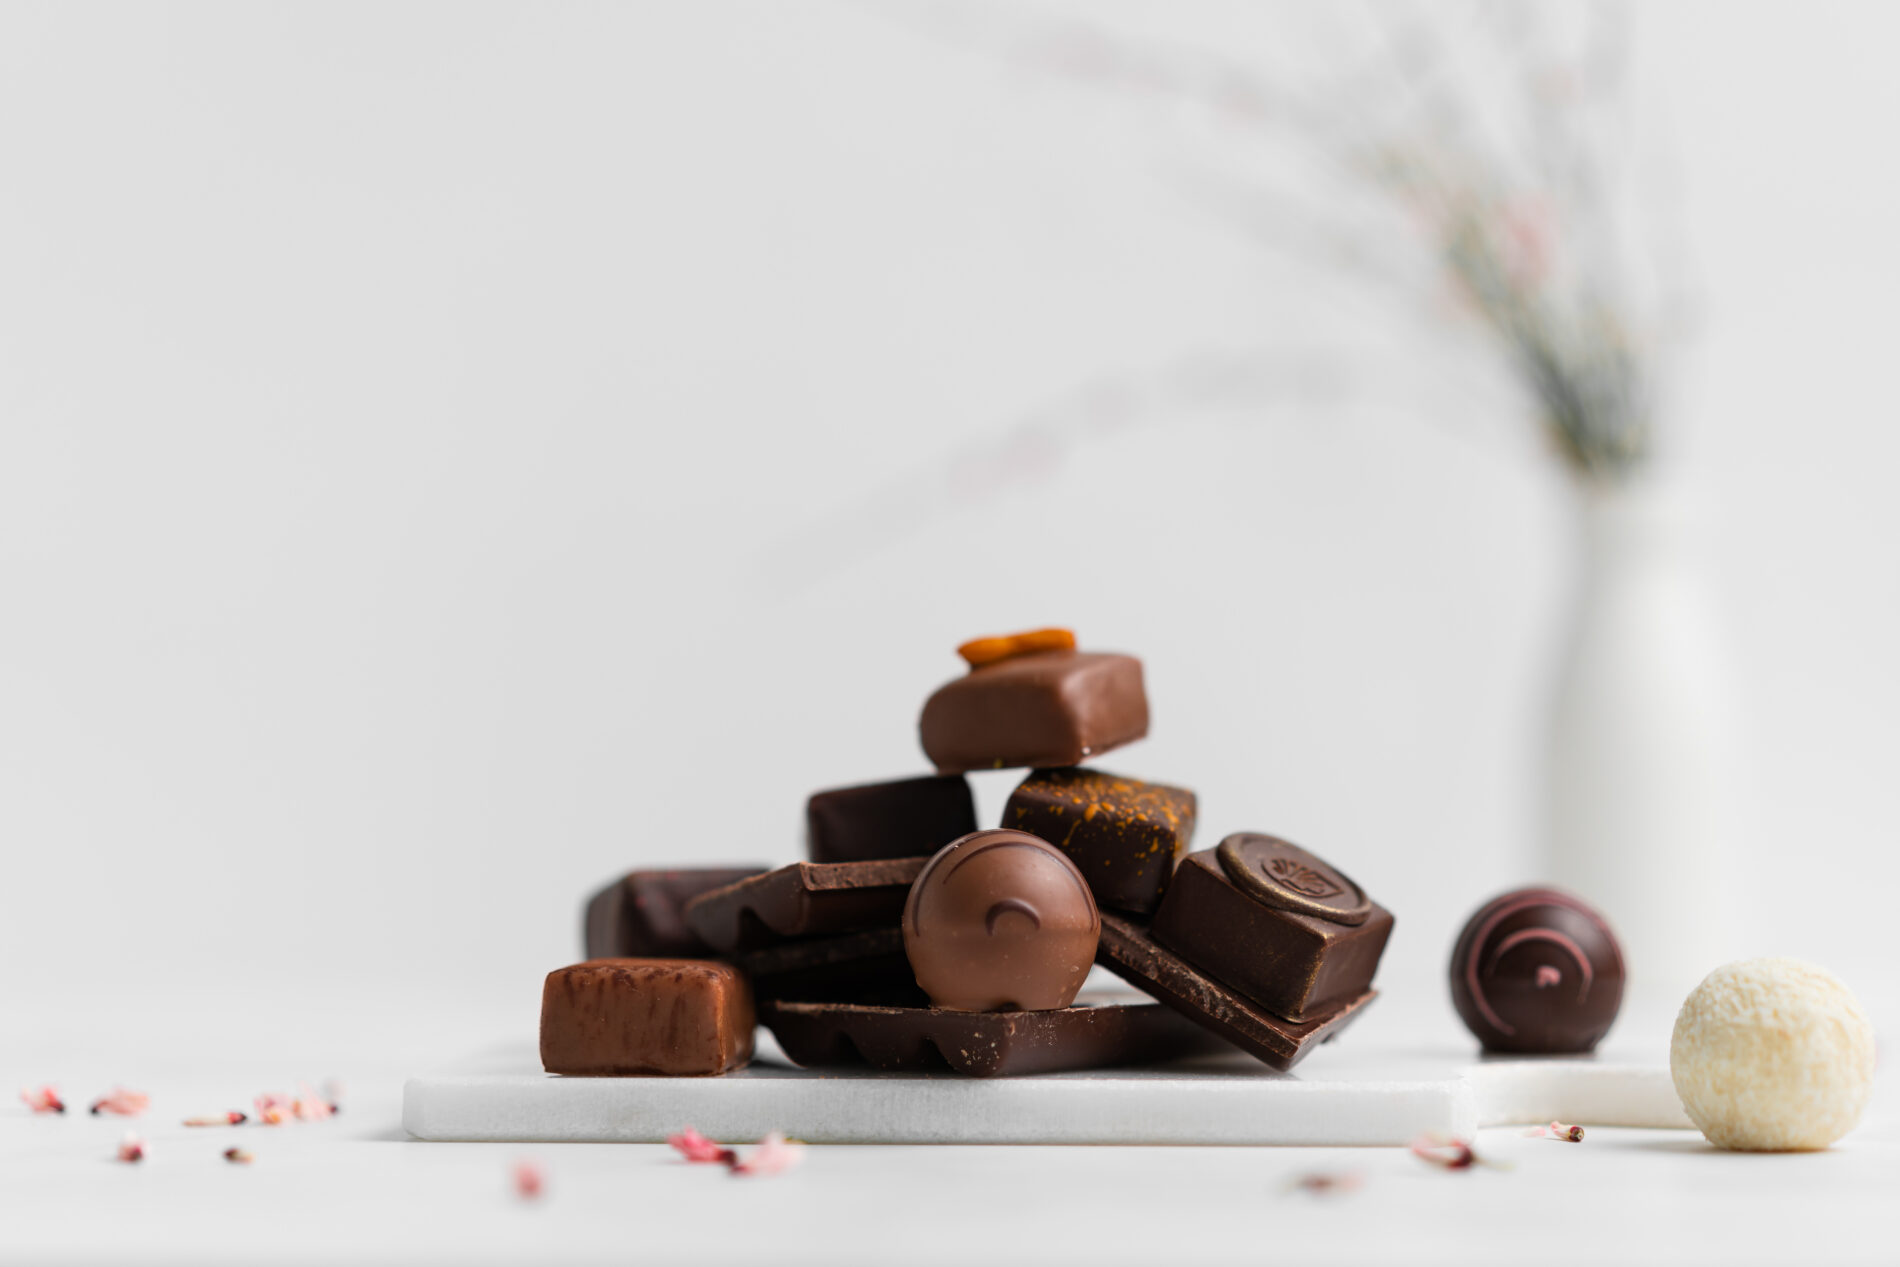
Pralines: simple but cute
When you think of pralines you might picture complicated, intricately decorated small works of art. But you can easily – and, first of all, quickly – create the small mouthfuls by yourself! You will only need:
- 100 g dark chocolate or chocolate of your choice
- 1 tbsp coconut oil
- decoration of your choice
- chopped nuts
- colourful (heart) sprinkles
- coloured couverture
- …
Additionally:
- heart-shaped silicone moulds for pralines
- piping bag (optional)
Method:
- Carefully heat the oil and the chocolate above a water bath over medium heat until both are melted. Take off the cooker and mix well.
- If you are using sprinkles or nuts, place some of them into the moulds now.
- Then fill the silicone moulds with a small spoon or dough scraper to the very top.
- Of course, you can combine two kinds of chocolate. If you do so, however, make sure that the first layer has already hardened completely in the freezer before adding a second one.
- At this stage you can also place entire nuts inside the melted chocolate.
- Carefully knock the silicone mould against an even surface to prevent any bubbles from forming.
- Place the silicone mould in the freezer for at least 30 minutes.
- Remove the pralines from the freezer.
- When the chocolate has hardened, you can further decorate it with white or coloured couverture. A piping bag is quite helpful here. You can also add some more sprinkles or nuts to decorate.
Enjoy the decoration process!

Brownies: pure taste, densely packed
Who does not like the slightly crunchy squares with the warm, gooey centre? We, at least, can’t get enough of them. In order to make these small sins you’ll need:
- 90 g butter or plant-based margarine
- 200 g dark chocolate
- 125 g brown sugar
- ½ tsp bourbon vanilla powder
- 140 g flour
- 80 g walnuts, roughly chopped
- icing sugar for decorating
- fine sieve
- paper & scissors
Brownies
- Melt the chocolate together with the butter in a water bath over medium heat. Take this off the cooker as soon as the butter has melted. Continue stirring until the chocolate has melted as well.
- Then add the eggs, sugar and vanilla to a big bowl. Beat with a hand mixer until a light, foamy mixture forms.
- Add the flour and only mix until a homogenous dough has formed.
- To finish, incorporate the walnuts into the dough.
- Now pour the dough into a brownie baking dish that has been greased with butter or covered with baking paper.
- Alternatively, you can pour the dough into heart-shaped baking cases. Press the dough down slightly with a dough scraper if needed in order to prevent bubbles forming.
- Bake everything at 160° degrees fan (180° degrees top/bottom heat) for 25-30 minutes.
- Take the brownies out of the oven and let cook completely.
- Then cut into 16-20 squares with a knife. Alternatively, you can work using a heart-shaped cookie cutter.

Decoration
If you want, you can now decorate your cut brownies with icing sugar. To do this, you either place
- a heart-shaped cookie cutter onto a square and sift a little bit of sugar into the form or
- a heart-shaped piece of paper onto a square and sift the icing sugar all around it.
The first version results in a white heart. The second create a brown heart with white background.
Psst: Another great dessert for Valentine’s Day are lava cakes. You’ll find the recipe here.
Go all out with a three-tier chocolate cake

So you have more time at hand? Perfect! That means you and your loved ones get to indulge in a decadent three-tier Black Forest cake. You’ll need the following ingredients:
Black Forest cake
Dry ingredients
- 220 g flour
- 100 g ground almonds
- 180 g brown sugar
- 100 g cocoa powder
- 1 tsp baking powder
- 2 tsp bicarb
- 1 tsp bourbon vanilla powder
- 1 big sprinkle of salt
Liquid ingredients
- 360 ml milk or plant-based alternative
- 15 ml apple cider vinegar
- 160 ml butter or plant-based margarine
- 120 ml water
- 300 g apple sauce, without added suggar
Frosting & decoration
- 200 g fresh cherries / 125 g cherries in a jar or from the freezer
- 100 ml water
- 1 tbsp sugar
- 4 tbsp kirsch (optional or to taste)
- a big mesh sieve
- 600 ml cream or plant-based alternative
- 60 g sugar
- ½ tsp vanilla powder
- 6 tsp whipped cream stabilizer (optional)
- 1-4 tbsp cherry or beet root juice or a few drops of red food colourant
- 50 g dark chocolate, chocolate flakes or similar to decorate
Making the chocolate cake
- Mix all dry ingredients well in a big bowl.
- Add the apple cider vinegar to the milk and mix. Put aside for 3 minutes.
- Melt the butter in that time.
- Then add the melted butter, the water and the apple sauce to the clotted milk mixture. Mix everything well.
- Add the liquid to the dry ingredients. Carefully mix with a whisk until a homogenous dough is created. Don’t overmix!
- Pour the dough into a deep baking dish (20 cm). (Alternatively, pour it into three small spring forms.) Slightly knock the baking dish an an even surface to prevent bubbles.
- Bake at 175° degrees fan (195° top/bottom heat) for 30-45 minutes (25 minutes in case of three baking dishes).
- After the time has passed, insert a knitting needle or knife into the middle of the cake to test whether it is fully cooked through. It’s ready if no dough sticks to the needle. Otherwise, bake for a few more minutes and try again.
- Remove the cake from the oven and let cool completely.

Preparing the frosting
While the cake is cooling you can prepare the frosting. If needed, wash your fresh cherries beforehand.
- Place your cherries together with the sugar (and the kirsch) into a pan.
- If you are using cherries from the jar, no need to cook them! Simply cook the sugar with the kirsch and / or water until the sugar has dissolved.
- Let this come to a boil, before cooking it over medium heat for about 5 minutes (or until the cherries are soft).
- Remove the pan form the cooker and let the syrup cool.
- Proceed to separate the cherries from the syrup by using the sieve and set aside.
- If you want, you can select 5-10 cherries for the decoration.
- Now whip the (plant-based) cream until it starts to thicken.
- In dieser Zeit kannst du den (pflanzlichen) Rahm aufschlagen, bis er allmählich fest wird.
- At this point, add the sugar, vanilla powder, the colour (and whipping cream stabilizer, if needed). You can adjust the colour to your liking.
- Then proceed to whip the cream until it’s firm. (Not too firm; we don’t want to create butter :P) Place this into the fridge until using it.
At this point, you can melt a bit of dark chocolate over a water bath for the decoration, if you want. You can pour the chocolate onto baking paper using a piping bag, making hearts, for instance. (You can correct blemishes with a finger.) Let it harden in the freezer for at least 30 minutes.
Assembling the cake
As soon as the cake has cooled, you can decorate it!
- Remove the cake from the baking dish or dishes. In case you used one baking dish, equally cut the cake into three layers.
- Now soak the bottom layer with half of the cherry syrup.
- Spread about a third of the whipped cream on top. You can do this either with a dough scraper or a piping bag.
- Then spread half of the cherries onto the bottom layer. You can vary the amount of cherries as you like, of course.
- Place the middle layer on top and repeat steps 2 to 3.
- Finally, place the top layer onto the middle layer.
- Now you either
- spread the rest of the whipped cream across the entire cake or
- use the rest of the cream to only decorate the top, as we did.
- Finally, decorate the Black Forest cake as you like with the selected cherries, chocolate flakes or your chocolate decorations.
Then, at last, onto the best part: feast!
What did you give to your loved ones on Valentine’s Day? Let us know in the comments!


What do you think?