All Posts By Farmy

Buchweizen – ein unverzichtbares Getreide für Mensch und Natur

Posted on 3 min read

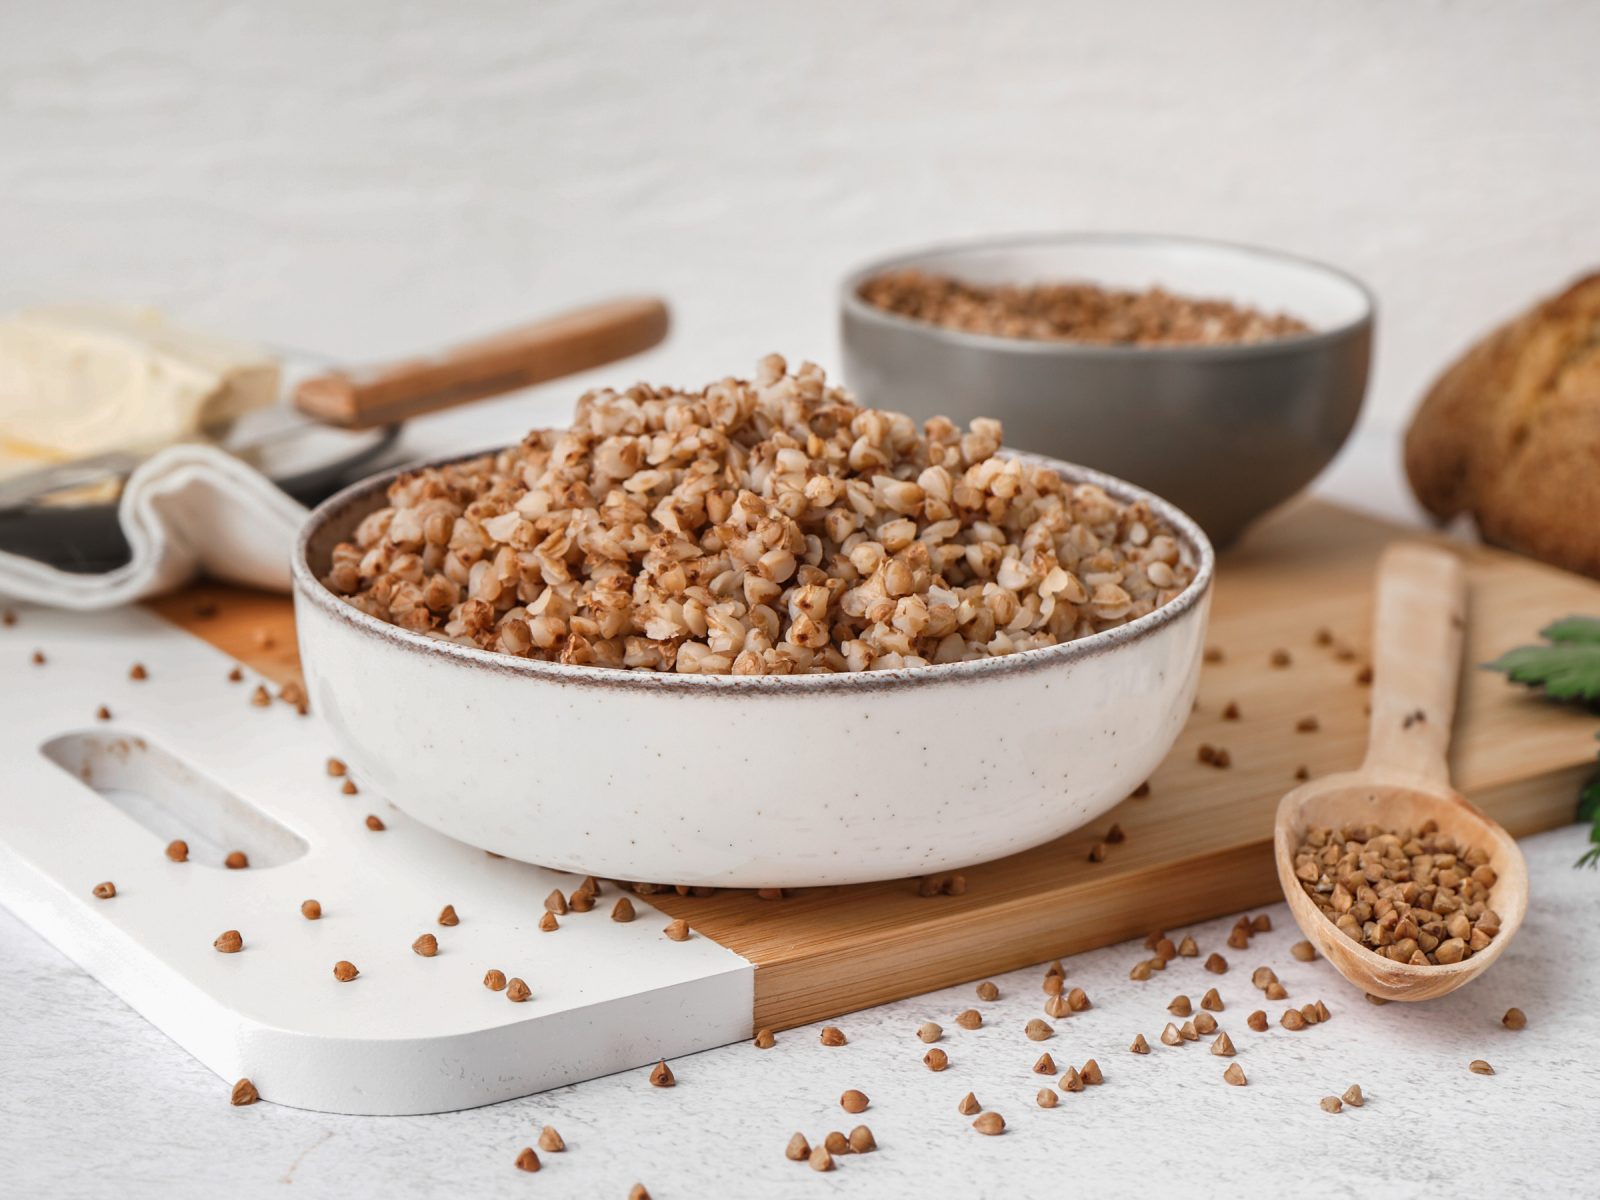
Buchweizen ist ein ziemlich einzigartiges Getreide. Für einige ist es ein Grundnahrungsmittel, während andere sich seiner Existenz gar nicht bewusst sind. Trotz seines Namens ist es nicht mit Weizen verwandt und glutenfrei.

Buchweizen enthält mehr Nährstoffe und Vitamine als Hafer oder Reis. Darüber hinaus wird dieses Getreide als Deckfrucht verwendet. Das heisst, es hält andere Unkräuter von der Erde fern, in die es gepflanzt wurde.

Dadurch reichert es den Boden an und bekämpft Erosion durch Regen. Während der Blütezeit lockt Buchweizen Bienen an. Diese Insekten produzieren später dicken, dunklen und duftenden Honig mit bitteren Noten.

Der oft nicht beachtete Buchweizen

Abgesehen von dem neuerlichen Interesse an Urgetreide wurde Buchweizen in den USA, Kanada und Europa oft zugunsten anderer Getreidearten übersehen. Doch alle postsowjetischen Staaten und Asien lieben dieses Getreide.

Vor allem Russen lieben diese weich-erdigen Körner. Diese wurden – zusammen mit dem Christentum – im 9. Jahrhundert von den Griechen zu ihnen gebracht. Es ist daher keine Überraschung, dass Russland mit einem Marktanteil von 40 % der weltweit grösste Buchweizenproduzent ist. China und die Ukraine sind die anderen führenden Produzenten.

Die Europäer jedoch kommen erst langsam auf den Geschmack von Buchweizen und seiner Vorteile.

Buchweizen ist eine vielseitige Nutzpflanze

Neben Russland verwenden China, Indien, Korea und Japan Buchweizen zur Herstellung von Mehl. Die berühmten japanischen Soba-Nudeln werden beispielsweise aus Buchweizenmehl hergestellt. In Indien wird dieses Getreide zu verschiedenen Feierlichkeiten gekocht.

Buchweizen kann gekocht, sautiert und gebacken werden. Er ist auch austauschbar mit Reis. Das Getreide kann entweder pur oder als Zutat in Gerichten wie Frikadellen, gefüllten Paprikaschoten oder Suppen gegessen werden.

Probieren wir ein klassisches russisches Rezept

Das einfachste und doch sehr klassische Rezept kommt aus Russland mit nur wenigen Zutaten: Buchweizen mit Steinpilzen.

  1. Wasche und trockne 200 g / 1 Tasse Buchweizen. Vielleicht ist der von dir verwendete Buchweizen bereits geröstet. Andernfalls stell eine Pfanne auf die Herdplatte mit hoher Hitze und brate die Körner einige Minuten lang an. Das verstärkt den Geschmack der Körner und verleiht dem Gericht nussige Noten.
  2. In einer Pfanne 400 g / 2 Tassen Wasser mit einer Prise Salz aufkochen.
  3. Die gerösteten Buchweizenkörner dazugeben.
  4. Sobald das Wasser wieder kocht, reduziere die Hitze und entferne den braunen Schaum mit einem Löffel. 6-8 Minuten kochen lassen. Dann vom Herd nehmen und noch einige Minuten mit dem Deckel abdecken.
  5. In der Zwischenzeit 1 Zwiebel und 200 g / 1 Tasse Steinpilze in mundgerechte Stücke schneiden.
  6. Die gehackte Zwiebel in einer Bratpfanne bei mittlerer Hitze anbraten, bis sie glasig ist.
  7. Dann die Steinpilze dazugeben und garen, bis die Flüssigkeit aus den Pilzen verdunstet ist.
  8. Sobald die Gemüsemischung fertig ist, gib sie in die Pfanne mit dem Buchweizen. Gut mischen und erwärmen, damit der Saft von den Körnern aufgenommen werden kann.

Es ist wichtig, die Körner genau im Auge zu behalten. Du willst sie weich und körnig, genau wie Reis. Matschiger oder ungekochter Buchweizen verdirbt den Geschmack des Gerichts.

Streue etwas frischen Dill über das Gericht und serviere es alleine oder als Beilage zu deinem Hauptgericht.

Share

By

Le Bouddha bowl – une alimentation saine et colorée

Posted on 3 min read

Lorsque l’on poursuit la quête du maintien de la pleine conscience et de la spiritualité, atteindre l’équilibre en tout devient la clé. Pratiquer le yoga, respirer et être conscient, être “vert”, et remercier l’univers pour toutes les bontés qu’il t’a accordées, à toi et à tes proches. Célébrer la vie.

Et quoi de mieux pour rester en phase avec ces résolutions ? Manger des aliments sains, “heureux” et colorés. Voici le Bouddha bowl !

Le Buddha bowl n’est rien de chic

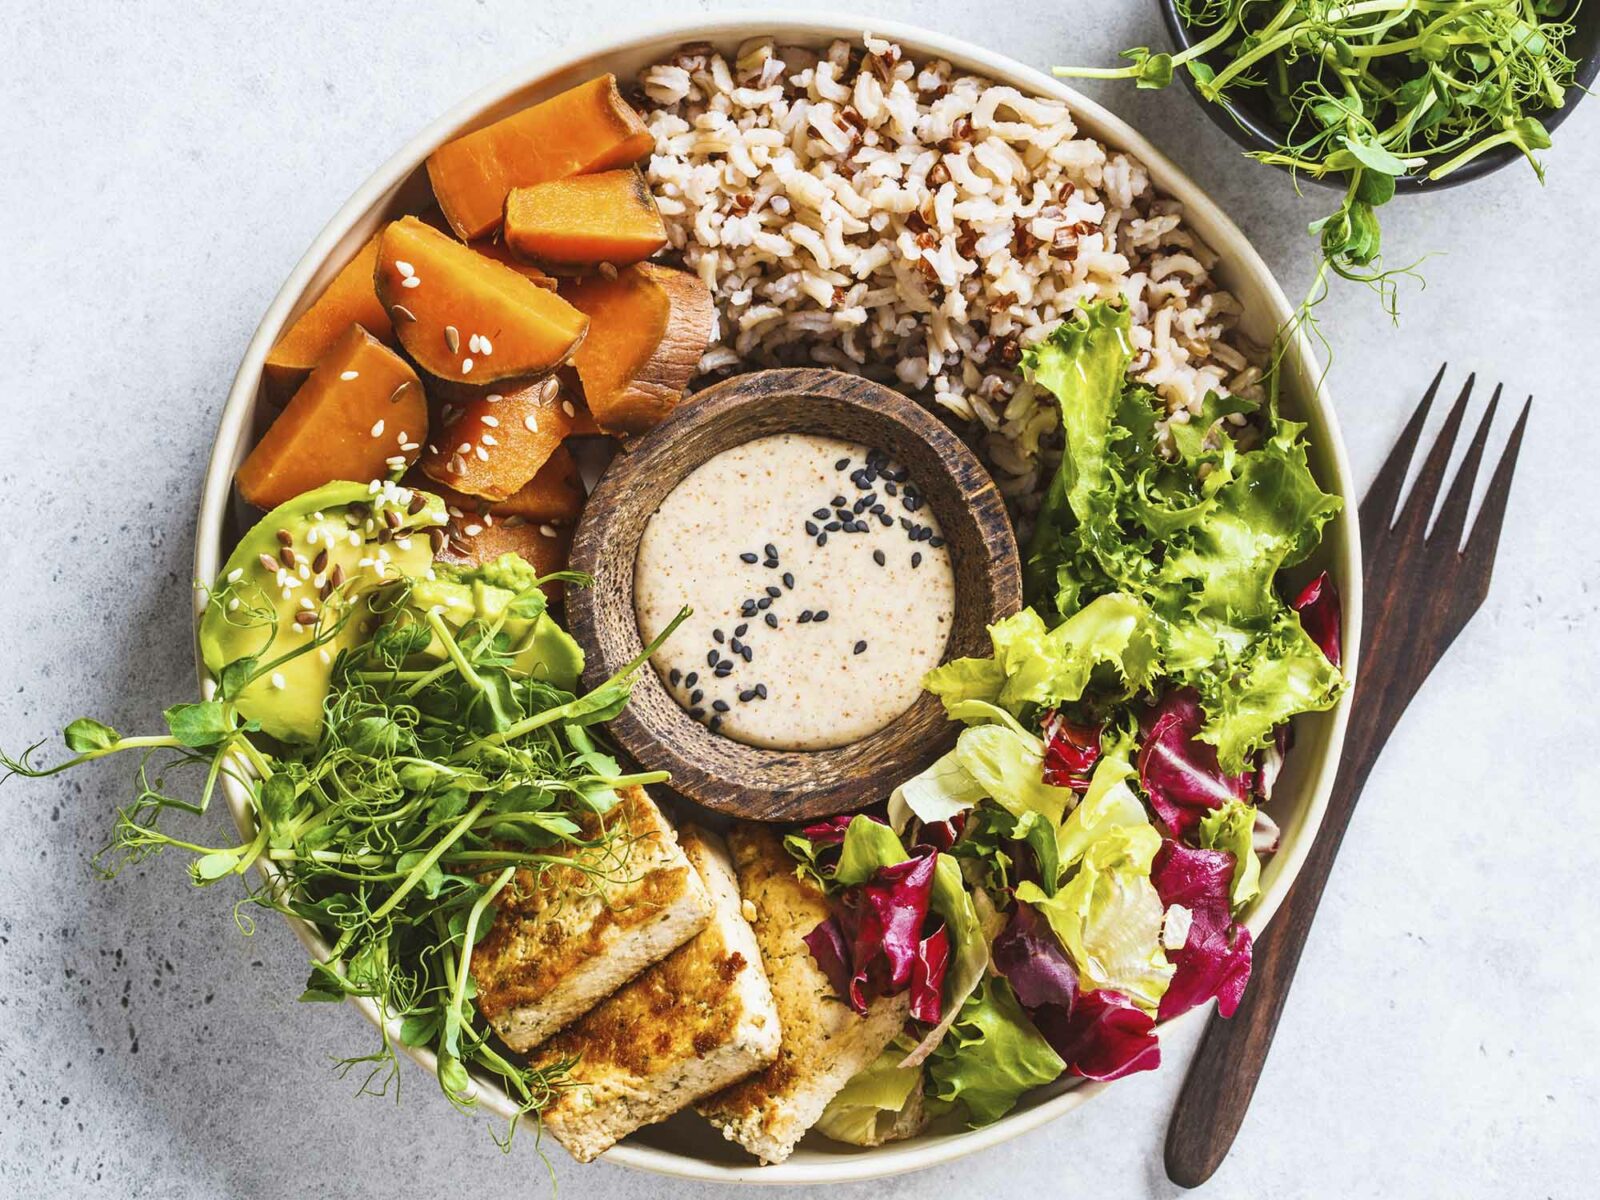
Même si le nom Buddha bowl ne te dit rien, il y a de fortes chances que tu l’aies déjà goûté. Le concept de ce plat n’est pas nouveau. En résumé, il s’agit d’une assiette remplie à ras bord de céréales cuites, de légumes frais ou cuits et de protéines végétales. Le tout disposé en segments, accompagné d’une sauce.

À l’origine, ce plat était connu sous le nom de Macro Bowl. Le nom de Buddha bowl n’a été choisi que récemment, ce qui correspond parfaitement à la tendance à l’éveil spirituel.

Les Buddha bowls sont à la fois jolis et sains. Ils sont des objets photo populaires à partager sur les réseaux sociaux.

Comme tu l’as probablement deviné, le Buddha bowl n’a aucun lien religieux avec le bouddhisme. Le seul lien ici pourrait être tiré du fait que Bouddha recevait des bouchées de nourriture de la part des habitants. Il les gardait dans le bol pendant ses voyages.

Que tu suives les tendances actuelles ou que tu aimes simplement une alimentation équilibrée, le Buddha bowl est une option savoureuse. Il peut égayer les repas de midi.

Buddha bowl et ses ingrédients

Il n’y a pas de règle stricte quant à ce qui doit être mis dans un Buddha bowl. N’hésite pas à faire preuve d’imagination et à varier les ingrédients à ta guise.

  • En général, les Buddha bowls sont végétaliens/ végans. Les céréales qui entrent dans la composition du Buddha bowl sont le riz (blanc ou brun), le quinoa, le boulgour, le millet ou l’orge perlé.
  • En ce qui concerne les légumes, ils peuvent être cuits et/ou frais. Les options fraîches courantes sont la tomate, le maïs doux, la carotte, le poivron, les feuilles de salade et le chou rouge.
    • Les légumes cuits au four ou à la vapeur comprennent la patate douce, le brocoli, le chou-fleur, l’aubergine, la betterave et d’autres alternatives colorées.
  • En ce qui concerne les protéines, elles doivent être d’origine végétale. Les légumineuses, le tofu et le tempeh sont donc des choix typiques. Les légumes verts et les légumes marinés sont également des ajouts populaires, tout comme les noix, les graines et les herbes.

Le dernier élément est la sauce / vinaigrette. Elle relève instantanément le goût des légumes et elle apporte les nutriments et l’équilibre recherchés.

Mélanger et associer les ingrédients ci-dessus à ta guise. L’idée derrière le Buddha bowl est de le rendre équilibré et nutritif. Et en même temps de garder l’éclat de la couleur au maximum. Puis savourer l’humilité fraîche et croquante, le tout dans un seul bol.

Share

By

Caramelised almonds

Posted on 1 min read

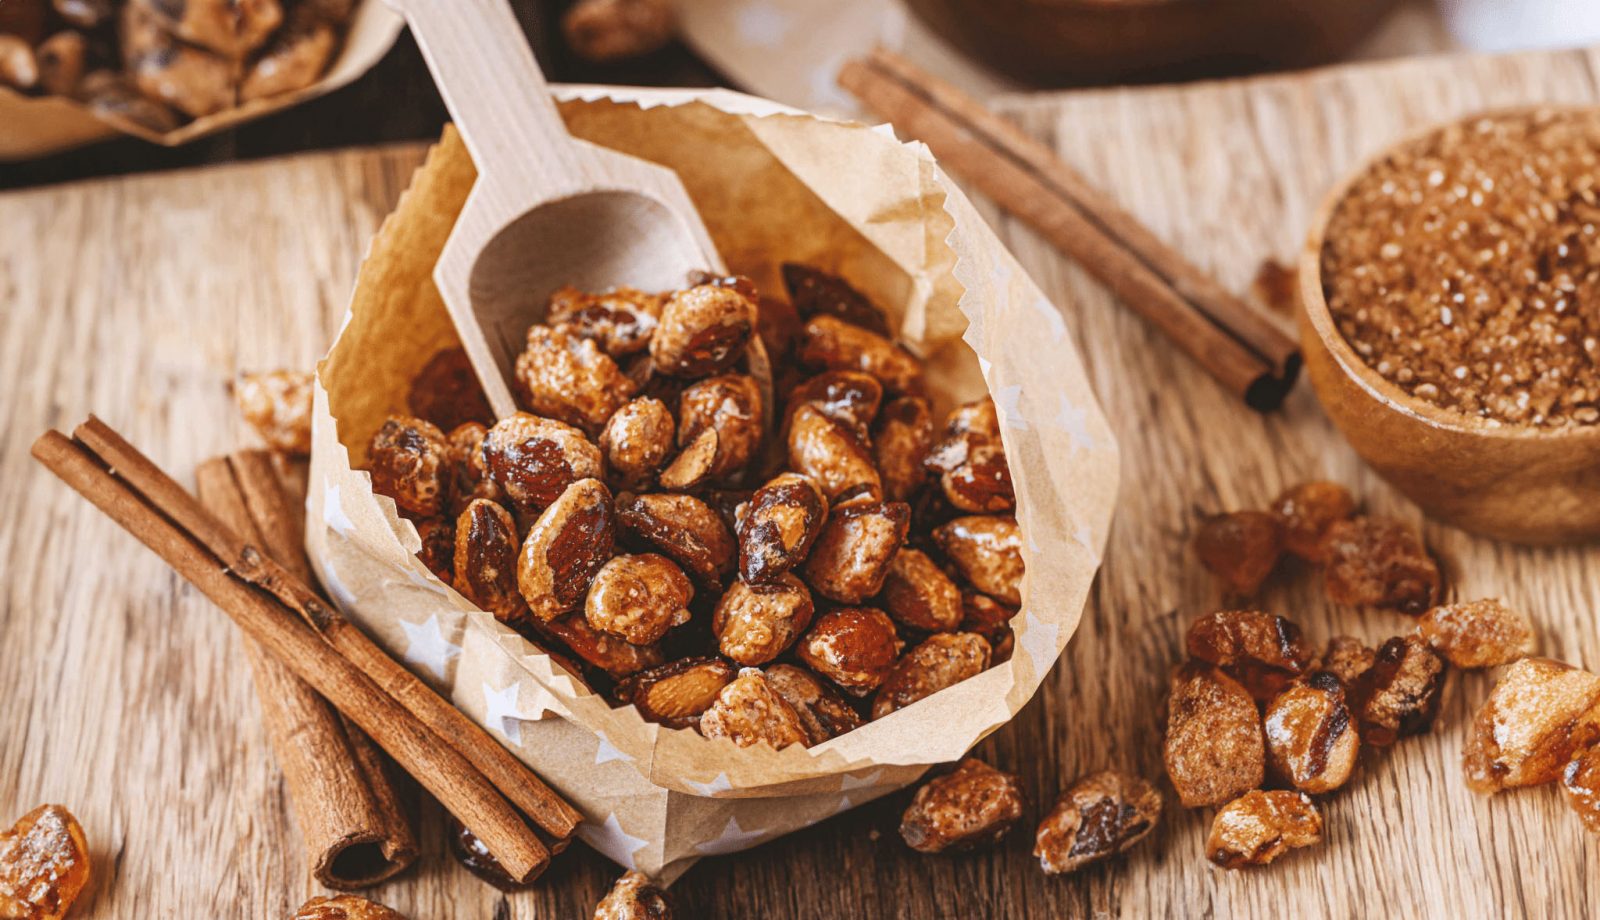
They are virtually a must at every fair and are a delight for young and old alike: caramelised almonds. But what to do when there’s currently neither fair nor market nearby? Just make them at home! It’s really quite simple – we’ll show you how.

Caramelised almonds with cinnamon sticks
Caramelised almonds
Votes: 0
Rating: 0
You:
Rate this recipe!
Rezept drucken
Servings
approx. 200 g
Cook Time
10 minutes
Servings
approx. 200 g
Cook Time
10 minutes
Caramelised almonds with cinnamon sticks
Caramelised almonds
Votes: 0
Rating: 0
You:
Rate this recipe!
Rezept drucken
Servings
approx. 200 g
Cook Time
10 minutes
Servings
approx. 200 g
Cook Time
10 minutes
Ingredients
Servings: 200 g
Units:
Instructions
  1. Line a baking tray with baking paper.
  2. Place the almonds, sugar, water and spices (if using) in a cast iron or chrome steel pan, mix briefly.
  3. Bring to the boil without stirring.
  4. Then reduce heat and cook over medium heat for about 5 minutes, stirring occasionally, until the water evaporates and the sugar is dry.
  5. Then continue stirring until the sugar melts and has nicely coated the almonds. This takes about 5 minutes.
  6. Then immediately transfer the almonds to the baking paper and spread them out with two forks. Leave to cool.
Recipe Notes

The almonds will keep for about 1 month in an airtight container.

Tip: If there is still some caramel left in the pan, you can easily dissolve it by adding some water and bringing it to the boil.

Get all the ingredients you need at Farmy!

Share

By

Amandes brûlées

Posted on 1 min read

Elles sont presque incontournables à chaque fête foraine et font le bonheur des petits comme des grands : les amandes grillées. Mais que faire quand il n’y a pas de foire ou de marché à proximité ? Il suffit de les faire maison ! C’est très simple – nous te montrons comment faire.

Caramelised almonds with cinnamon sticks
Amandes brûlées
Votes: 0
Rating: 0
You:
Rate this recipe!
Rezept drucken
Servings
envr. 200 g
Cook Time
10 minutes
Servings
envr. 200 g
Cook Time
10 minutes
Caramelised almonds with cinnamon sticks
Amandes brûlées
Votes: 0
Rating: 0
You:
Rate this recipe!
Rezept drucken
Servings
envr. 200 g
Cook Time
10 minutes
Servings
envr. 200 g
Cook Time
10 minutes
Ingredients
Servings: 200 g
Units:
Instructions
  1. Recouvrir la plaque de cuisson de papier sulfurisé.
  2. Mettre les amandes, le sucre, l'eau et éventuellement les épices dans une casserole en fonte ou en acier chromé, mélanger brièvement.
  3. Porter à ébullition sans remuer.
  4. Réduire le feu et cuire à feu moyen pendant environ 5 minutes en remuant de temps en temps jusqu'à ce que l'eau s'évapore et que le sucre soit sec.
  5. Continuer à remuer jusqu'à ce que le sucre fonde et s'enroule autour des amandes. Cela prend environ 5 minutes.
  6. Placer immédiatement les amandes sur un papier sulfurisé et les étaler avec deux fourchettes. Laisser refroidir.
Recipe Notes

Les amandes se conservent environ un mois dans un récipient bien fermé.

Astuce : s'il reste un peu de caramel dans la poêle, tu peux le dissoudre facilement en ajoutant un peu d'eau et en le faisant bouillir.

Trouve tous les ingrédients dont tu as besoin chez Farmy !

Share

By

The wonders of aloe vera

Posted on 3 min read

Leaving for the holidays to hot, sunny destinations? Then the rule of thumb is to always pack some SPF protection. And don’t forget gel made from 100 % aloe vera in case of sunburns.

Why? Aloe vera leaves naturally contain lidocaine. Thanks to this, you will not only have instant relief from burning and itchy sensations. The recovery process of the irritated skin cells will be accelerated too!

The wonders of aloe vera as a topical ointment against minor burns and scars have been known for over 4000 years. In fact, it was mentioned by the Sumerians during the Mesopotamia civilisations.

Aloe vera: known across all continents

Aloe vera, a hardy succulent invasive plant, originates from the Arabian Peninsula. From there, it travelled across the globe.

The plant got naturalised in Europe, the West Indies, Asia, America and Australia. You will also find aloe vera in colder climates, thanks to its popularity as a houseplant.

Aloe vera as a cooking ingredient

It would be a miss not to mention that aloe vera is used in the cosmetic industry. Furthermore, it has its rightful place as an ornamental plant.

But that’s not all: aloe vera is added to cooking as well!

The most popular way to consume aloe vera is probably by adding it to juices, smoothies and puddings. And in India, it is used in curries.

That said, it’s also important to mention that one must be careful with the amounts of aloe vera ingested. Excess usage in cooking can cause some undesired side effects.

When taken in moderation, aloe vera has several health benefits. This includes relieving constipation and inflammation. The easiest way to include aloe vera in your diet is to drink its gel, mixed with other ingredients to make it more palatable.

The perfect preparation of aloe vera gel

  1. With a sharp knife, harvest aloe vera leaves, cutting close to the stem of the plant.
  2. Choose the biggest and most developed leaves and leave the rest to mature. If you notice brown liquid (aka aloe vera latex) appearing on the cuts, let it drip and discard it.
  3. Wash the leaves in water and dry with a towel. Then cut off the spiky bits.
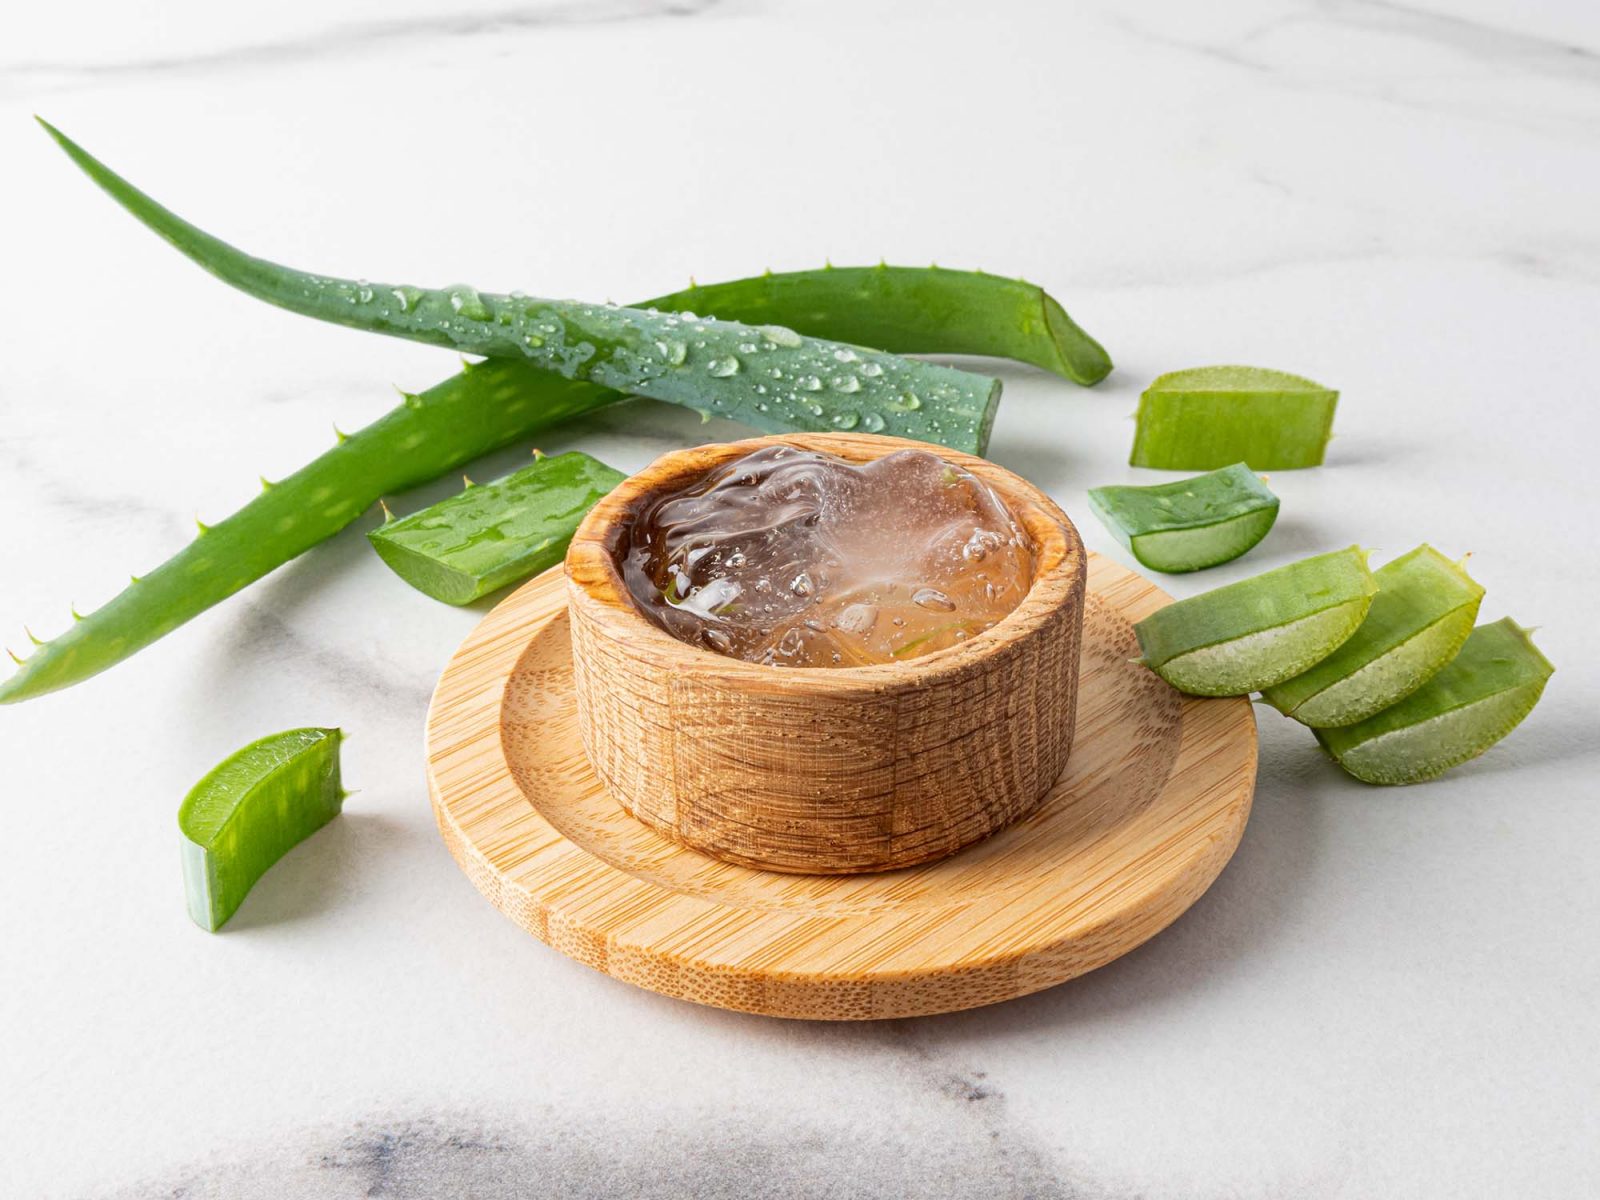
  4. Remove the top layer of the leaf, cutting it lengthwise. Underneath the hard green skin, there is a layer of translucent jelly. It can be scooped out with a spoon.
  5. Remove all the jelly and discard the leaves. Clear out all the green bits that might be left in the aloe vera gel. Alternatively, transfer the gel into a blender. Pulse until you get a smooth substance. Then drain the pulp.

Make a refreshing aloe vera drink

Mix your aloe vera gel with fruit juices like mango, orange and pomegranate. Or with lemon and honey to get a delicious and refreshing drink with added nutritional benefits.

For smoothies, too, aloe vera gel is a great ingredient. Next time you make one, try this recipe!

Blend a banana with 70 g / ½ cup of strawberries, 350 ml / 1 ½ cup coconut milk and 50 g / ¼ cup of aloe vera gel. Don’t forget 50 g / ¼ cup of ice for the ultimate cooling effect.

Share

By

Gebrannte Mandeln

Posted on 1 min read

Sie sind schon fast ein Muss an jeder Chibli und erfreuen sowohl Gross als auch Klein: gebrannte Mandeln. Aber was tun, wenn gerade weder Chilbi noch Markt in der Nähe stattfinden? Ganz einfach zu Hause machen! Das ist nämlich ganz einfach – wir zeigen dir, wie’s geht.

Caramelised almonds with cinnamon sticks
Gebrannte Mandeln
Votes: 0
Rating: 0
You:
Rate this recipe!
Rezept drucken
Cook Time
10 Minuten
Cook Time
10 Minuten
Caramelised almonds with cinnamon sticks
Gebrannte Mandeln
Votes: 0
Rating: 0
You:
Rate this recipe!
Rezept drucken
Cook Time
10 Minuten
Cook Time
10 Minuten
Ingredients
Servings:
Units:
Instructions
  1. Backblech mit Backpapier belegen.
  2. Mandeln, Zucker, Wasser und gegebenenfalls Gewürze in eine Gusseisen- oder Chromstahlpfanne geben, kurz vermischen.
  3. Aufkochen, ohne zu rühren.
  4. Danach Hitze reduzieren und bei mittlerer Hitze circa 5 Minuten unter gelegentlichem Rühren kochen bis das Wasser verdampft und der Zucker trocken ist.
  5. Dann weiter rühren, bis der Zucker schmilzt und sich schön um die Mandeln gelegt hat. Dies dauert circa 5 Minuten.
  6. Anschliessend die Mandeln sofort auf ein Backpapier geben und mit zwei Gabeln auseinanderziehen und verteilen. Auskühlen lassen.
Recipe Notes

Die Mandeln halten sich in einem gut verschlossenen Gefäss circa 1 Monat.

Tipp: Falls noch etwas Karamell in der Pfanne übrig geblieben ist, kannst du dieses ganz einfach lösen, indem du etwas Wasser hineingibst und dieses aufkochst.

Hol' dir alle Zutaten bei Farmy!

Share

By