Je m’appelle Noémie, j’ai 31 ans et je suis nutritionniste diplômée.
Dans mon quotidien, j'aide des personnes comme vous qui ont une vie bien occupée et qui souhaitent atteindre des objectifs physiques et alimentaires.
Retrouvez-moi sur mon site https://noemienutrition.com/ pour des coachings personnalisés et des programmes disponibles en ligne. Et j'alimente régulièrement mon blog avec des recettes et des sujets d'actualités.
This recipe is a variation on the traditional potato salad. The ingredient that stands out is the sardine, a fish that is little known. Yet it is very interesting from a nutritional point of view as it is rich in omega-3 fatty acids, vitamin B12 and vitamin D.
Start by steaming the potatoes (approx. 20-25 min.).
Cook the quinoa according to the instructions on the packet.
Arrange the quinoa in the bottom of the bowl and add the cider vinegar, olive oil and lemon juice. Toss to combine. On top, arrange the potatoes, the sardines with tomatoes and then the fresh coriander and the nutritional yeast.
Recipe Notes
This article is brought to you by Noémie Nutrition, a qualified nutritionist from Lausanne. You can find her on her website www.noemienutrition.com
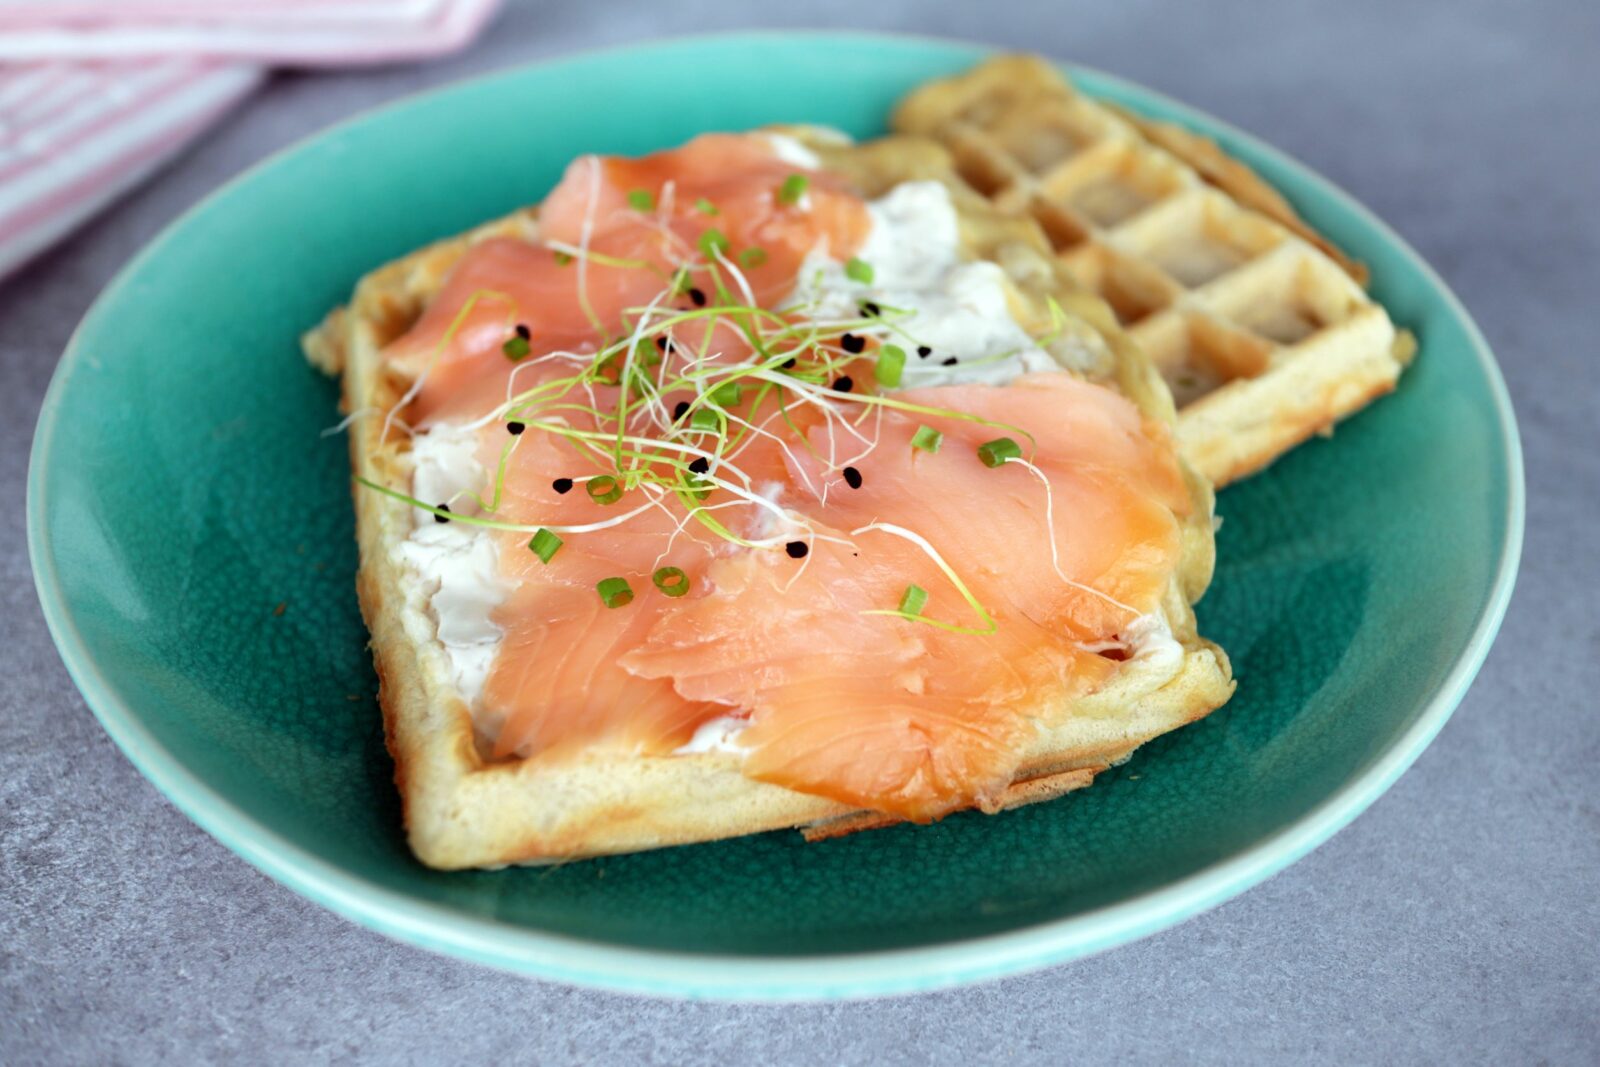
What best defines a waffle? For me, it’s definitely the aroma. My mouth is watering just thinking about it. But it could also be the softness or the super gourmet toppings… So you might ask, why add courgette?
Well, courgette adds softness and moisture to the recipe, without changing the taste. In short, I find that this vegetable adds a little extra to the dough. Moreover, it is a clever way of getting young and old to consume a vegetable without really noticing it.
Another good thing about this recipe is that it uses only inexpensive and preferably locally sourced ingredients.
Grate the courgette, place in a sieve and sprinkle with salt. Leave to drain for 30 minutes.
Meanwhile, melt the butter over low heat and finely chop the chives.
Rinse to remove the salt and press the grated courgette into a cloth to drain as much as possible.
Mix the flour, yeast and milk. Add pepper, eggs, melted butter, courgette and chives. Leave to rest in the fridge for 1 hour.
Pour some batter into the waffle iron and cook each waffle for 3-4 minutes.
Recipe Notes
This article is brought to you by Noémie Nutrition, a qualified nutritionist in Lausanne. You can find her on her website http://www.noemienutrition.com
Du kennst wahrscheinlich den Zitronenkuchen mit Mohn, oder? Ich lade dich ein, diese erfolgreiche Kombination im “Crêpes”-Format zu entdecken!
Was die Schale angeht, empfehle ich, biologisch angebaute Zitronen zu verwenden, um Pestizide zu vermeiden, die in diesem Rezept unerwünscht sind.
Eine letzte Bemerkung zur Ruhezeit, die wichtig ist, um einen wirklich weichen Pfannkuchen zu erhalten: Durch die Ruhezeit kann die Stärke im Mehl aufquellen, um die gewünschte weiche Textur zu erhalten. Es gibt jedoch zwei Tricks, um die Ruhezeit zu verkürzen: Du kannst warme Milch verwenden und deinen Teig in einem Mixer zubereiten (der Vorteil des Mixers: ein klumpenfreier Teig).
Gib das Mehl in eine Schüssel, füge die Eier, den Zucker, die Milch und die geschmolzene Butter hinzu. Verquirle alles, bis du einen glatten Teig hast.
Die Zitronenschale hinzufügen, verrühren und den Teig 2 Stunden lang im Kühlschrank ruhen lassen.
Dann den Teig aus dem Kühlschrank nehmen und den Mohn hinzugeben. Mischen.
Backe die Pfannkuchen nacheinander in einer erhitzten Pfanne (du brauchst sie nicht zu fetten, da der Teig Butter enthält).
Für die Füllung: nach Belieben oder wie oben vorgeschlagen.
There is no need to introduce chia seeds. Thanks to their exceptional nutritional properties, these little seeds have become a must in all our healthy recipes.
Their success can also be explained by their hydrophilic reaction, which makes them swell as soon as they are placed in a liquid. This is why they are used in this recipe today. They thicken the raspberry coulis and give it the much appreciated consistency of jam.
Place the raspberries, coconut syrup, lemon juice and zest in a saucepan and simmer over low heat for about 10 minutes (the mixture should reduce by half). Remove from heat.
Allow to cool slowly and stir occasionally.
Pour into a glass jar and store in the refrigerator for up to 2 weeks.
Recipe Notes
Tip: This jam can also be eaten raw. In this case, you can do the following: Instead of step 1, mash the raspberries with a fork to make a puree. Then repeat the rest of the recipe. The advantage of a "raw jam” is that the nutrients are better preserved because there is no cooking.
This article is brought to you by Noémie Nutrition, a qualified nutritionist in Lausanne. You can find her on her website http://www.noemienutrition.com
Une recette de confiture express vraiment bluffante. La combinaison du sucre et des graines de chia fonctionne vraiment bien et apporte une belle structure épaisse à la confiture. Le goût n’est pas en reste car la recette contient juste ce qu’il faut de sucre pour adoucir la saveur naturelle du fruit. Par rapport aux recettes traditionnelles, la quantité de sucre a été réduite de moitié sans qu’on le remarque en bouche. Un régal avec la purée d’amandes et les noix hachées qui apportent du croquant.
Tartines de confiture de myrtilles et de graines de chia
Dans une casserole, porter à ébullition tous les ingrédients, baisser le feu et laisser cuire env. 10 min pour que la confiture épaississe en remuant de temps en temps.
Retirer du feu, écraser les baies à la fourchette si nécessaire, verser la confiture dans un bocal en verre et laisser refroidir.
Pain et garnitures
Faire griller le pain, tartiner de purée d’amandes puis de confiture.
Hacher les amandes et des noix de pécan.
Décorer les tartines avec les noix et bonne dégustation !
Recipe Notes
Trouve tous les ingrédients dont tu as besoin sur Farmy !
Cet article vous est proposé par Noémie Nutrition, votre nutritionniste diplômée à Lausanne. Retrouvez-moi sur son site www.noemienutrition.com
Chiasamen muss man nicht mehr vorstellen. Dank ihrer aussergewöhnlichen ernährungsphysiologischen Eigenschaften sind diese kleinen Samen ein Muss in all unseren gesunden Rezepten geworden.
Ihr Erfolg lässt sich auch durch ihre hydrophile Reaktion erklären, die sie aufquellen lässt, sobald sie in eine Flüssigkeit gegeben werden. Deshalb werden sie heute in diesem Rezept verwendet. Sie verdicken das Himbeercoulis und geben ihm die geschätzte Konsistenz von Gonfi.
Himbeeren, Kokosnusssirup, Zitronensaft und -schale in einen Topf geben und bei niedriger Hitze etwa 10 Minuten köcheln lassen (die Mischung sollte um die Hälfte einkochen). Vom Herd nehmen.
Langsam abkühlen lassen und gelegentlich umrühren.
In ein Glasgefäss füllen und bis zu 2 Wochen im Kühlschrank aufbewahren.
Recipe Notes
Tipp: Diese Gonfi kann auch roh gegessen werden. In diesem Fall kannst du wie folgt vorgehen: Anstelle von Schritt 1 zerdrückst du die Himbeeren mit einer Gabel zu einem Püree. Dann wiederholst du den Rest des Rezepts. Der Vorteil einer "rohen Gonfi" ist, dass die Nährstoffe besser erhalten bleiben, weil sie nicht gekocht wird.
Alle Zutaten, die du brauchst, bekommst du bei Farmy! Dieser Artikel stammt von Noémie Nutrition, einer ausgebildeten Ernährungsberaterin in Lausanne. Du kannst sie auf ihrer Website http://www.noemienutrition.com finden.