All Posts By Bouche Bée

Crumble fraise-rhubarbe sans gluten

Posted on 1 min read

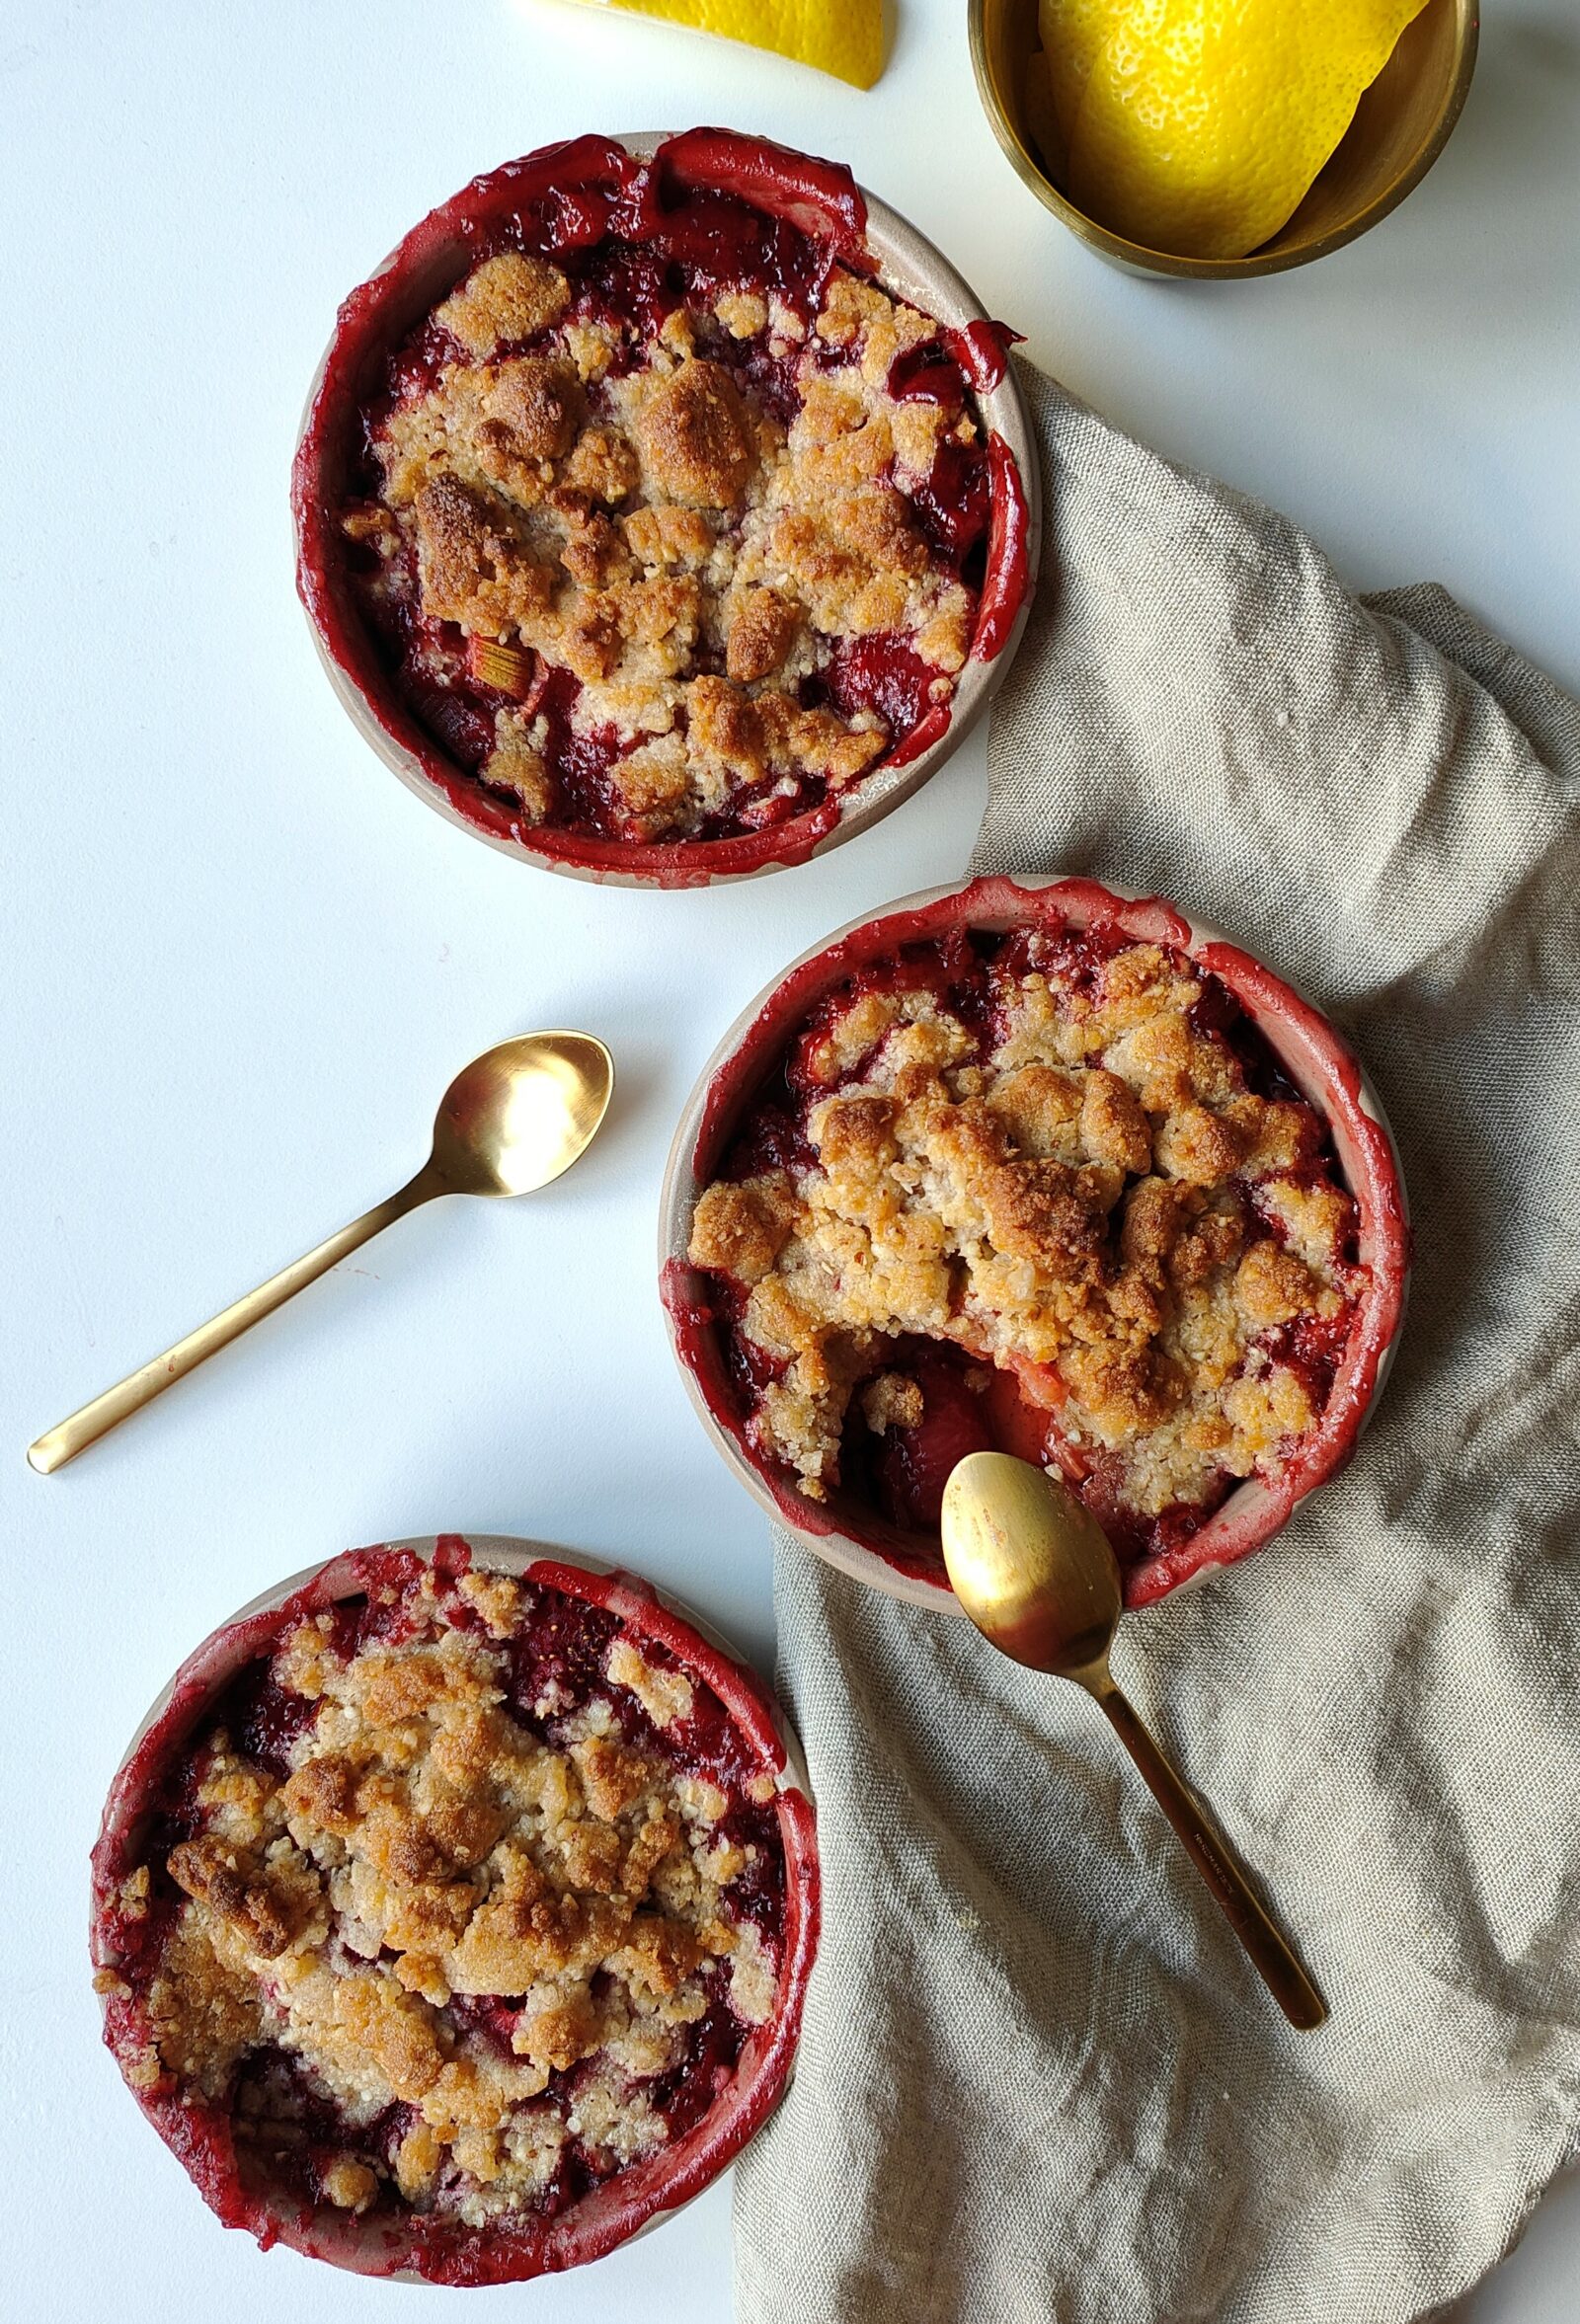
Voici une délicieuse recette de crumble fraise-rhubarbe sans gluten en dessert d’été, pour ne pas oublier d’utiliser les produits de saison comme la fraise et la rhubarbe !

Rhubarb-strawberry crumble
Crumble fraise-rhubarbe sans gluten
Votes: 0
Rating: 0
You:
Rate this recipe!
Rezept drucken
Servings Prep Time
4 portions 15 minutes
Cook Time
20 minutes
Servings Prep Time
4 portions 15 minutes
Cook Time
20 minutes
Rhubarb-strawberry crumble
Crumble fraise-rhubarbe sans gluten
Votes: 0
Rating: 0
You:
Rate this recipe!
Rezept drucken
Servings Prep Time
4 portions 15 minutes
Cook Time
20 minutes
Servings Prep Time
4 portions 15 minutes
Cook Time
20 minutes
Ingredients
Servings: portions
Units:
Instructions
  1. Préchauffer le four à 180°C.
  2. Couper la rhubarbe et les fraises grossièrement. Les déposer dans un bol avec le zeste de citron et le sucre roux. Mélanger et laisser reposer le temps de faire le crumble.
  3. Faire un tant pour tant de farine sans gluten, sucre blanc, amandes et beurre froid.
  4. Émietter le tout jusqu'à l'obtention de la pâte à crumble.
  5. Déposer le mélange fraise rhubarbe au fond des ramequins et saupoudrer de crumble.
  6. Enfourner env. 20 minutes à 180°C.
Recipe Notes

PS : Le crumble est meilleur dégusté encore tiède !


Achète tous les ingrédients dont tu as besoin chez Farmy !

Share

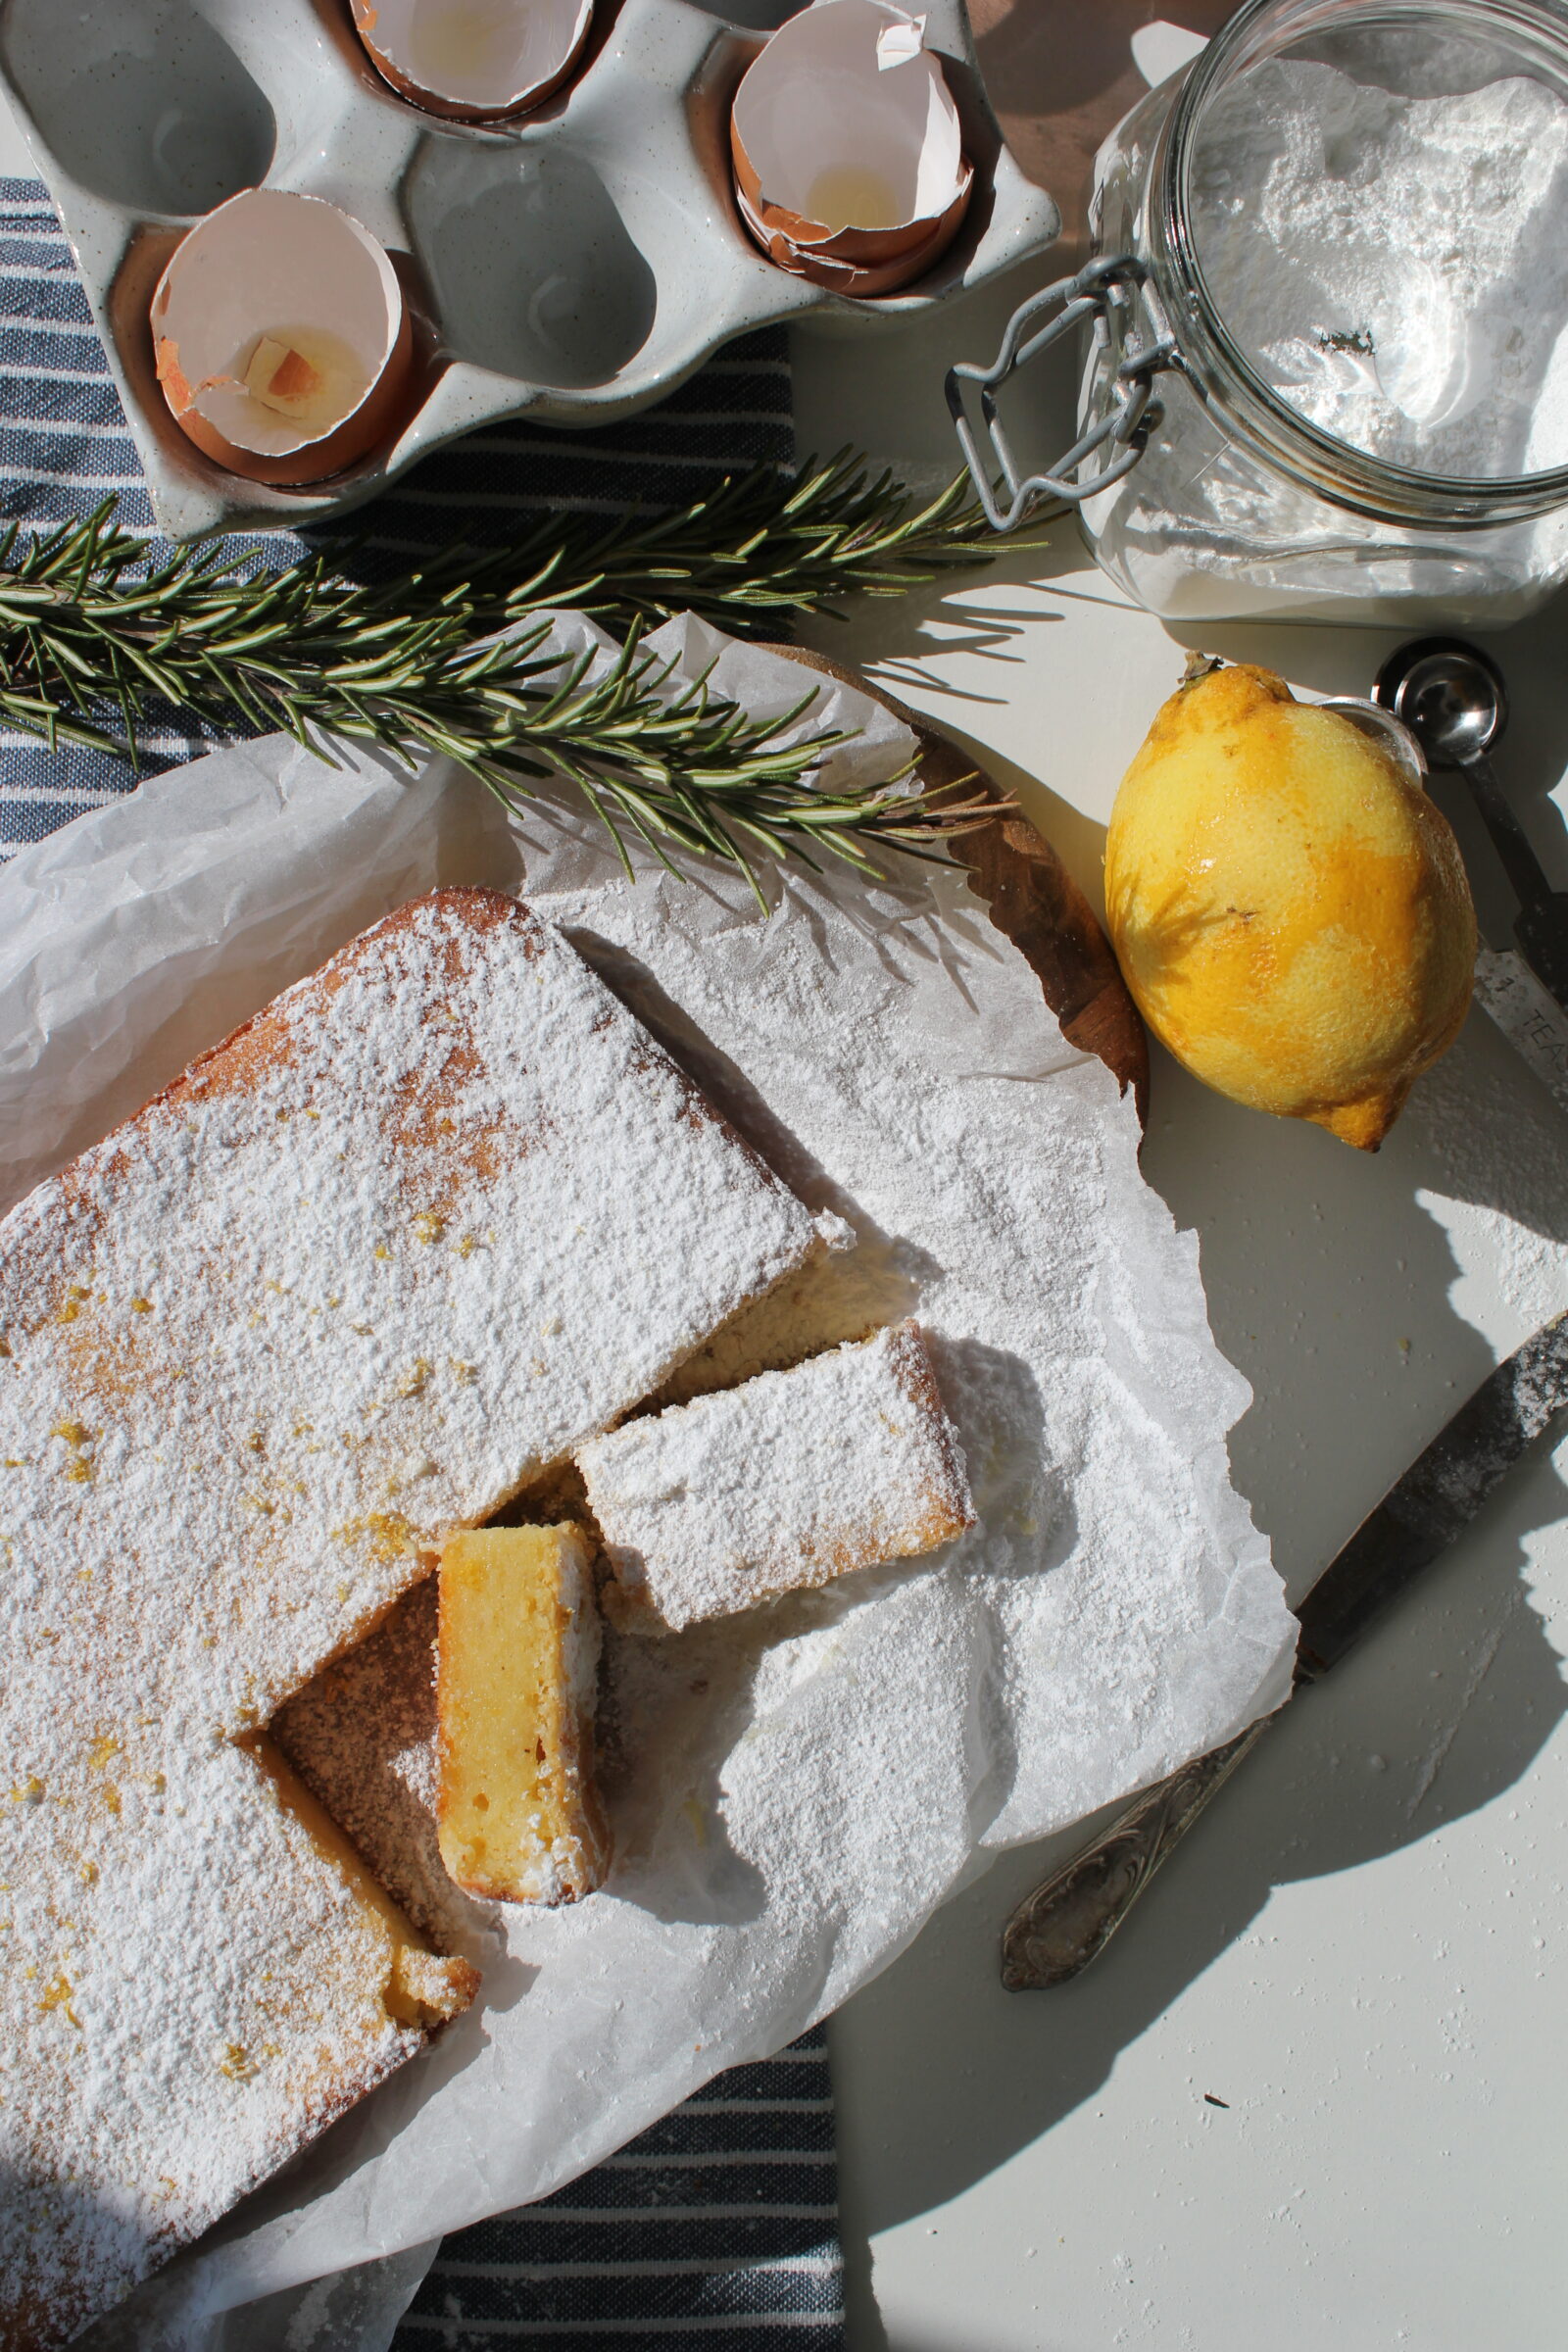
Cake ricotta-citron-romarin

Posted on 0 min read
Cake ricotta-citron-romarin
Votes: 1
Rating: 4
You:
Rate this recipe!
Rezept drucken
Servings Prep Time
1 cake standard 5 minutes
Cook Time
55 minutes
Servings Prep Time
1 cake standard 5 minutes
Cook Time
55 minutes
Cake ricotta-citron-romarin
Votes: 1
Rating: 4
You:
Rate this recipe!
Rezept drucken
Servings Prep Time
1 cake standard 5 minutes
Cook Time
55 minutes
Servings Prep Time
1 cake standard 5 minutes
Cook Time
55 minutes
Ingredients
Servings: cake standard
Units:
Instructions
  1. Dans un bol mixer le beurre, le sucre et le zeste de citron.
  2. Ajouter les œufs et mélanger à nouveau.
  3. Incorporer la ricotta, le jus de citron et le romarin ciselé.
  4. Ajouter la farine, la poudre à lever et la pincée de sel et mélanger jusqu'à l'obtention d'un appareil lisse et onctueux.
  5. Verser la préparation dans un moule préalablement graissé.
  6. Enfourner pendant 55 minutes à 170°C.
  7. Sortir du four, démouler et laisser refroidir.
  8. Saupoudrer de sucre glace et ajouter un peu de zeste frais !

Share

Der “Trichterkuchen”

Posted on 1 min read

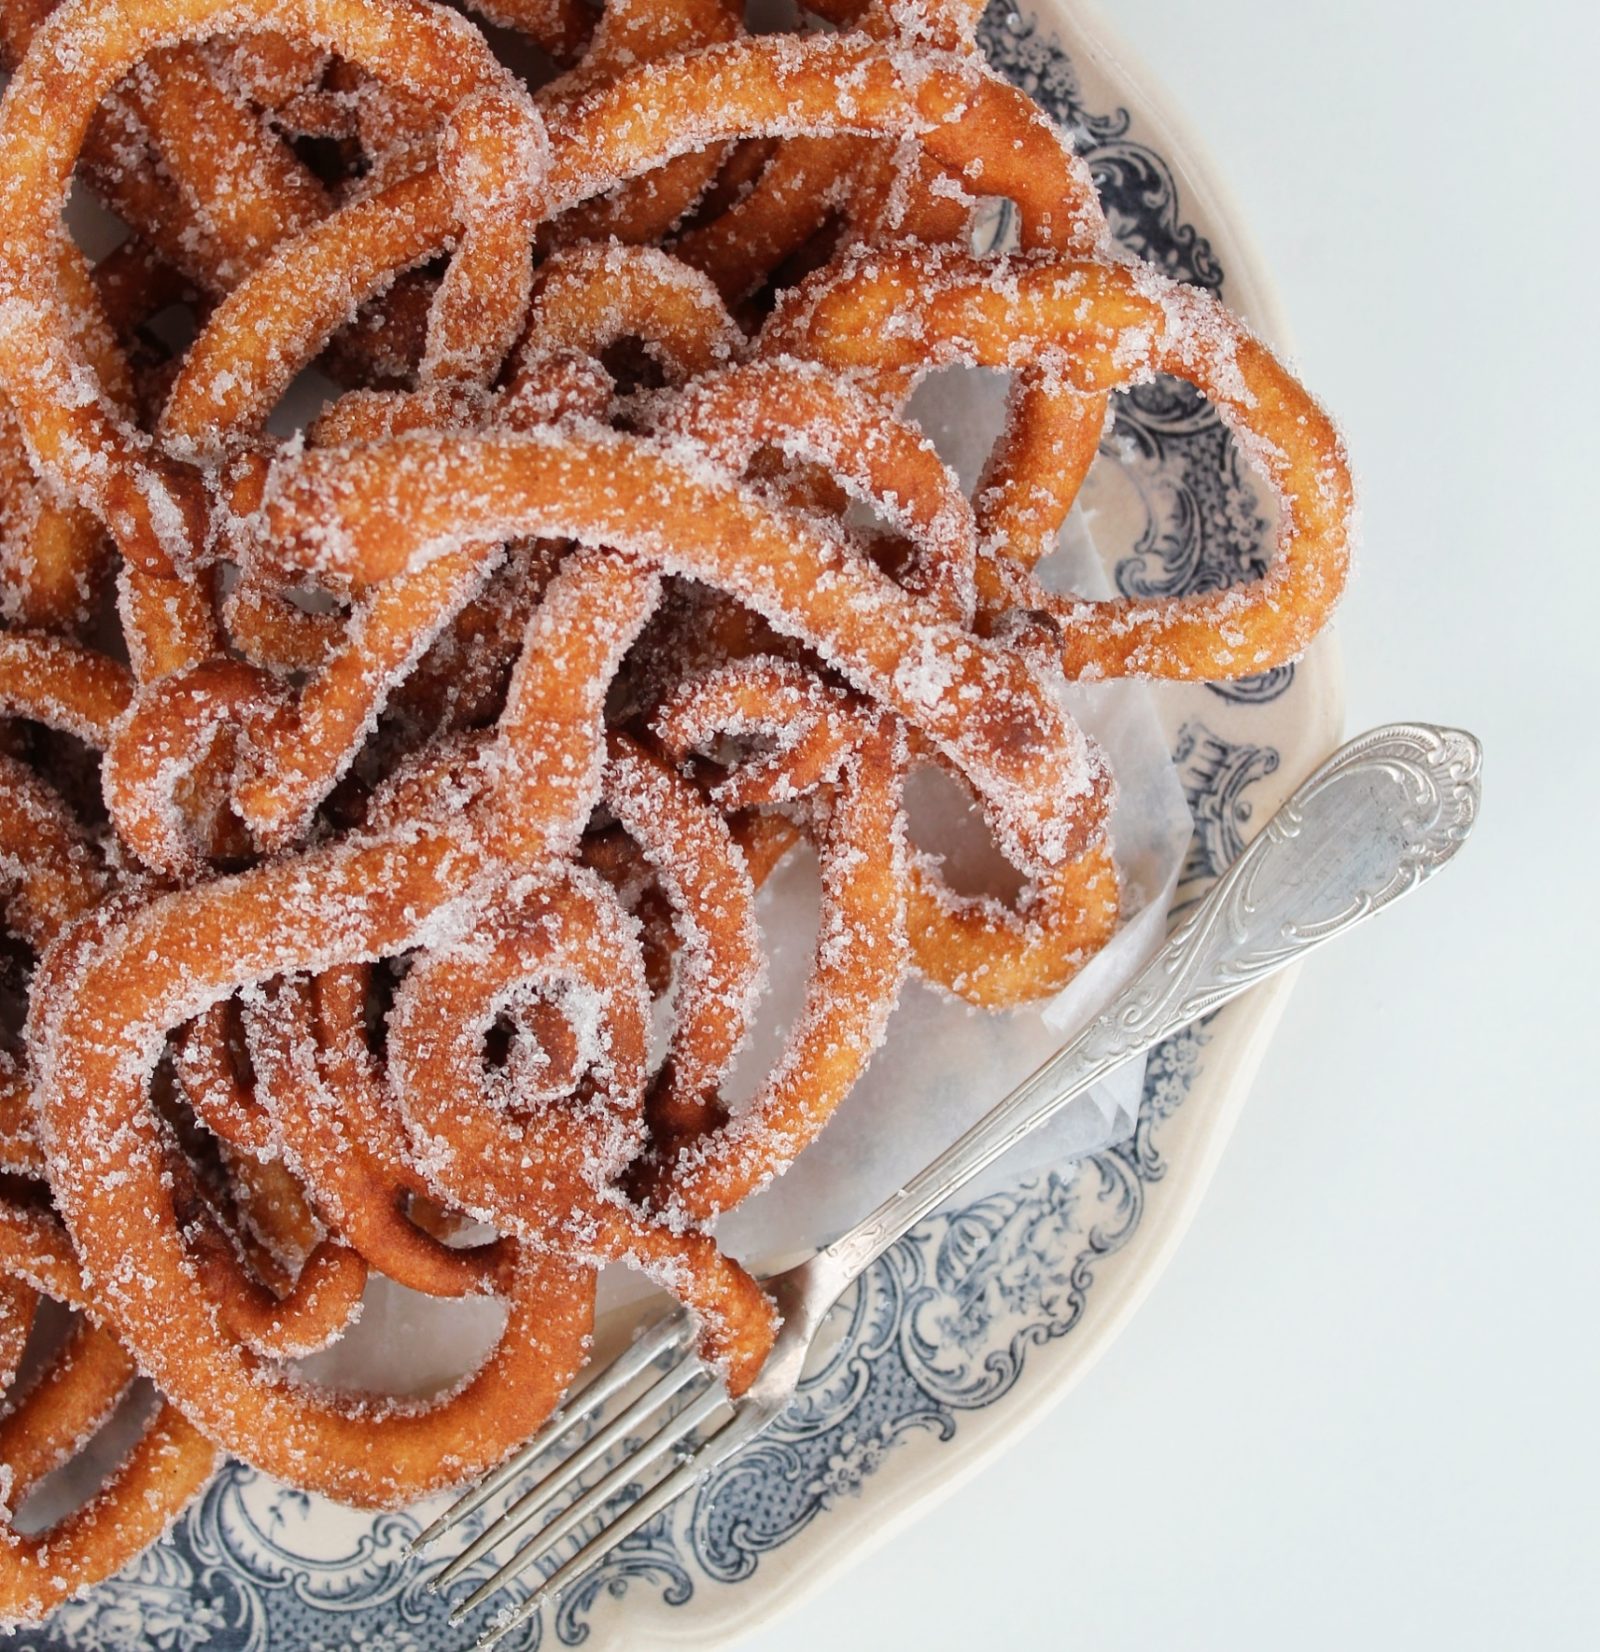
Der Monat Februar bringt die Fasnachts-Feierlichkeiten mit sich. Er erinnert uns dabei daran, wie viel Spass Jahrmarktsessen macht – ein heimliches Vergnügen. Konzentrieren wir uns heute auf eine nordamerikanische Spezialität: den “Trichterkuchen”!

funnel cake
funnel cake
Der "Trichterkuchen"
Votes: 0
Rating: 0
You:
Rate this recipe!
Rezept drucken
Servings Prep Time
10 Knöpfe 20 Minuten
Servings Prep Time
10 Knöpfe 20 Minuten
funnel cake
Der "Trichterkuchen"
Votes: 0
Rating: 0
You:
Rate this recipe!
Rezept drucken
Servings Prep Time
10 Knöpfe 20 Minuten
Servings Prep Time
10 Knöpfe 20 Minuten
Ingredients
Für den Teig
Zum Kochen & Fertigstellen
Servings: Knöpfe
Units:
Instructions
  1. Das Mehl, den Zucker, das Salz und Backpulver mit dem Schwingbesen vermischen.
  2. Eine Mulde formen, die Milch und Eier hinzufügen und mischen, bis eine glatte und homogene Masse entsteht (sie sollte nicht zu flüssig sein).
  3. Das Sonnenblumenöl in eine hohe Pfanne geben und erhitzen.
  4. Den Teig in einen Spritzbeutel füllen. Eine Öffnung von circa ½ cm Breite hineinschneiden.
  5. Sobald das Öl sehr heiss ist, den Teig hineinfliessen lassen. Die Formen (Spiralen, abstrakte Figuren) sind hierbei dir überlassen.
  6. Nimm den "Trichterkuchen" aus der Pfanne, sobald er beidseitig eine dunkle, goldene Farbe angenommen hat.
  7. Lege die Formen auf etwas Küchenpapier, damit dieses das überschüssige Öl aufsaugen kann.
  8. In Puderzucker dippen und abkühlen lassen.

Share

Super bowl sucré

Posted on 1 min read

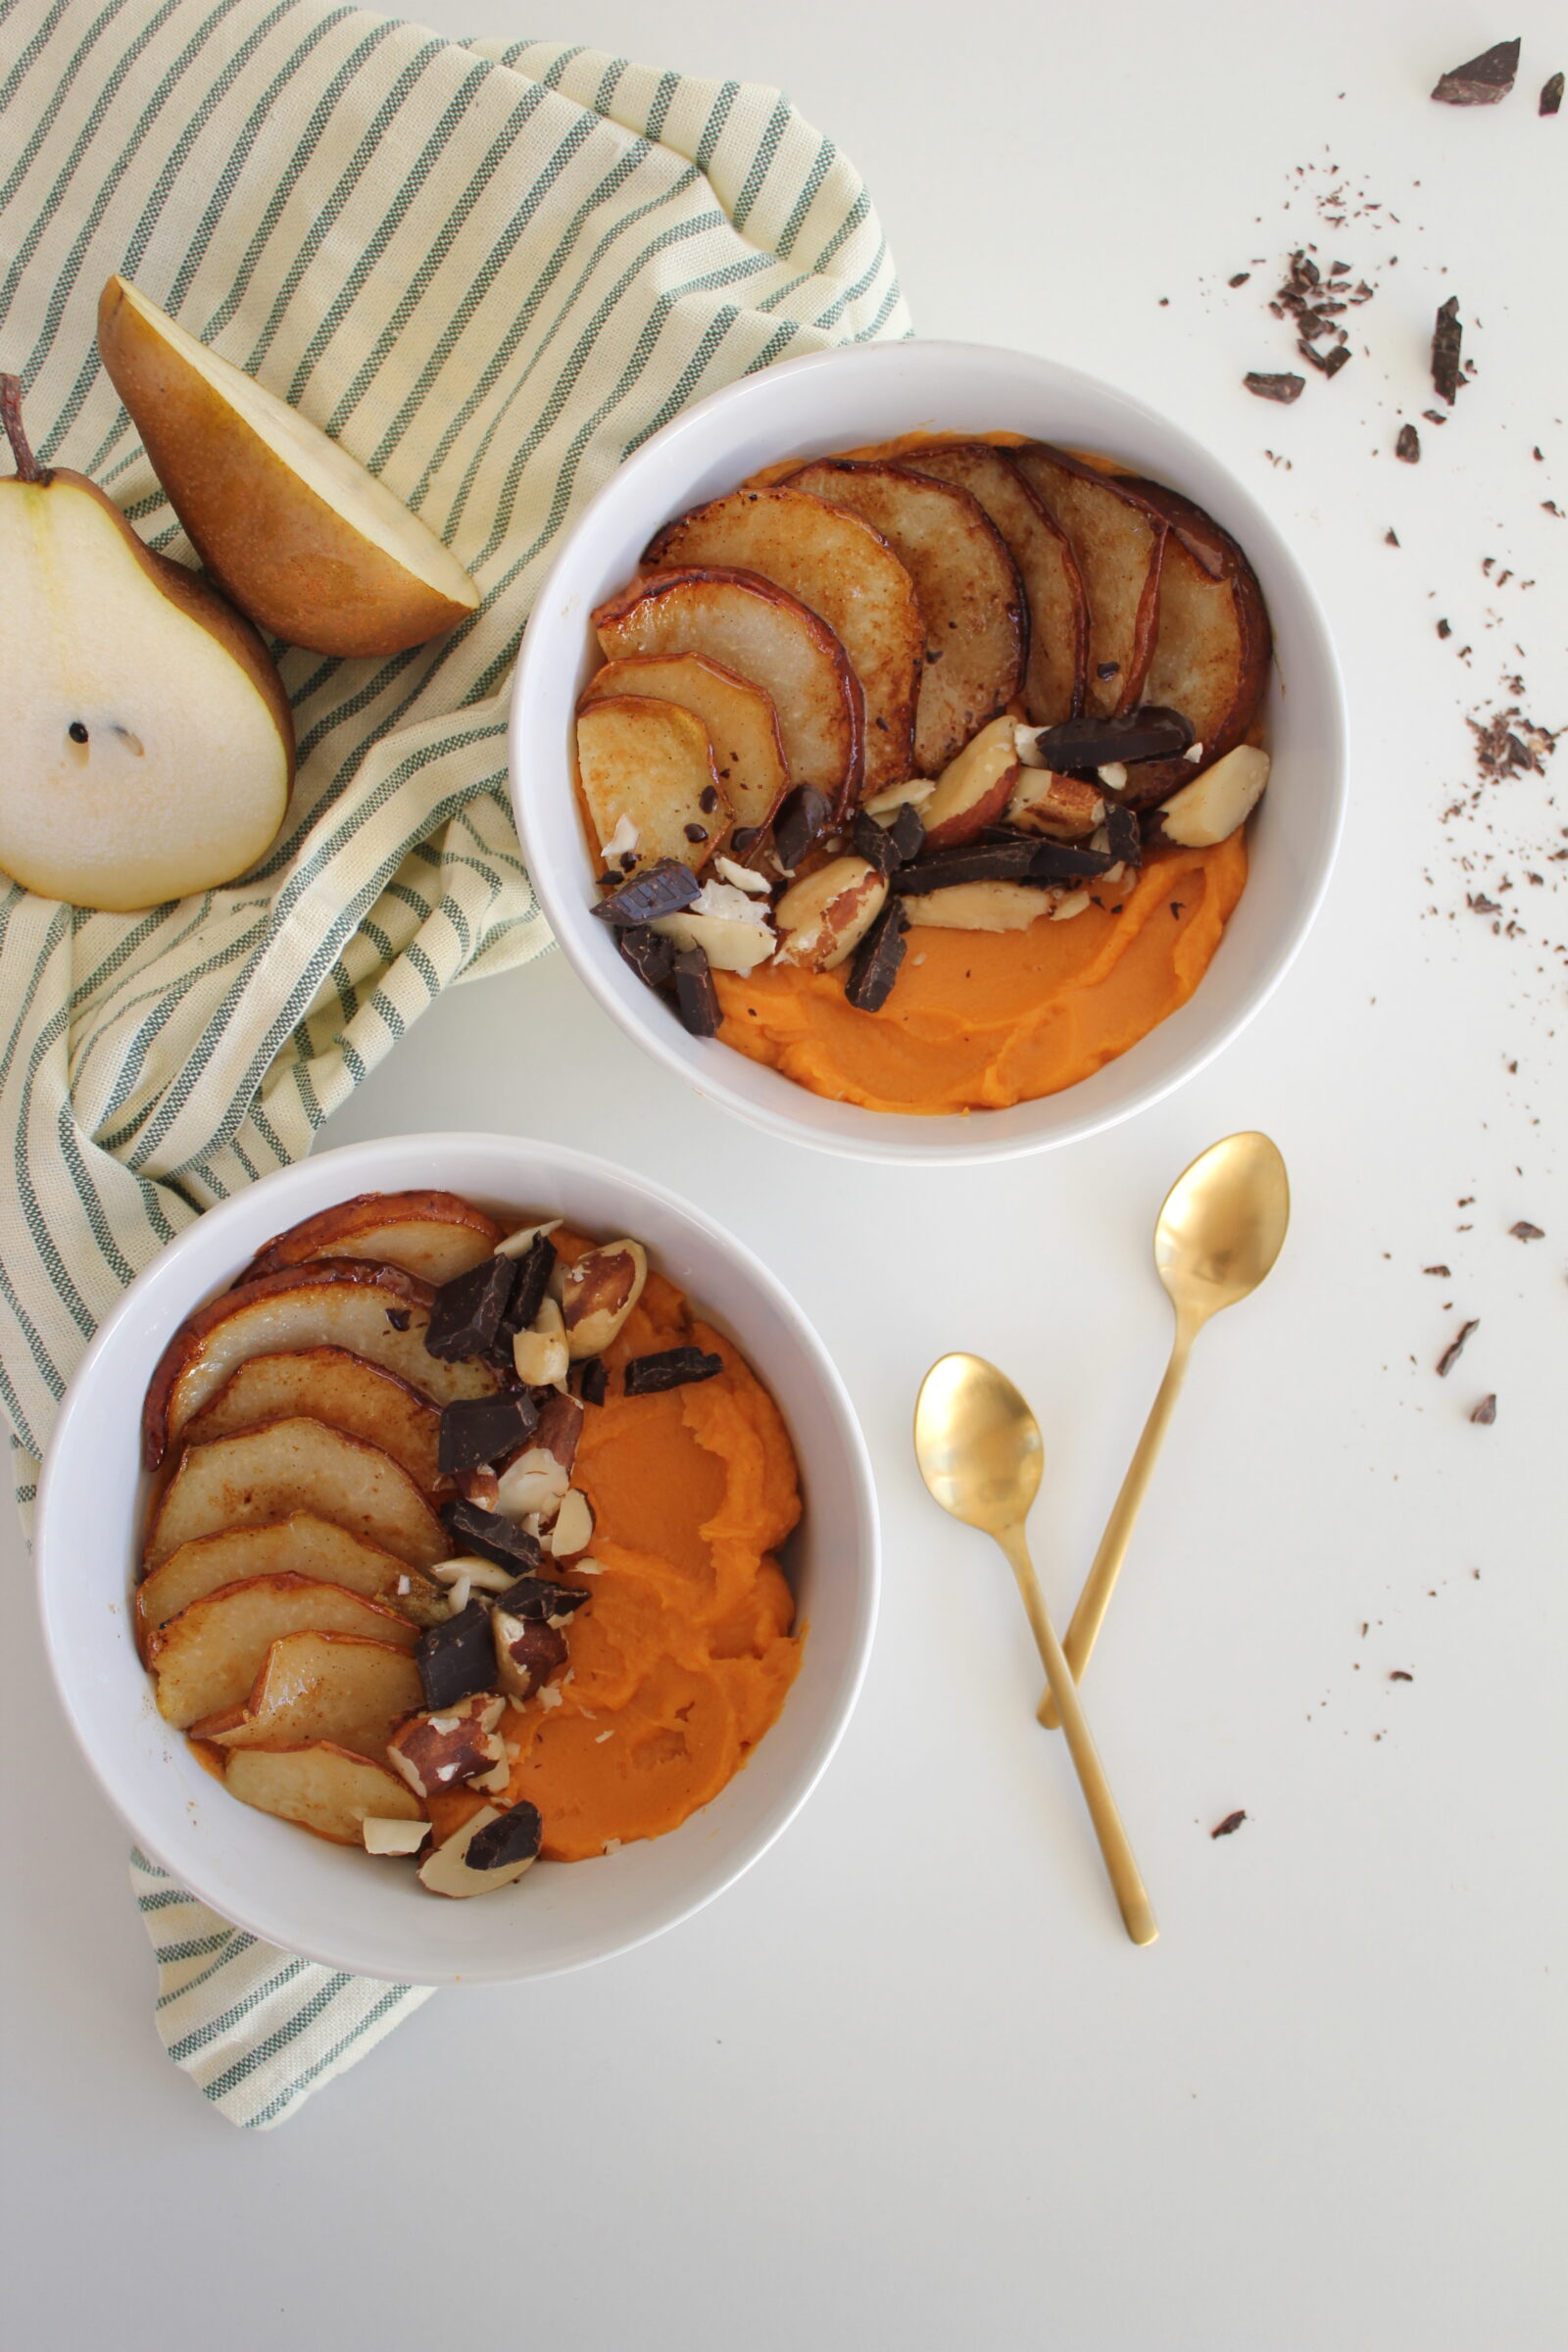
Un délicieux bowl à la patate douce, et décoré de chocolat noir et poires caramélisées… Besoin d’en dire plus ? Parfait pour un délicieux snack l’après-midi, tu peux préparer ta purée de patate douce à l’avance, il ne faudra que quelques minutes pour le rendre aussi joli et faire l’envie de tes collègues à quatre heures.

Super bowl sucré
Votes: 0
Rating: 0
You:
Rate this recipe!
Rezept drucken
Servings Prep Time
2 bowl 5 minutes
Cook Time
40 minutes
Servings Prep Time
2 bowl 5 minutes
Cook Time
40 minutes
Super bowl sucré
Votes: 0
Rating: 0
You:
Rate this recipe!
Rezept drucken
Servings Prep Time
2 bowl 5 minutes
Cook Time
40 minutes
Servings Prep Time
2 bowl 5 minutes
Cook Time
40 minutes
Ingredients
Servings: bowl
Units:
Instructions
  1. Dans une poêle, faire caraméliser des tranches de poire à la graisse de coco avec un peu de miel.
  2. Une fois bien dorées, les retirer de la poêle et réserver pour le dressage.
  3. Cuire les patates douces à la vapeur jusqu'à ce qu'elles soient fondantes et les laisser refroidir.
  4. Les mettre ensuite dans un bol mixeur avec le lait, le sucre de coco, la vanille, le zeste et le jus d'orange.
  5. Mixer jusqu'à l'obtention d'un appareil onctueux.
  6. Dresser la purée de patate douce dans deux bols et agrémenter des noix du Brésil, des poires caramélisées et du chocolat noir concassé.
  7. Bon appétit !

Share

Breakfast bowl

Posted on 1 min read

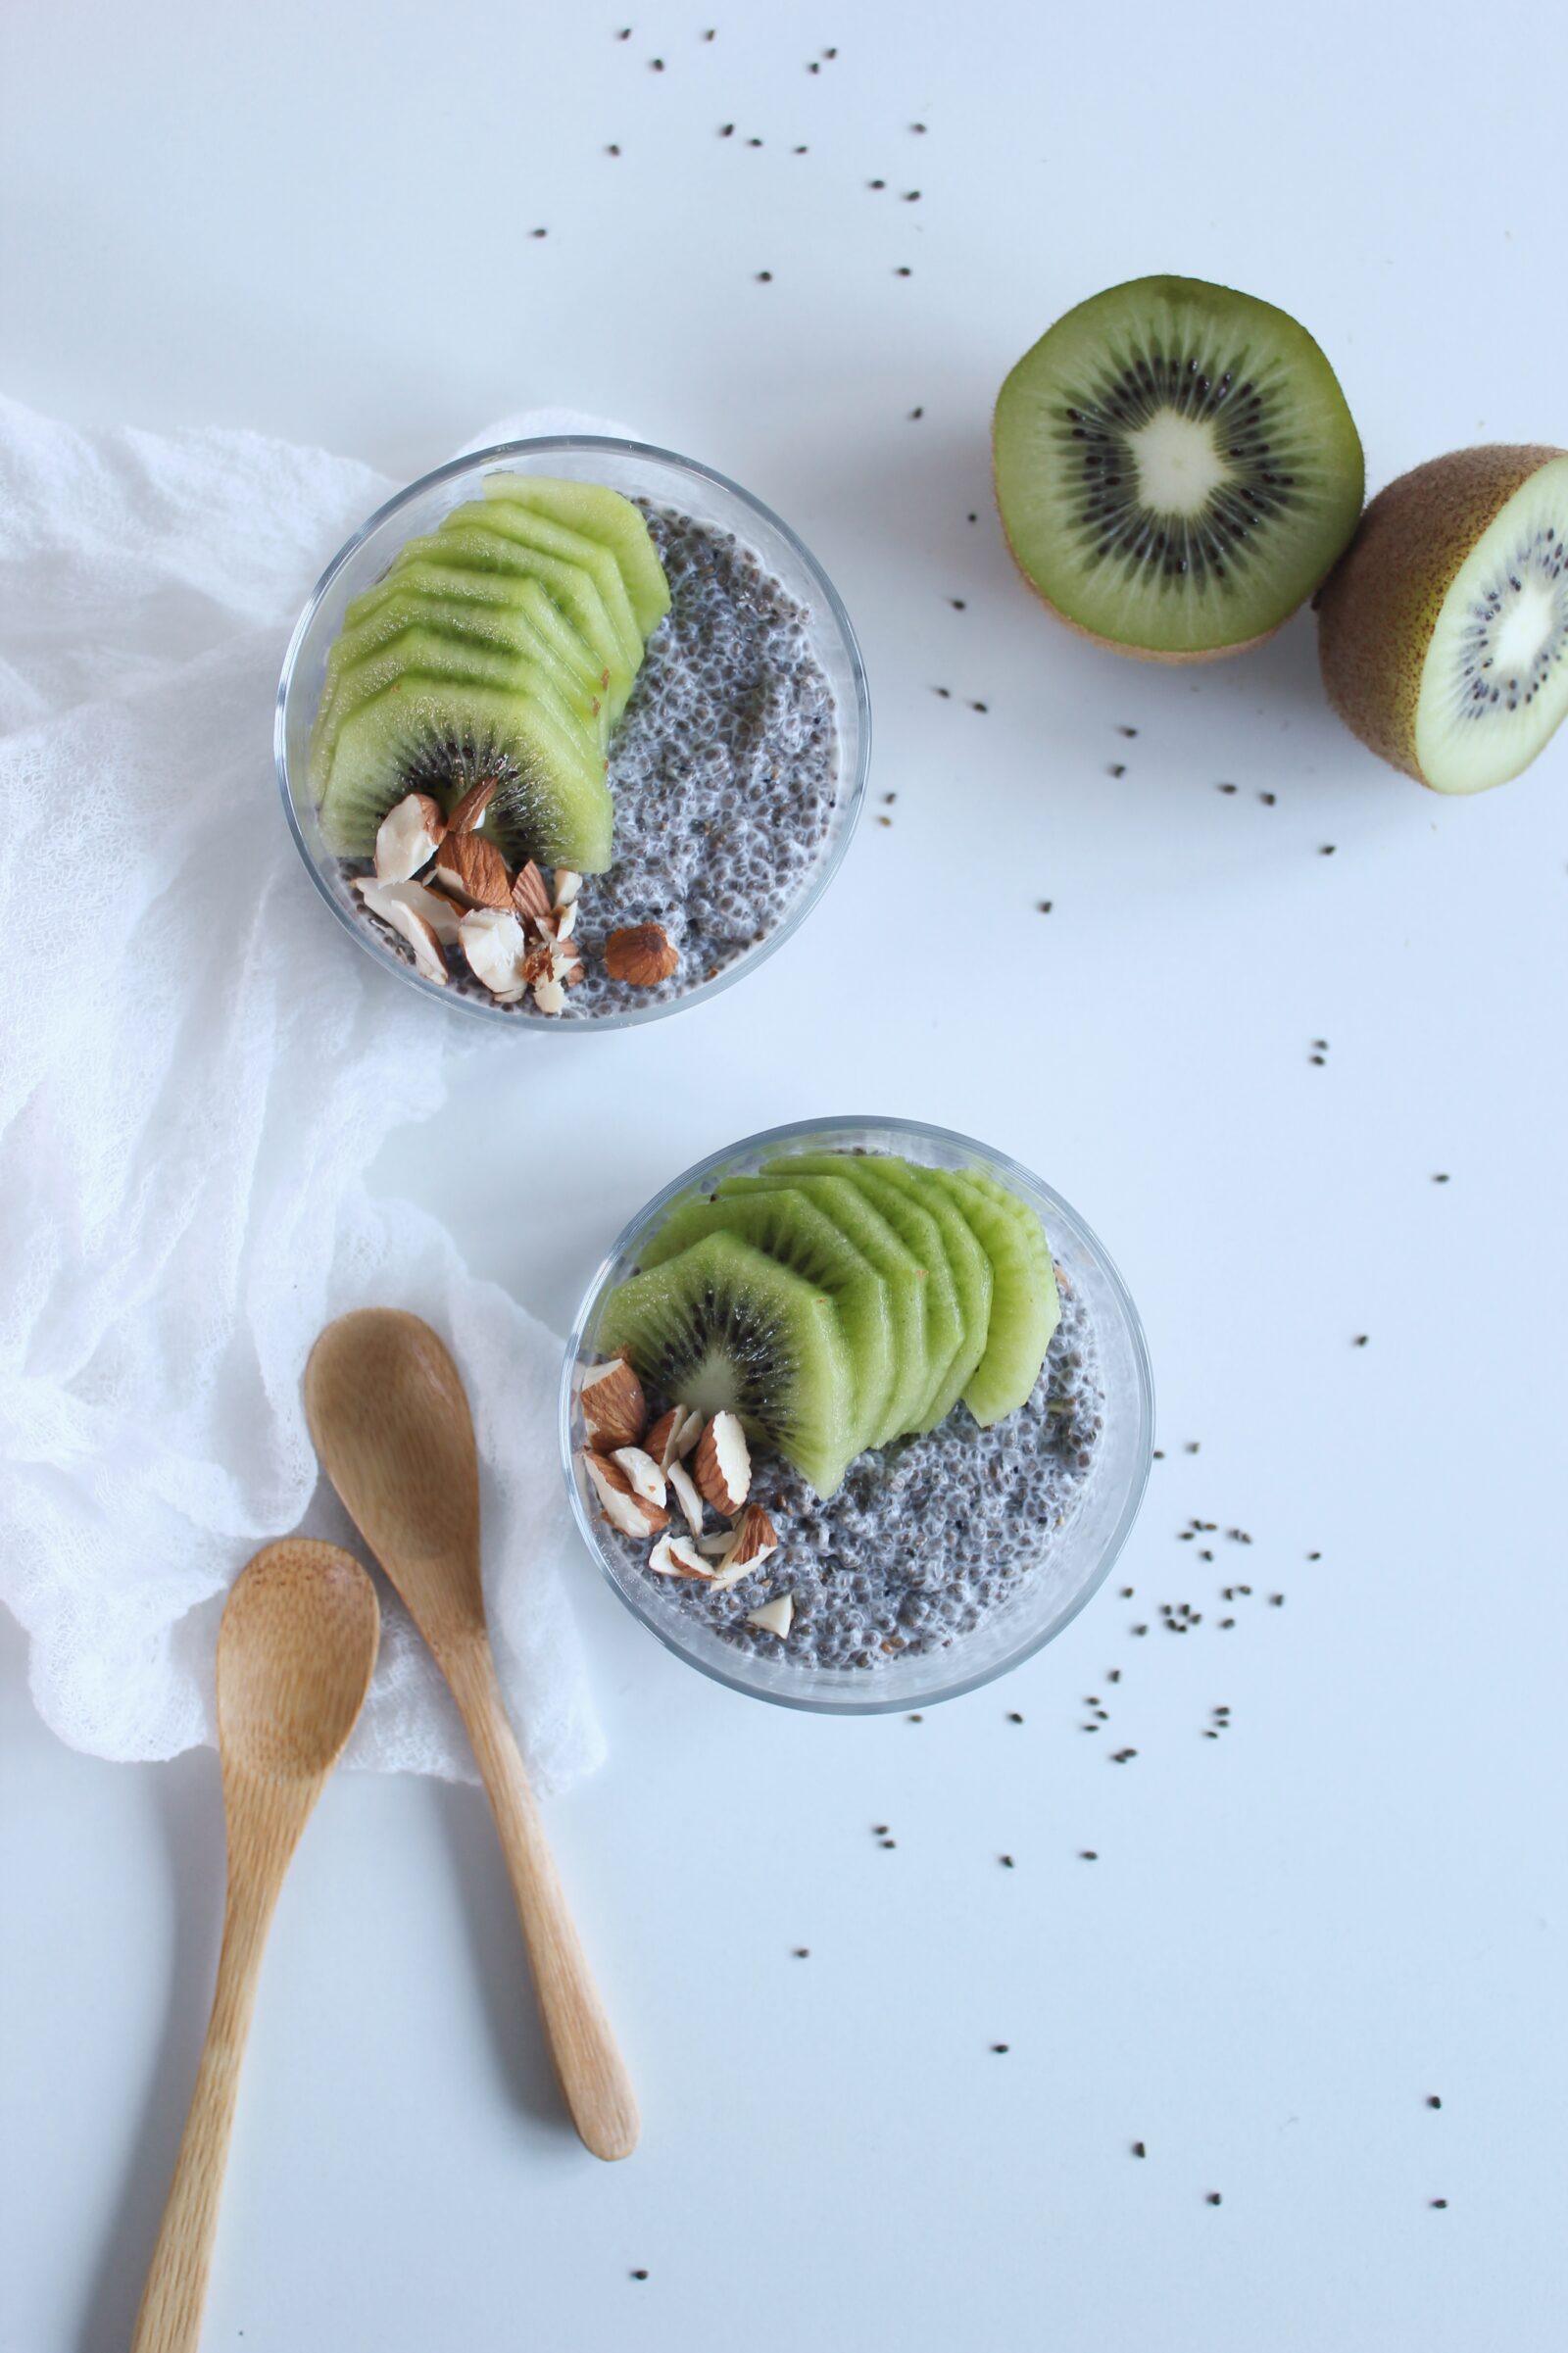
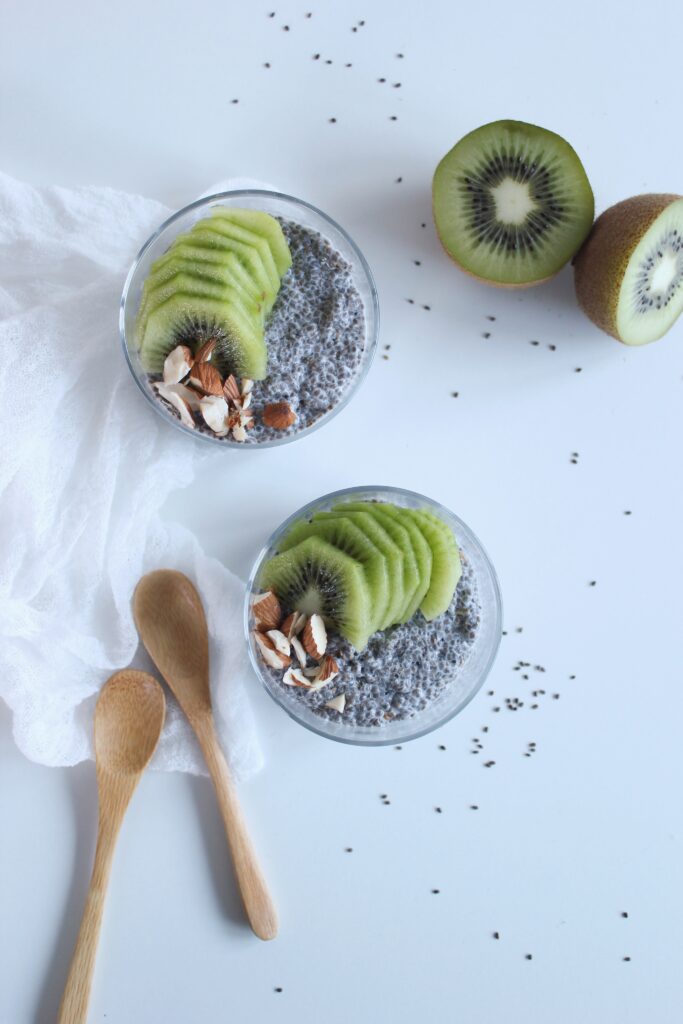
Un super breakfast bowl plein de vitamines pour débuter une journée haute en couleurs. Parfait pour les premières journées d’hiver et tout aussi bon en été.

Breakfast bowl
Votes: 0
Rating: 0
You:
Rate this recipe!
Rezept drucken
Servings Prep Time
2 personnes 10 minutes
Cook Time
10 minutes
Servings Prep Time
2 personnes 10 minutes
Cook Time
10 minutes
Breakfast bowl
Votes: 0
Rating: 0
You:
Rate this recipe!
Rezept drucken
Servings Prep Time
2 personnes 10 minutes
Cook Time
10 minutes
Servings Prep Time
2 personnes 10 minutes
Cook Time
10 minutes
Ingredients
Servings: personnes
Units:
Instructions
  1. Dans une casserole, faire chauffer à feu moyen le lait, le miel, la vanille, la mélisse et les graines de chia.
  2. Lorsque les graines de chia ont bien gonflé et qu'une consistance épaisse est obtenue, retirer du feu.
  3. Déposer la préparation dans de petites verrines et décorer d'un kiwi frais et de quelques amandes concassées.

Share

Paris-Brest with apple and peanut twist

Posted on 1 min read

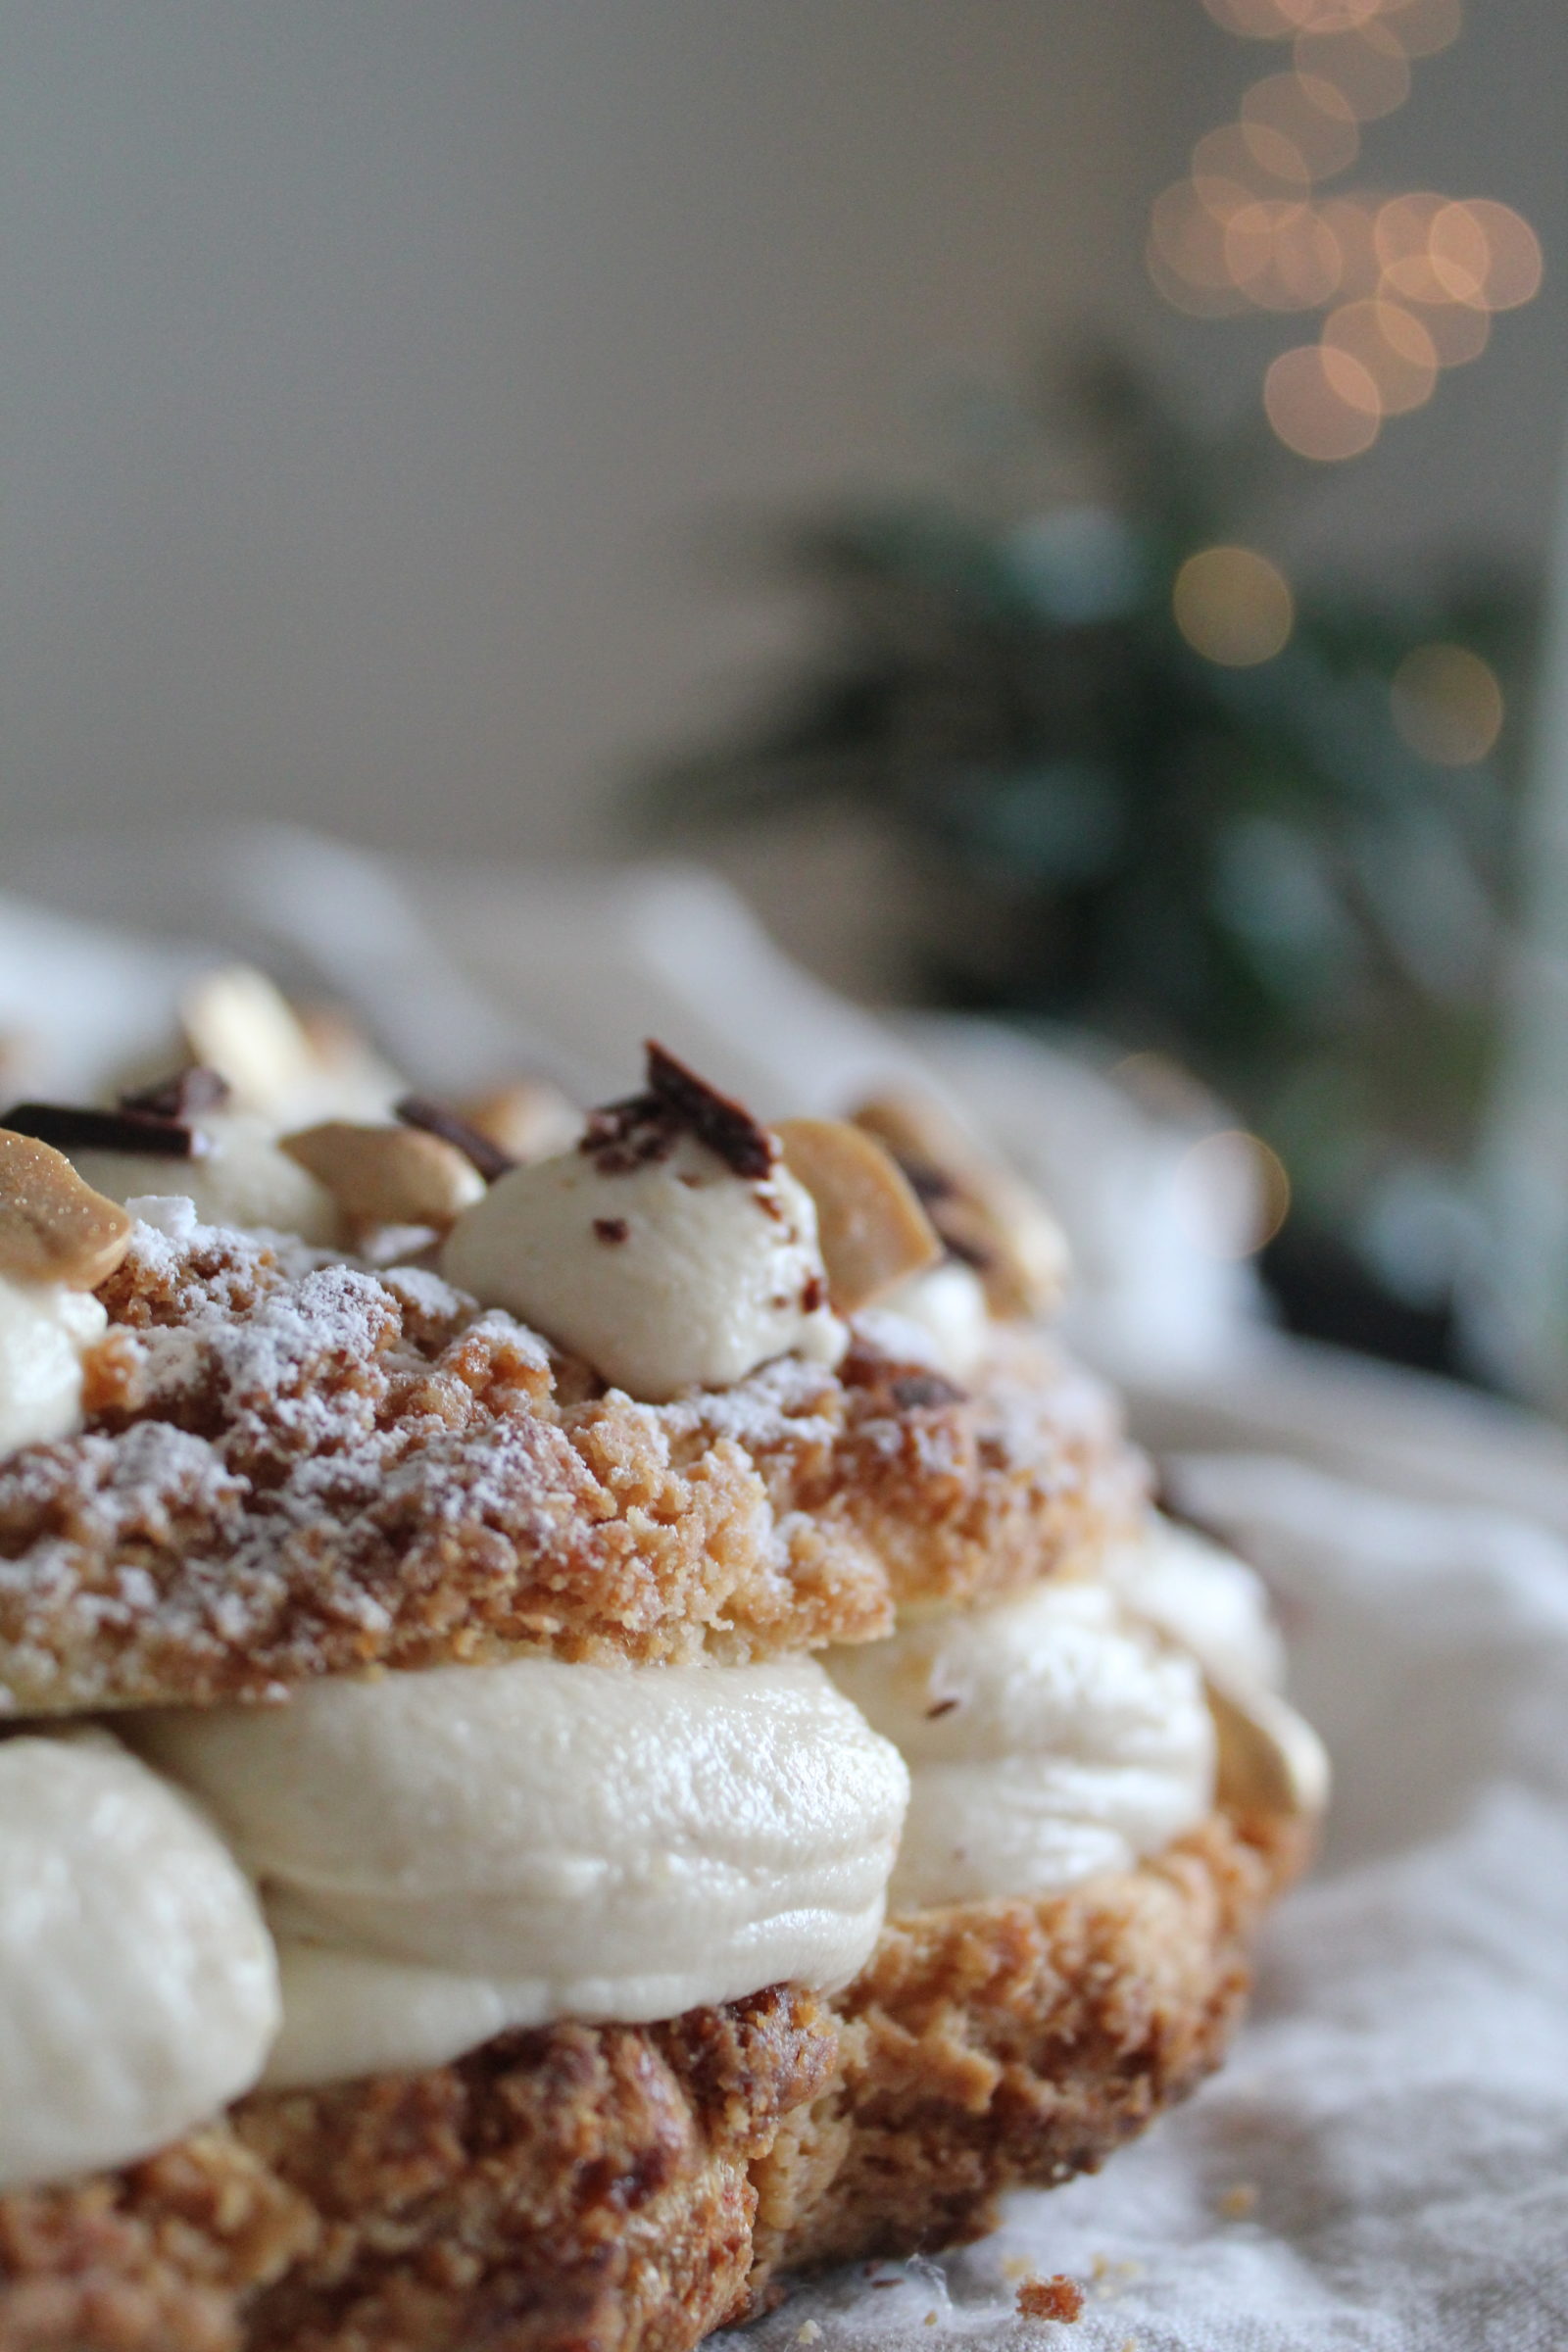
A wonderfully festive treat: Paris-Brest! A french desserts made from choux pastry and filled with delicious cream. Give it a try now!

Paris-Brest with apple and peanut twist
Votes: 0
Rating: 0
You:
Rate this recipe!
Rezept drucken
Prep Time
1 hour
Cook Time
20 minutes
Prep Time
1 hour
Cook Time
20 minutes
Paris-Brest with apple and peanut twist
Votes: 0
Rating: 0
You:
Rate this recipe!
Rezept drucken
Prep Time
1 hour
Cook Time
20 minutes
Prep Time
1 hour
Cook Time
20 minutes
Ingredients
For the choux pastry
For the peanut cream
For the apple compote
Servings:
Units:
Instructions
For the choux pastry
  1. Preheat your oven to 180° C.
  2. Peel and dice the apples.
  3. Stew them over medium heat with the sugar and vanilla for about 20 minutes. Then blend and place in a piping bag. Set aside until ready to assemble.
  4. In another pan, start preparing the choux pastry: add the water, butter, sugar and salt. Bring to a gentle boil.
  5. Add the flour off the heat and dry the dough for a few minutes over low heat.
  6. Remove the dough from the heat, place it in another bowl and let it cool.
  7. Once the choux pastry has cooled, add the eggs one by one to a mixing bowl. The dough should be smooth and sticky at the end.
  8. Put it in a piping bag and create the shape of your choice on the baking paper (e.g. a crown).
  9. Bake the pastry for 20 minutes at 180° C.
For the peanut cream
  1. In a bowl, whip the cream and mascarpone until light and not too stiff. Then fold in the peanut mousse with a whisk so as not to cut the cream.
  2. Place the cream in a piping bag and keep in a cool place until ready to serve.
Assembling
  1. Cut out the top of your choux, place peanut cream balls and insert the compote into each ball.
  2. Add the lid on the tops of your choux. Sprinkle them with icing sugar if you will. Further decorate with a few dark chocolate shavings and roasted peanuts!

Share