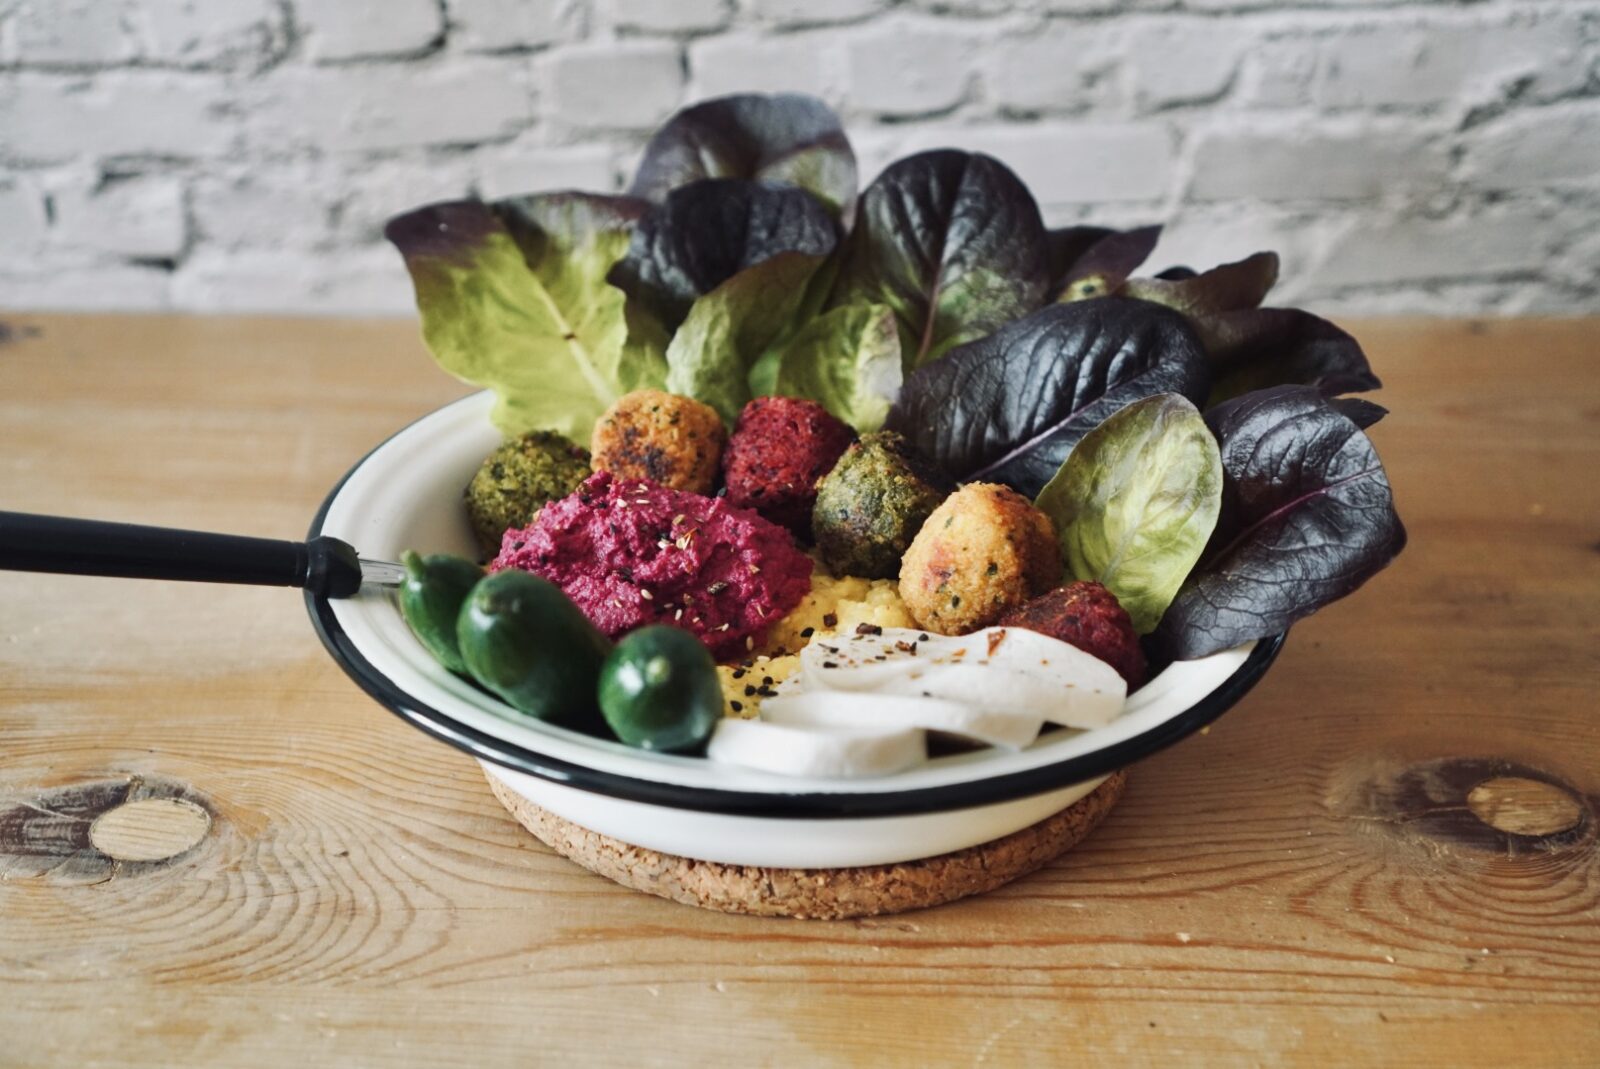
L’été est la saison des grillades ! Au lieu de se contenter de saucisses et de viande, il existe désormais de nombreuses alternatives végétaliennes délicieuses pour les grillades. Et personnellement, j’adore aussi les légumes BBQ. Je les accompagne de préférence de différentes salades. Je partage ici l’une de mes recettes préférées.


Ingredients
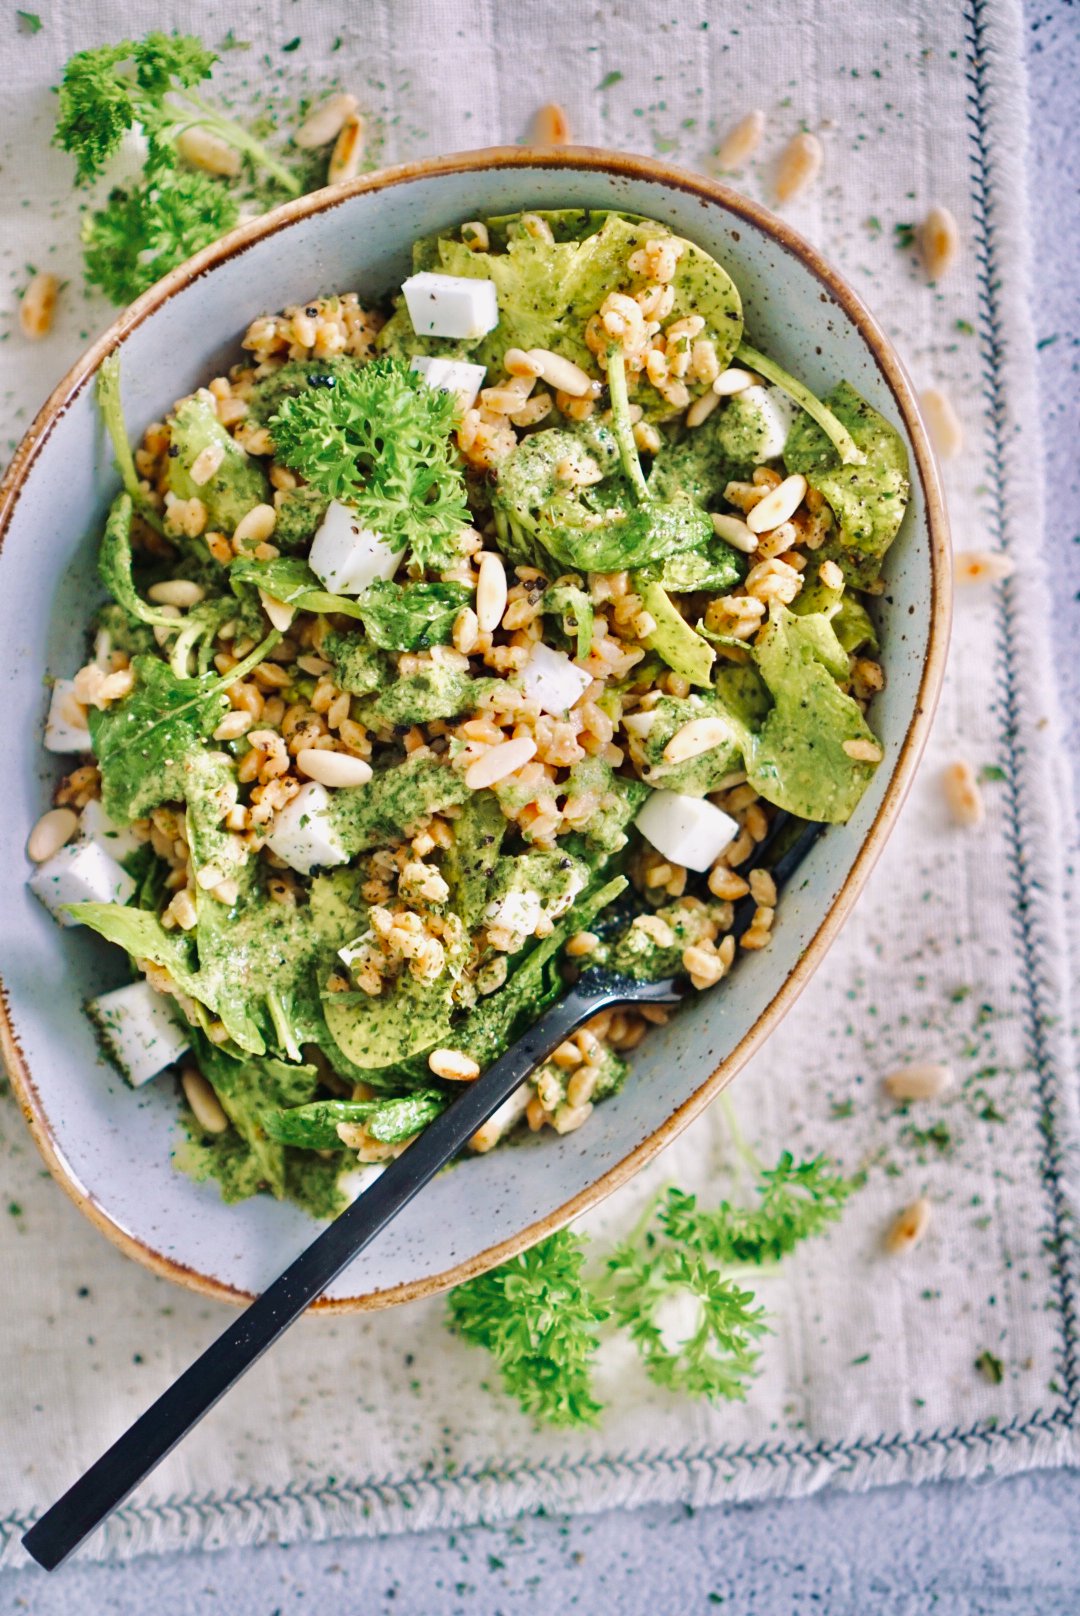
Salade de riz
- 300 g de riz, cuit
- 100 g d'épinards frais lavés
- 100 g de feta végétalienne (ou ricotta)
- 40 g de pignons de pin
- persil frais
Pesto de persil
- 20 g de persil frais
- 140 g d'huile d'olive
- 2 c.a.s de jus de citron
- 60 g de pignons de pin grillés
Servings: portions
Units:
Instructions
- Cuire le riz selon les instructions. Le rincer ensuite à l'eau froide.
- Faire griller les pignons de pin sans huile dans une poêle.
- Pour le pesto, mixer tous les ingrédients.
- Laver les épinards et couper l'alternative au fromage.
- Dresser le tout et garnir de persil frais à la fin.
Recipe Notes
La salade de riz au pesto de persil peut également être préparée la veille et conservée toute la nuit au réfrigérateur. Ainsi, on a moins de stress. Par ailleurs, cela est bénéfique pour l'intestin. En effet, en refroidissant, le riz produit de l'amidon résistant, ce qui favorise les bonnes bactéries intestinales. Trouver tous les ingrédients chez Farmy!