All Posts By Angela Ruoss

Cold Brew – THE beverage for hot days

Posted on 1 min read

Not cold coffee! As the name suggests, coffee is brewed cold when it comes to cold brew. This makes it taste much less bitter in the end than if you were to brew it warm and then let it cool down. Cold brew concentrate is also very easy to prepare. It is best to fill it into a bottle afterwards and store it in the fridge. And as soon as you feel like it: just add water or (plant-based) milk, a few ice cubes and enjoy.

Cold brew with ice cube
Cold Brew – THE beverage for hot days
Votes: 0
Rating: 0
You:
Rate this recipe!
Rezept drucken
Servings
1L cold brew concentrate
Passive Time
12 hours
Servings
1L cold brew concentrate
Passive Time
12 hours
Cold brew with ice cube
Cold Brew – THE beverage for hot days
Votes: 0
Rating: 0
You:
Rate this recipe!
Rezept drucken
Servings
1L cold brew concentrate
Passive Time
12 hours
Servings
1L cold brew concentrate
Passive Time
12 hours
Ingredients
For the Black / White Edition
  • 75 ml water or plant-based milk
Servings: cold brew concentrate
Units:
Instructions
  1. Take a large container or French press and add the coarsely ground coffee.
  2. Pour cold water over the coffee and stir gently to ensure that all the coffee is moistened.
  3. Place the container or French press in the fridge for at least 12 hours (or overnight). The longer the coffee brews, the stronger the aroma will be.
  4. After the brewing time, remove the container from the refrigerator and stir again.
  5. If you are using a French press, press the plunger down slowly to separate the coffee grounds. If you used a container without a filter, you can pour the coffee through a fine sieve or coffee filter to remove the coffee grounds.
  6. Now the Cold Brew concentrate is ready! Depending on your preference, you can now dilute the concentrate with water or milk. Use 25 ml of concentrate to 75 ml of water/milk.
Recipe Notes


I personally prefer to drink the "White" edition with rice milk. This plant-based milk gives the drink a light sweetness – entirely without added sugar.

Get all the ingredients you need at Farmy!

Share

Cold Brew – DAS Getränk für heisse Tage

Posted on 1 min read

Kein kalter Kaffee! Bei Cold Brew wird der Kaffee direkt kalt gebrüht. Dadurch schmeckt er am Ende viel weniger bitter, als wenn du ihn warm brühst und dann abkühlen lässt. Ausserdem ist das Cold Brew Konzentrat ganz einfach zubereitet. Fülle es anschliessend am besten in eine Flasche. Im Kühlschrank lässt es sich gut eine Weile aufbewahren. Und sobald dich die Lust packt: einfach noch Wasser oder (pflanzliche) Milch, ein paar Eiswürfel dazugeben und geniessen.

Cold brew with ice cube
Cold Brew – DAS Getränk für heisse Tage
Votes: 0
Rating: 0
You:
Rate this recipe!
Rezept drucken
Servings
1 L Cold Brew Konzentrat
Passive Time
12 Stunden
Servings
1 L Cold Brew Konzentrat
Passive Time
12 Stunden
Cold brew with ice cube
Cold Brew – DAS Getränk für heisse Tage
Votes: 0
Rating: 0
You:
Rate this recipe!
Rezept drucken
Servings
1 L Cold Brew Konzentrat
Passive Time
12 Stunden
Servings
1 L Cold Brew Konzentrat
Passive Time
12 Stunden
Ingredients
Für die Black / White Edition:
Servings: L Cold Brew Konzentrat
Units:
Instructions
  1. Nimm einen grossen Behälter oder eine French Press und füge den grob gemahlenen Kaffee hinzu.
  2. Giesse kaltes Wasser über den Kaffee und rühre es vorsichtig um, um sicherzustellen, dass der gesamte Kaffee benetzt ist.
  3. Stelle den Behälter oder die French Press für mindestens 12 Stunden (oder über Nacht) in den Kühlschrank. Je länger der Kaffee zieht, desto kräftiger wird das Aroma.
  4. Nach der Ziehzeit den Behälter aus dem Kühlschrank nehmen und erneut umrühren.
  5. Wenn du eine French Press verwendest, drücke den Kolben langsam nach unten, um den Kaffeesatz zu trennen. Wenn du einen Behälter ohne Filter benutzt hast, kannst du den Kaffee durch ein feines Sieb oder einen Kaffeefilter giessen, um den Kaffeesatz zu entfernen.
  6. Jetzt ist das Cold Brew Konzentrat fertig! Je nach Wunsch, kannst du das Konzentrat nun mit Wasser oder Milch verdünnen. Benutze dafür 25 ml Konzentrat zu 75ml Wasser/Milch.
Recipe Notes

Ich persönlich trinke die “White” Edition am liebsten mit Reismilch. Mit dieser pflanzlichen Milch hast du eine leichte Süsse – komplett ohne zugesetzten Zucker. Hol' dir alle Zutaten bei Farmy!

Share

Sugar-free homemade granola

Posted on 1 min read

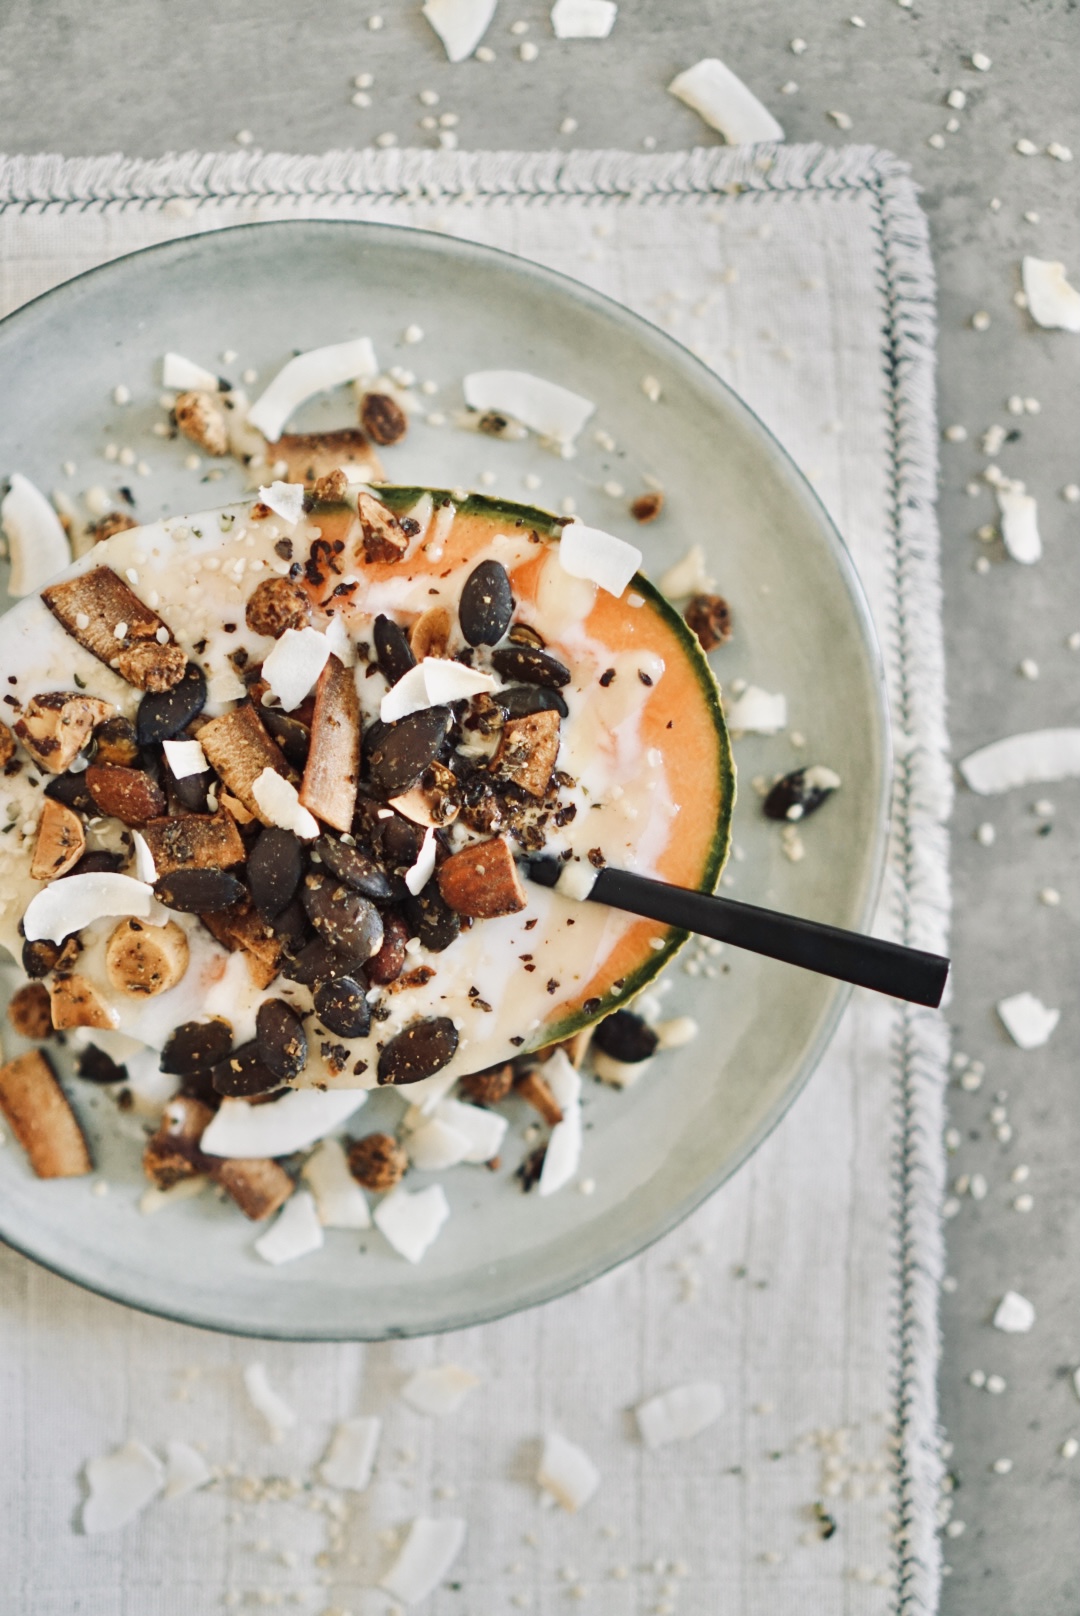
This granola is not only quick to prepare, but also grain-free and therefore gluten-free, low in histamine, low in fructose or rather completely without added sugar, vegan and low FODMAP. So it is well digestible for the vast majority of people – not to mention that the ingredients are very healthy. The seeds, kernels and nuts provide valuable fats, important minerals, vitamins and fibre. They are also a good basis for a protein-rich breakfast that keeps you full for a long time.

Granola on top of joghurt served in half a melon
Sugar-free homemade granola
Votes: 0
Rating: 0
You:
Rate this recipe!
Rezept drucken
Servings
1 tray
Servings
1 tray
Granola on top of joghurt served in half a melon
Sugar-free homemade granola
Votes: 0
Rating: 0
You:
Rate this recipe!
Rezept drucken
Servings
1 tray
Servings
1 tray
Ingredients
Servings: tray
Units:
Instructions
  1. Soak pumpkin seeds, Brazil nuts and almonds in water overnight. Drain the water the next day and rinse the seeds / nuts well (this makes them more digestible, crunchier and easier for the body to absorb).
  2. Mix everything together in a bowl, add coconut oil and season.
  3. Bake at 180 °C fan oven for approx. 30 minutes. Then bake for another 60-90 minutes at 150 °C (until everything is nice and crispy).
Recipe Notes

The granola can be stored in a closed container.
Tip: cut a cantaloupe melon lengthwise, remove the seeds, fill with coconut yoghurt and top with the homemade granola. Mmmh! Tastes just as delicious with local fruit.

Get all the ingredients you need at Farmy!

Share

Zuckerfreies Granola zum Selbermachen

Posted on 1 min read

Dieses Granola ist nicht nur im Nu selber zubereitet, sondern auch noch getreide- und somit glutenfrei, histaminarm, fructosearm bzw. sogar komplett ohne zugesetzten Zucker, vegan sowie Low FODMAP. Es ist also für die allermeisten Menschen gut verträglich – mal ganz abgesehen davon, dass die Zutaten sehr gesund sind. Die Samen, Kerne und Nüsse liefern wertvolle Fette, ausserdem wichtige Mineralstoffe, Vitamine plus Ballaststoffe. Zudem sind sie eine gute Basis für ein proteinreiches Frühstück, das lange satt hält.

Granola on top of joghurt served in half a melon
Zuckerfreies Granola zum Selbermachen
Votes: 0
Rating: 0
You:
Rate this recipe!
Rezept drucken
Servings
1 Blech
Servings
1 Blech
Granola on top of joghurt served in half a melon
Zuckerfreies Granola zum Selbermachen
Votes: 0
Rating: 0
You:
Rate this recipe!
Rezept drucken
Servings
1 Blech
Servings
1 Blech
Ingredients
Servings: Blech
Units:
Instructions
  1. Kürbiskerne, Paranüsse und Mandeln über Nacht in Wasser einlegen. Dieses am nächsten Tag abgiessen und die Kerne / Nüsse gut abspülen (dadurch werden sie sowohl verträglicher und können vom Körper besser aufgenommen werden als auch auch knuspriger).
  2. Alles zusammen in einer Schüssel vermischen, mit Kokosöl vermengen und würzen.
  3. Erst bei 180°C Umluft ca. 30 Minuten backen. Danach weitere ca. 60-90 Minuten bei 150°C (bis alles schön knusprig ist).
Recipe Notes

Das Granola kann in einem geschlossenen Behälter aufbewahrt werden. Tipp: eine Cantaloupe-Melone längs aufschneiden, entkernen, mit Kokosjoghurt befüllen und oben drauf das selbstgemachte Granola. Mmmh! Schmeckt aber genauso lecker mit lokalen Früchten.

Hol' dir alle Zutaten bei Farmy!

Share

Polenta bowl oriental style

Posted on 1 min read

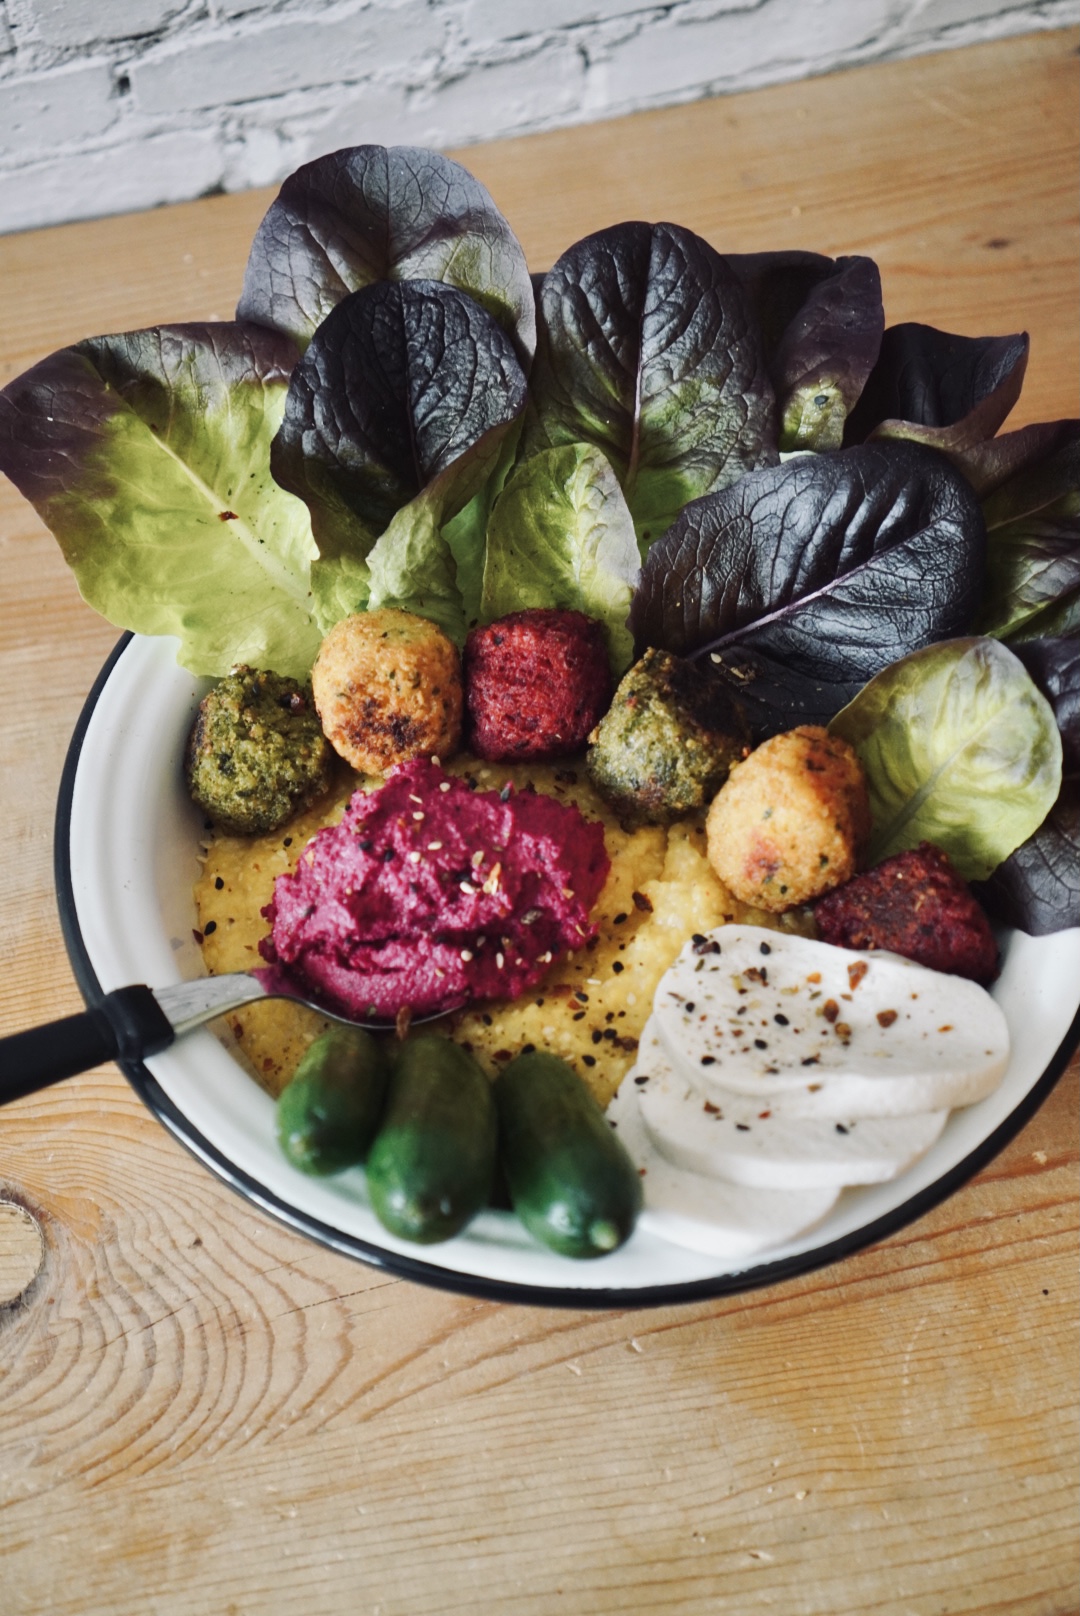
How cool is it to prepare a meal using only local ingredients? Thanks to my Farmy order, I know exactly where everything in this bowl comes from. Somehow this makes it taste so much better! Besides, this dish is great when you don’t have much time to prepare it. But beware: the polenta needs a little longer to soften.

Polenta bowl
Polenta bowl
Polenta bowl oriental style
Votes: 0
Rating: 0
You:
Rate this recipe!
Rezept drucken
Servings
2 servings
Servings
2 servings
Polenta bowl
Polenta bowl oriental style
Votes: 0
Rating: 0
You:
Rate this recipe!
Rezept drucken
Servings
2 servings
Servings
2 servings
Ingredients
Servings: servings
Units:
Instructions
  1. Prepare the polenta together with the vegetable broth according to the instructions. Tip: the polenta can also be left to swell in a heat-retaining saucepan. I have omitted the butter. However, you can use vegan margarine if you like.
  2. Prepare the lettuce and cucumber.
  3. Cut the MozzaVella into slices.
  4. Fry the falafel with a little oil.
  5. As soon as the polenta is ready, the bowl can be arranged according to taste.
  6. Finally, garnish with some beetroot hummus.
Recipe Notes


Please note, if you are prone to indigestion or flatulence: the chosen bouillon does not contain onions and garlic and is therefore also suitable for irritable bowel syndrome and a low FODMAP diet. If you have any questions, please feel free to contact me.

You can find all the ingredients at Farmy!

Share

Polenta Bowl – Oriental Style

Posted on 1 min read

Wie cool ist es eigentlich, sich ein Essen allein mit regionalen Zutaten zuzubereiten? Dank meiner Farmy-Bestellung weiss ich genau, woher alles in dieser Bowl kommt. Irgendwie schmeckt’s dann gleich nochmal viel besser! Ausserdem ist dieses Gericht super, wenn man nicht so viel Zeit zum Vorbereiten hat. Aber Achtung: Die Polenta braucht etwas länger zum Quellen.

Polenta bowl
Polenta bowl
Polenta Bowl – Oriental Style
Votes: 0
Rating: 0
You:
Rate this recipe!
Rezept drucken
Servings
2 Portionen
Servings
2 Portionen
Polenta bowl
Polenta Bowl – Oriental Style
Votes: 0
Rating: 0
You:
Rate this recipe!
Rezept drucken
Servings
2 Portionen
Servings
2 Portionen
Ingredients
Servings: Portionen
Units:
Instructions
  1. Polenta zusammen mit der Gemüsebouillon nach Anleitung zubereiten. Tipp: Kann zum Quellen auch in einem warmhaltenden Topf gelassen werden. Die Butter habe ich weggelassen. Wenn man möchte, kann man aber auch vegane Margarine verwenden.
  2. Salat und Gurken rüsten.
  3. MozzaVella in Scheiben schneiden.
  4. Falafel mit etwas Öl anbraten.
  5. Sobald die Polenta fertig ist, kann die Bowl nach Gusto angerichtet werden.
  6. Zum Schluss mit etwas Randen-Hummus garnieren.
Recipe Notes

Achtung, falls du anfällig für Verdauungsbeschwerden oder Blähbauch bist: Die gewählte Bouillon enthält keine Zwiebeln und Knoblauch und ist somit auch bei Reizdarm und einer Low FODMAP Ernährung geeignet. Bei Fragen dazu kannst du mir jederzeit schreiben.

Du findest alle Zutaten bei Farmy!

Share